


I realised I haven't really written a lot on our progress lately with renovating and doing up areas of our house. That was the reason I started this blog in the first place and it has kind of been taken over by cooking a fair bit but I want to make a conscious effort to continue writing about it because I hope you enjoy a good transformation as much as I do. I think the last DIY post I did was about our finished laundry which was some months ago. We haven't had any massive reno jobs on the go at the moment. There is a second bathroom yet to be done but we shut the door and forget about that at this point. We have been doing a few landscaping projects outside that are slowly making progress which I hope to share soon. This stairway pictured above is original to the house when we bought it. You can see what the back of our house looked like 4 years ago below. Since that picture was taken we have ripped down the old pergola, created a herb garden and brick path, added a deck and retained the wall on the right hand side. Bevan has done a lot of work in this little area over the past few years.

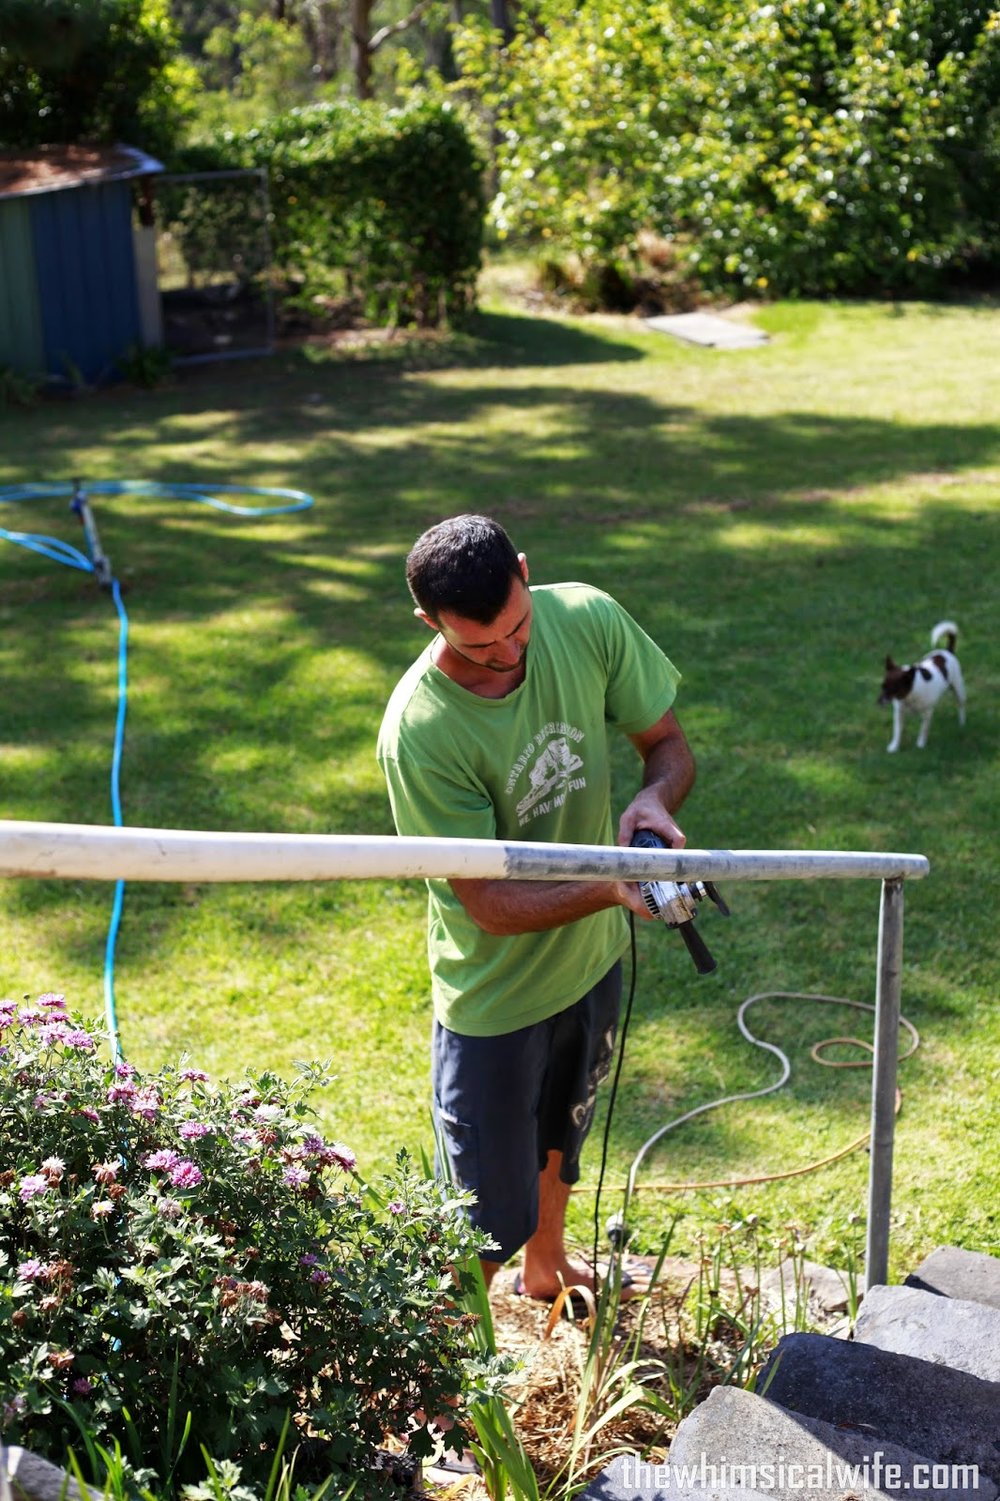
The paint on the railing of this stairway looked to be fairly old. It was flaking and powdery and just looked sad and sorry. So it was time to give it a little makeover. The first step in giving this a new face was to remove the old existing paint. To do this Bevan used a grinder with a wire disk attachment and ran over the whole area bringing it back to the bare metal underneath. By doing this it gave us a fresh base to spray our new coat of paint onto.

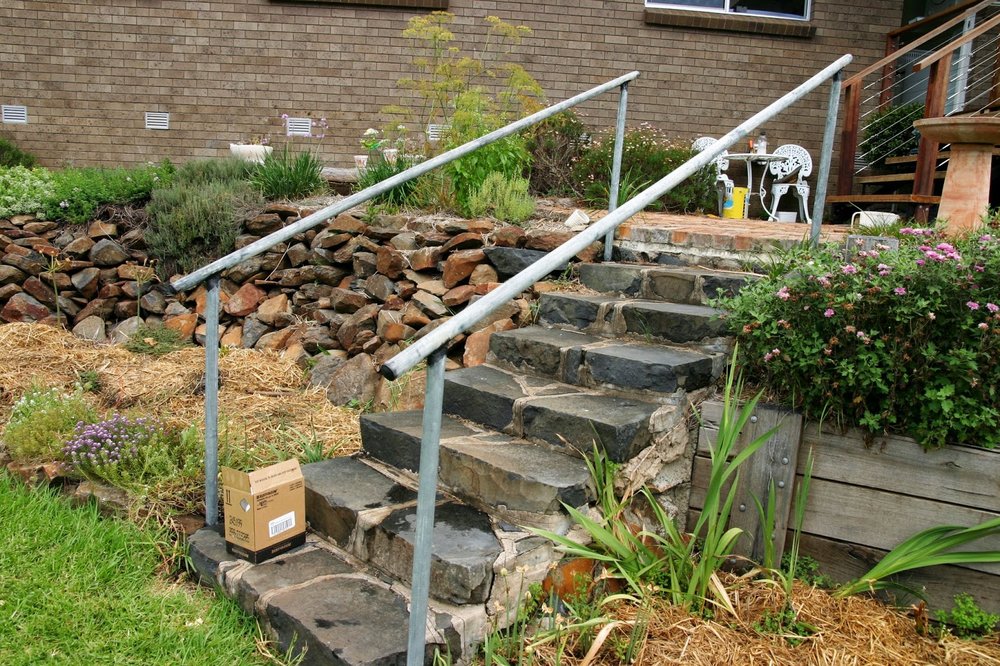
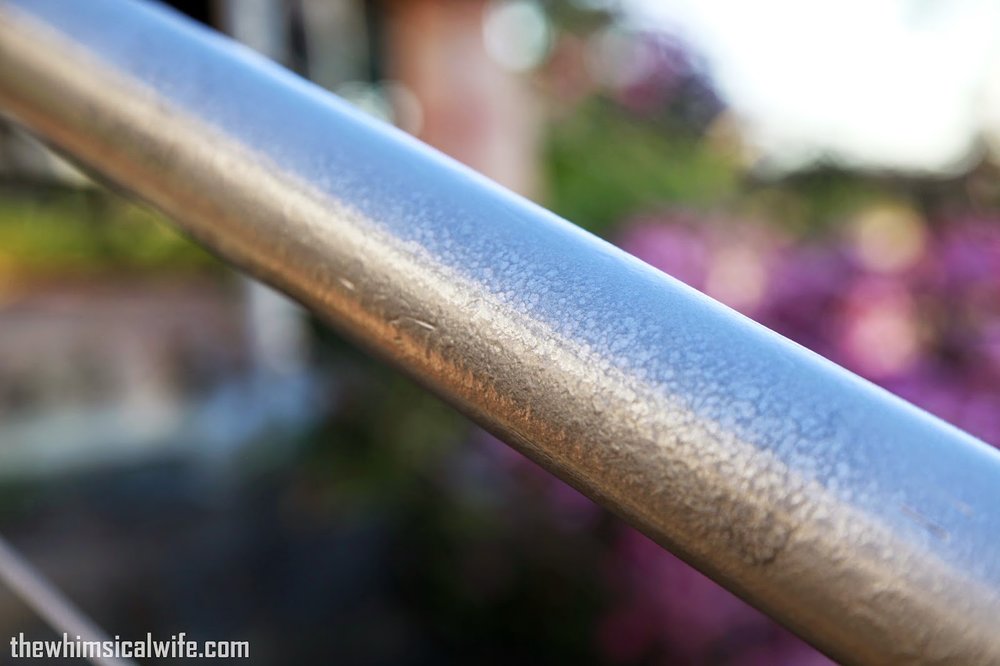
As you can see above the railing already looks ten times better without the old flaky paint on it. We then gave the metal a wipe over with a damp cloth to remove any built up dust before starting to paint. We opted to paint this in Hammered Silver in Rust-Oleums Universal Spray Paint. I have used this paint in a number of projects and find it very quick and easy to use. It does not require you to do an undercoat as it is a primer and topcoat in one. It paints happily onto plastics, metals, wood and glass. We gave the railings two coats of paint to properly cover the entire area. You can see the hammered finish in the silver paint below.


Once the paint had dried Bevan attached some wire balustrade cables in the center of each section to match in with our deck in the background. This also added a bit more safety to the stairway as before J.D had to be helped up and down the stairs to save him from falling over the edge into the garden. Now he happily toddles up and down the stairs holding onto the wire for support. I am really happy with the finish result and it has made the whole area look a little bit more put together and finished.

I couldn't help but add in a picture of the gorgeous array of chrysanthemums going nuts in the on the retaining wall. They didn't flower well in summer but with a little Autumn rain they burst out in colour a few weeks ago. I just love nature, don't you?

{Disclosure: I was not paid to write this post but was given product to trial. All opinions are my own}


Food & Drink blogs