


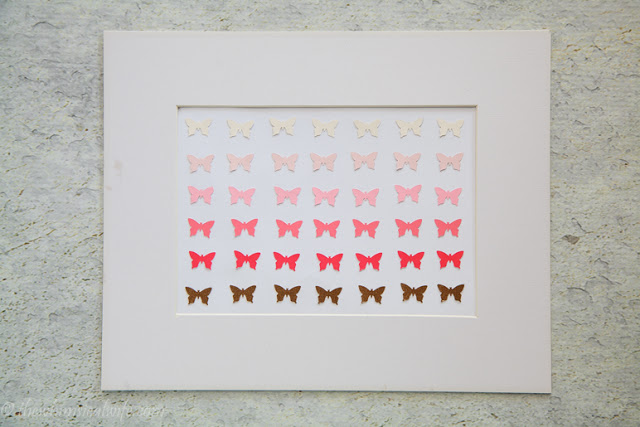
3D Ombre Butterfly Wall Art


I f.i.n.a.l.l.y found time to start adding the finishing touches to Little Miss`s Room. It's been a long time coming. I wanted to have her room finished within 3 months after she was born. Well that didn't happen. She only started sleeping through at 8 weeks and I started back working from home by 10 weeks so I guess you could say I was a little busy and tired. Those second time mum's would have laughed at me if I told them that. I have made slow progress finishing it off and now that she is coming up to 10 months old I thought it was high time I made a conscious effort to get it done. Once and for all.
Little Miss moved into
or rather J.D got moved out when she was born. You can check his
out here. I left the picture gallery on the wall in the nursery (
). My aim is to fill the frames with complementary pieces of art to create a nice feature in the room. I thought something with butterflies would make a great start for a girls room. I went to my favourite craft medium - paint colour chips. I made
using paint colour chips and I couldn't resist doing something in Little Miss's room. So I thought something ombre, butterflies and PINK! Can't go wrong with that hey? So let's jump into how you go about making one of these cute 3D Ombre Butterfly Wall Art.

Materials:
- 3D Frame - size of your choice {Mine was a 5 x 7}. (Basically a frame with a bit of a gap between the matte board and the glass)
- Tonal range of paint chips* ( I chose a range of pinks with an accent of gold)
- White card or thick paper
- Butterfly scrapbook cutter
- Hot glue gun & refill glue sticks
*For the tonal range of paint chips I would go to the wall of paint chips that are located at your hardware store and find the colour range that you like. Stick within the line of colour that you like and choose a light, medium light, medium dark and dark colour of your tonal range. If you want a accent colour add one in at the end like I have with the gold.
Step 1:
Cut out the white card or paper to be about 2 cm wider than matte board frame. Attach it to the back of the matte board with sticky tape.
Step 2:
Using the butterfly cutter start cutting out butterflies from each of the different coloured chips. Pace the butterflies inside the framed area to and roughly space them out to see how many you will would need for a row. Once you have worked out how many you need double that amount and set half aside to be used later.
Step 3:
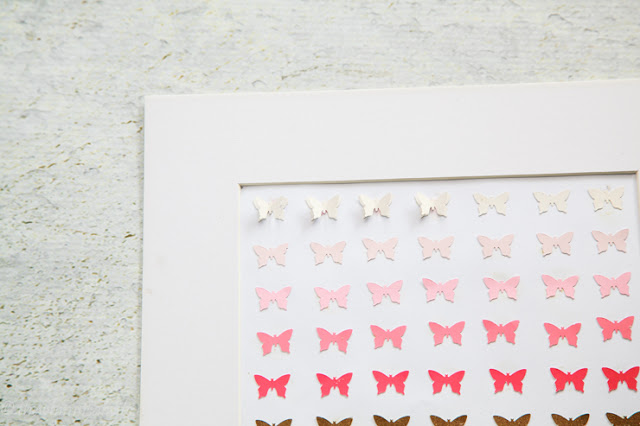
Place the butterflies evenly inside the matte board frame and space them out accordingly. If you want to be really precise you could measure the distance but I just eyeballed it. Once you are happy with the spacing start glueing down the butterflies with the hot glue gun. Glue the corner butterflies first and then work your way around the outside perimeter. Once they are dry work your way in to the center. Let the whole piece dry before moving on to creating the 3D butterflies.
Step 4:
Using the remaining butterflies, gently fold each wing upwards to make them look like they are about to take flight. Add a dab of hot glue to the center of your chosen coloured butterfly and place on top of the corresponding colour inside the frame. Repeat with the remaining butterflies.
I would recommend using a glue gun to do this part of the project. I did try general glue on the first row but each time I put another butterfly down I seemed to knock the ones I had already done. The hot glue sets fast so you don't have to worry about ruining what you have already done.

Step 5:
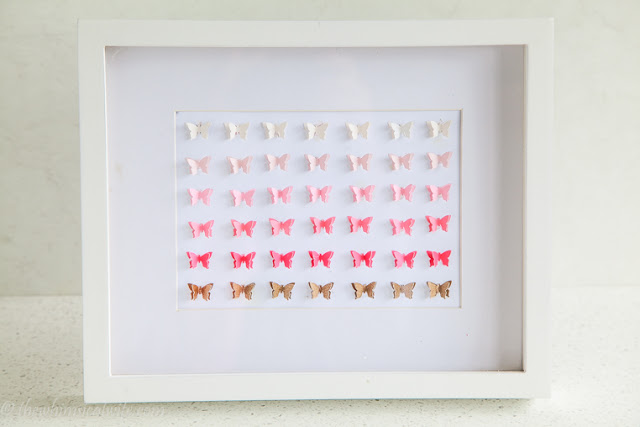
Let the whole piece dry before placing inside your chosen frame. I always give the glass on my frames a good clean with windex first so they are squeaky clean when I hang them up. Hang or place your gorgeous 3D Ombre Butterfly Wall Art in your chosen spot and stand back to admire your handiwork.
How easy was that? You could get one of these pieces of art whipped up in a matter of a few hours. That is if the kids aren't hanging off your legs, blowing away your butterflies and burning their fingers on the hot glue gun. Then it might take all day. Ha.
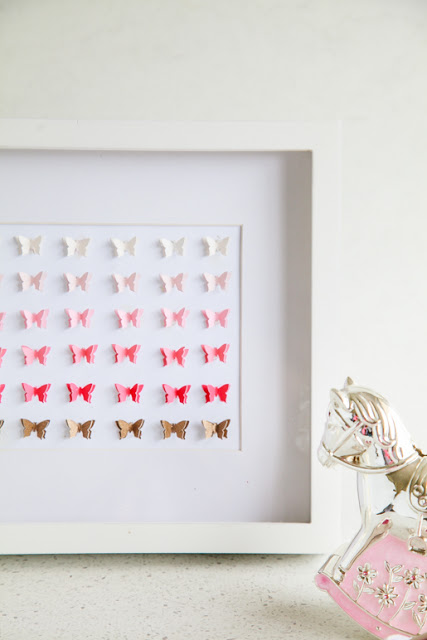
Here is a sneak peek of a few accents I have in Little Miss's room. I picked up the cute white and gold dimpled trinket bowl from
and the lamp shade and stand has been re-purposed from J.D's room. The shade use to be bright yellow would you believe. I ended up simply painting the shade with leftover white acrylic paint and masked off the bottom and painted it gold. I will have to write up a tutorial on how I did that soon. I'll just add it to my never ending to do list! ha. In the mean time though why don't you guys have a go at making one of these ombre pieces of wall art yourself. Tag me over on Facebook or Instagram @thewhimsicalwife. #ombrebutterflyart.


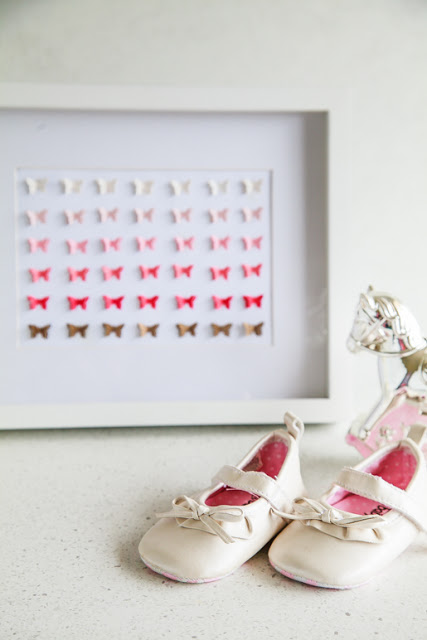
Aren't little girls shoes just the cutest?
