


How To Give Your Deck A Makeover.

So I have another DIY Project to share with you today. I will be sharing with you how we turned our tired and sad looking deck area into a pretty spectacular looking space with a couple of days work and a few handy products. We have been busy behinds the scenes over the summer working like squirrels readying our home for the winter season. We still have a huge list to do before the winter sets in such as painting the outside of our entire house, which we had recently rendered, paint the roof, replace the gutters and rip out our entire tiled flooring inside and replace it with timber floors. I'm already tired just thinking about it, and I'm not doing most of the work and we've only just begun. Anybody want to come and give a hand? Ha. We might have set the bar a little high project wise this year, but we will put our little heads down and get to work.


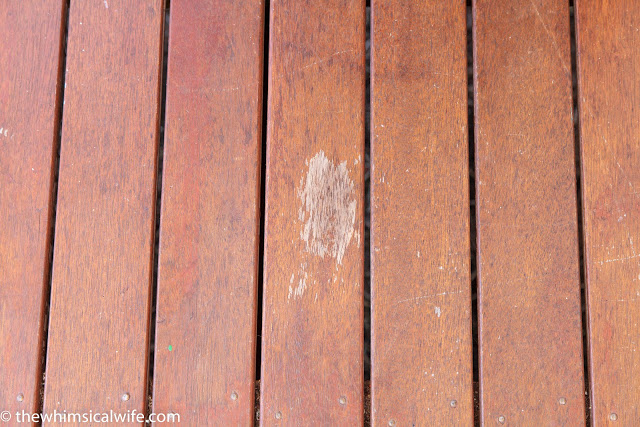
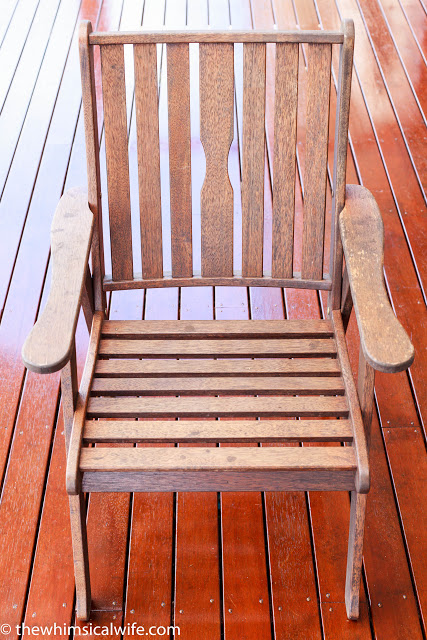
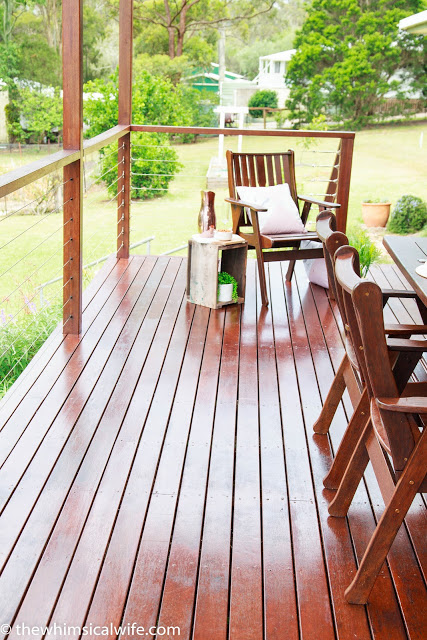
So as you can see by these photos our deck was looking a little worse for wear after waiting for a few too many months for a re-stain. We tend to re-stain our deck every six months or so depending on the season. This keeps it well maintained and protects the wood from the elements. It was very tired looking and needed a little TLC to bring it back to life. I was given the opportunity to work with a few products by Sikkens from their Timber Care range. Sikkens stock a number of interiors and exterior wood care products perfect for home maintenance. We used a couple of different products throughout the project as I will talk about throughout the post.
The first step to re-staining the deck was to give the entire area light sand. This doesn't always need to be done but because we were re-staining with an oil based decking oil versus a water-based one it was necessary to do to allow the new stain to adhere. We also had areas that were peeling and flaking on the deck and these needed to be sanded back.

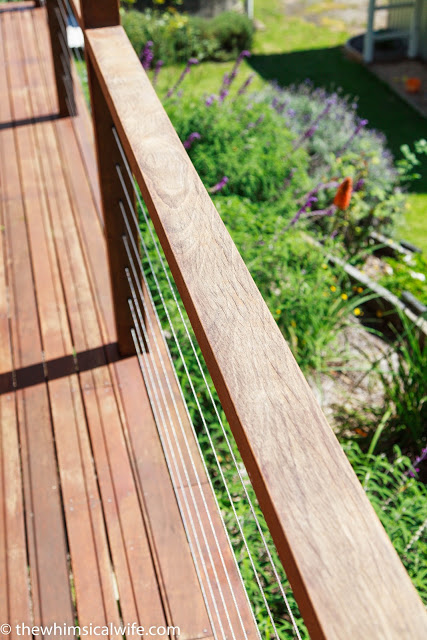
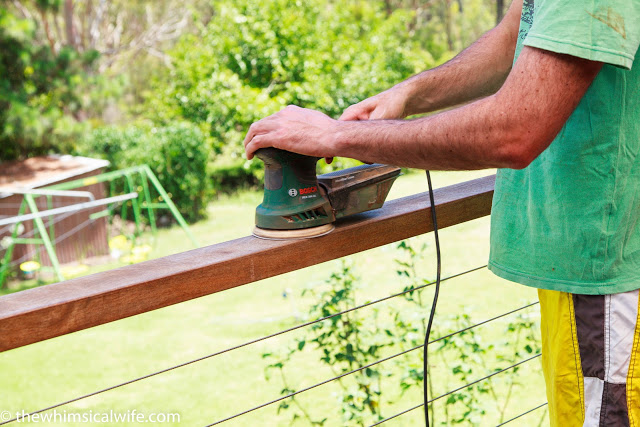
Don't forget the balustrading either; we had to give these a light sand also as the wood was very weathered. We used an 80 grit sand paper pads on our Orbital Sander to bring back the old stain off the wood and went over it again with a finer sandpaper of 120 for a smooth finish.
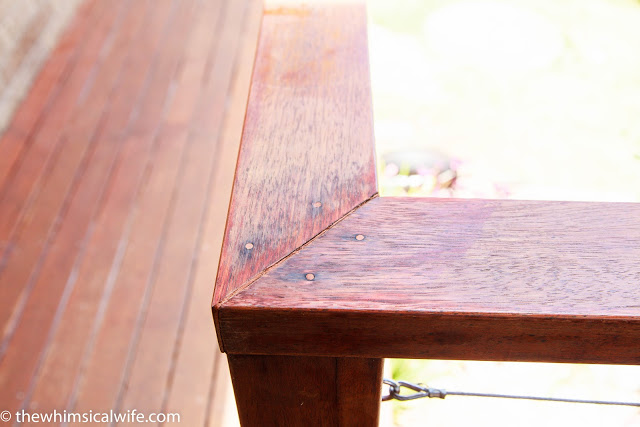
The joints on the balustrading also need a little attention as the wood had contracted and expanded causing the joint to expand. We used
wood filler in Teak to fill these areas and patch up the cracks. The Cetol Guba is a fast drying wood filler perfect for filling small nail holes and timber cracks. It comes in four colours allowing you to match to your timber colour. Once the
had dried Bevan sanded it back smooth to the wood.


Once the deck had been completely prepped and sanded the next step was to clean the entire deck with
Sikkens Cetol BL-Deck & Wood Cleaner.
It is a fast acting gel that just take 15 minutes to clean and revitalise old wood and in preparation for the application of new coatings.

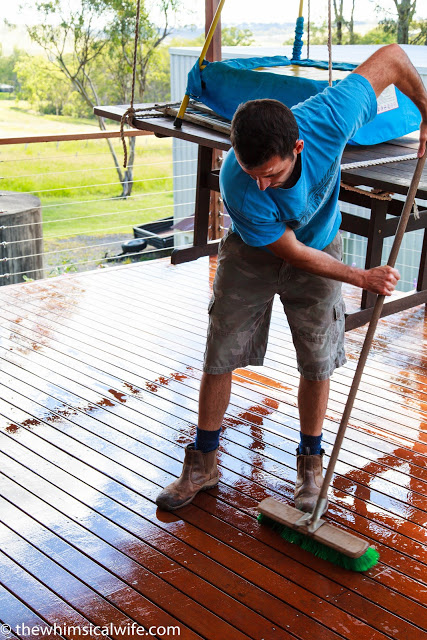
Bevan applied the wood and deck cleaner with a sponge mop and let it sit for 15 minutes before scrubbing off with a hard-bristled broom and a then pressure washing the whole deck for a complete and thorough clean. We let the whole deck dry completely before advancing to the next step of applying the new stain.

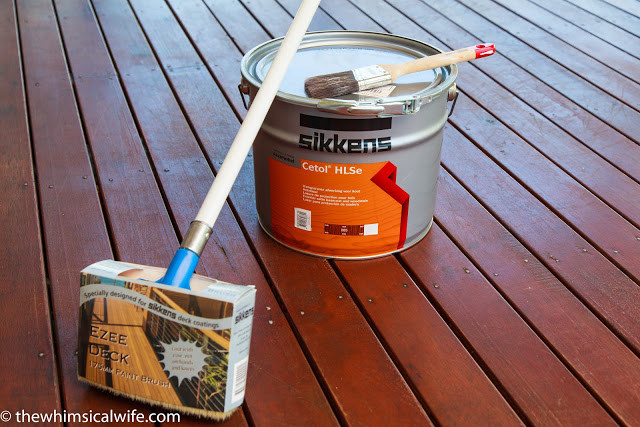
Once the entire floor had dried, it was time to apply the new stain. We used
, which has a lovely satin finish to it and is applied in a three coat system. Each layer needs to be left to dry thoroughly for 24 hours before reapplying for an proper finish. Bevan used the
to apply the stain which has a soft bristle head to allow an even application of the decking oil. The brush was a godsend and made the process of applying the stain easily and mess free.
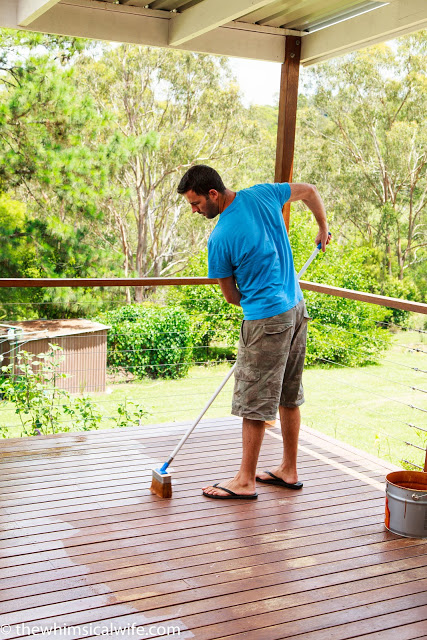
Bevan applied an even coating of the
for each coat required. The first coat probably took the longest as the wood sucked a lot of the stain up due to it being in serious need of a re-stain. The remaining coats were quicker to apply. It took us about four days in total to complete the whole project from start to finish, and this included a 24-hour drying time between each of the three coats required.

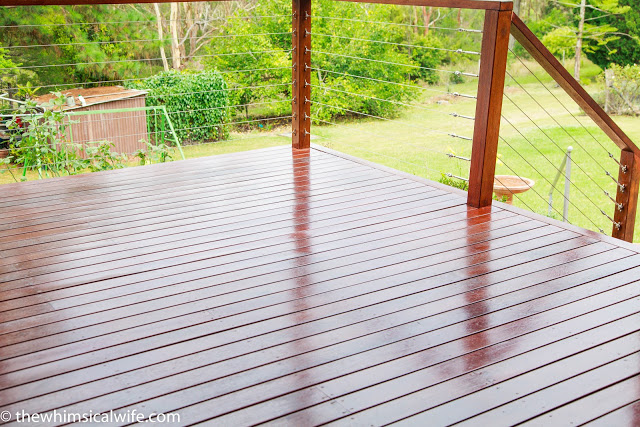
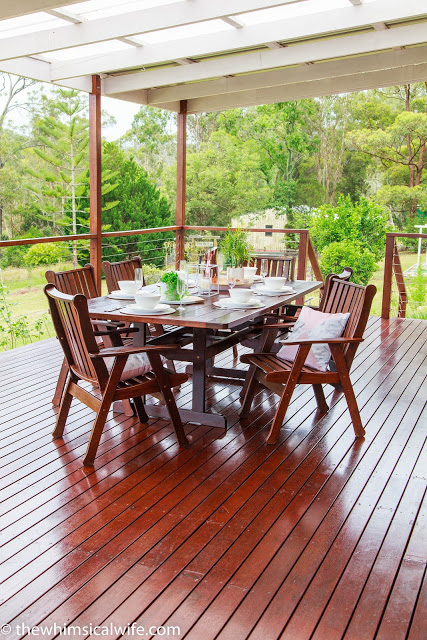
So let's just recap quickly what the deck looked like before we started the project and what it now looks like below.

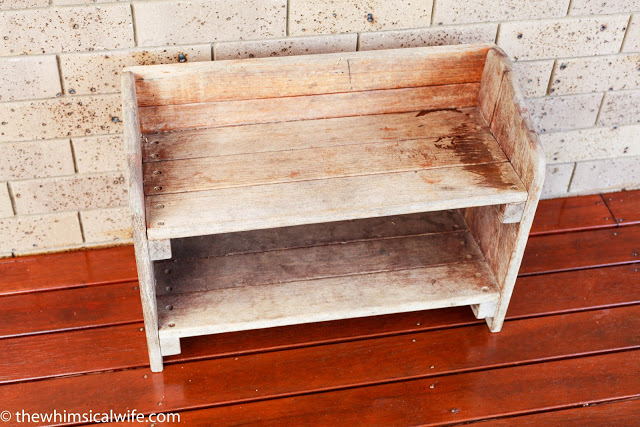
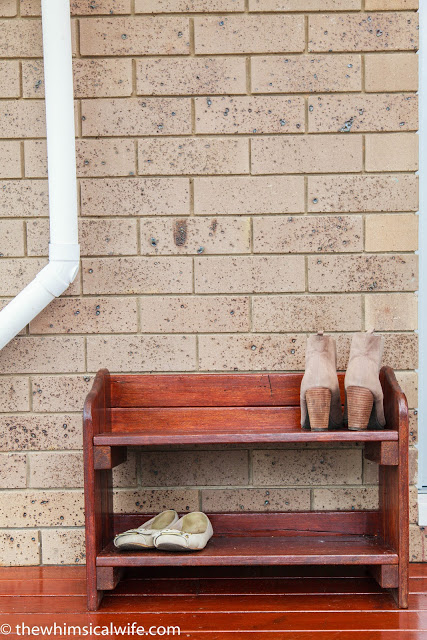
Stunning, to say the least, and before I show you the finished deck makeover I'll show you our newly made over outdoor setting and wooden shoe rack which we also gave the Sikkens treatment. We washed the outdoor setting and wooden shoe rack with the
Sikkens Cetol BL-Deck & Wood Cleaner
and then once dried followed them up with three coats of the
They look as good as new - maybe even better than new!


So I will leave you with a thousand pictures of the finished result, and it is safe to say I am extremely happy with how everything turned out. Now I just have to stop the dog and kids leaving dirty footprints across it!


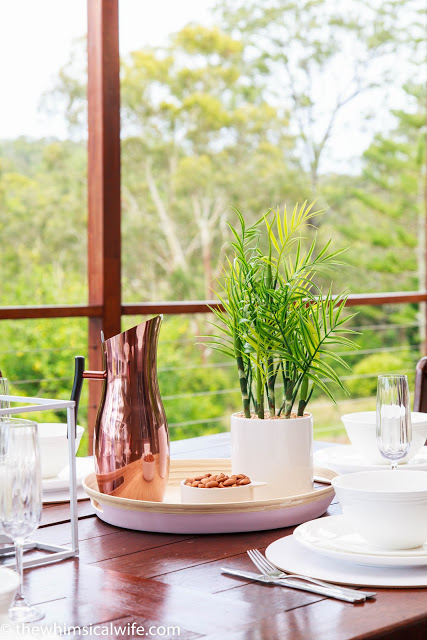
Styling Items // Kmart
Pink Dipped Bamboo Serving Tray
{Disclosure: This is not a paid sponsored post. I was given Sikkens products to use and all opinions are my own}

