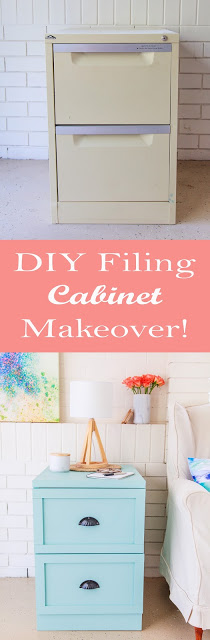
How To Transform A Tired Old Filing Cabinet

When your office needs start to overflow into your living space, it is time to start thinking about your next DIY project. While most office furniture is functional, it is not always aesthetically pleasing. If you have a sad and old looking filing cabinet sitting in the corner of your home, it’s time to give it a much-needed makeover. A few simple additions, a lick of paint and you will have yourself a beautiful piece of furniture proud to take place in your home. This is a great project to take on for the novice DIYér as only a handful of materials are required and a free weekend needed to give your very own filing cabinet a pretty spectacular makeover.
Since our current office space is going to be overtaken as another bedroom when this next baby comes along, I wanted to create a pretty yet functional filing cabinet that we can at least display somewhere in the house and not cringe every time we looked at it. Because let's admit filing cabinets are not made with aesthetics in mind more on the lines of functionality!
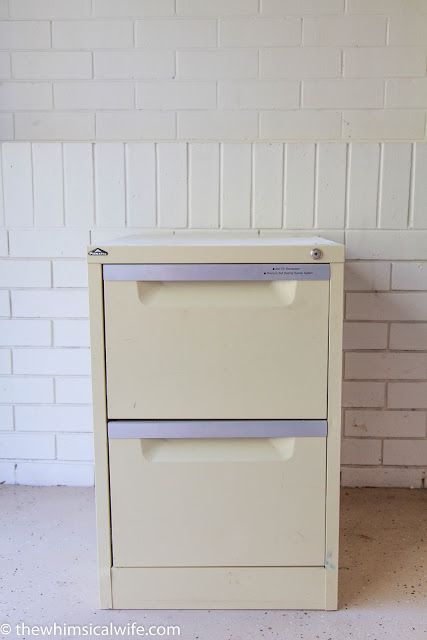
I picked this filing cabinet up for a mere $20 and knew it was going to be transformed into something beautiful. When selecting a filing cabinet make sure the sides are straight and smooth as you won't be covering these areas up but merely painting them. As for the front make sure you have the option to remove any hardware that is located on the front of the drawers to allow for the addition of wooden overlays later in the project. This project can be tackled in a weekend quite easily if you are organised and hop to it! Have fun with colour when you are selecting your paint or if you don't want it to stand out to much get to a netural tone pallete to hide it in the corner. Whatever floats your boat guys. So let's hop to it!
Materials Required
– for a two drawer filing cabinet:
1 x piece 1200mm x 596mm x 7mm plywood
2 x pieces 40mm x 8mm x 1.2m pine trim
120 grit sandpaper
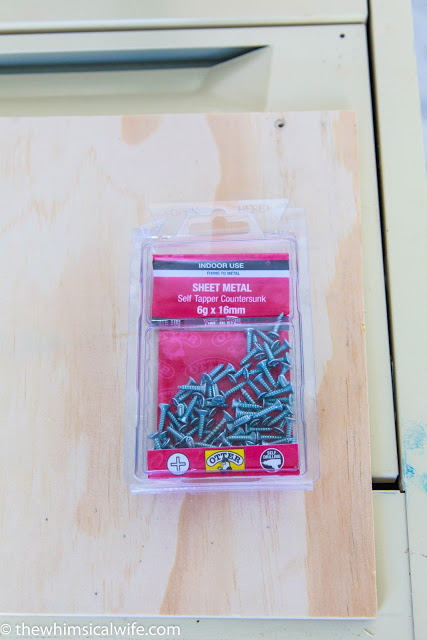
1 packet 16mm Self Taper & Countersunk Sheet Metal Screws
1 x tube Selley’s Allfix glue
1 x tin of ESP Easy Surface Prep
1 x sample pot paint colour of your choice (* I chose Reckless Green by British Paints)
2 x metal handles of your choice
Step 1:
Remove any excess hardware that is protruding from the front of the filing cabinet. We removed the lock and the handle trims as they would stop a flat surface being achieved when attaching the wooden panels on the front.

Step 2
: Measure and cut the plywood pieces to fit the top & bottom sections and over the drawer fronts to cover the full width of the cabinet from the left to right edge. This will allow the panel to overhang the drawer and cover the edges of the front of the filing cabinet giving it a flush finish. Sand, each piece of plywood with 120 grit sandpaper, to smooth the front and sides.
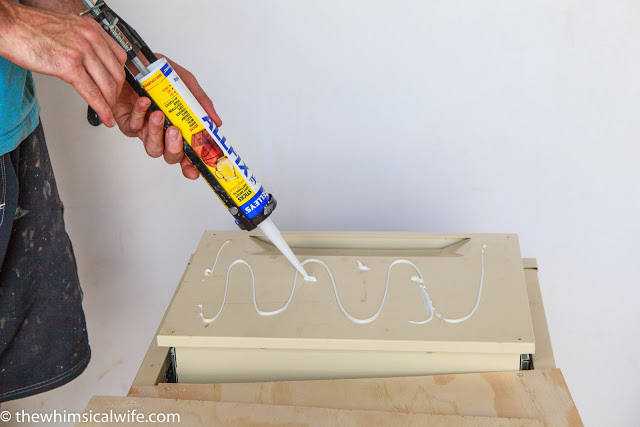
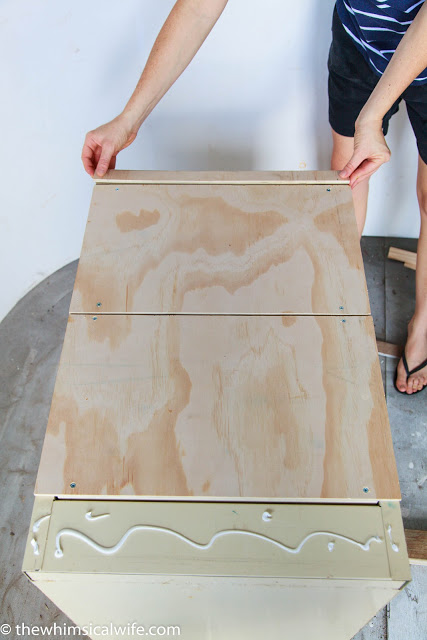
Step 3:
Lay the filing cabinet on it’s back and place the precut plywood pieces on top of the drawer fronts. Predrill holes through the drawer front plywood pieces and metal draw on all four corners. Apply Selley’s Allfix to the metal front of the cabinet drawers and the top & bottom edge sections and press on the plywood pieces. Fix the wood in place on the drawer front pieces with sheet metal screws in the pre-drilled holes.

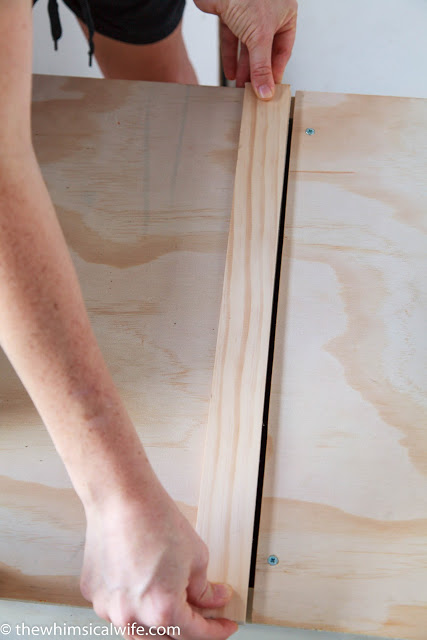
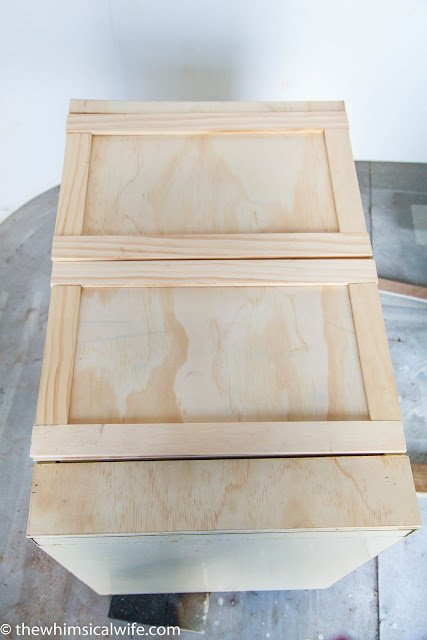
Step 4:
Measure and cut the pine trim to fit around the edge of the drawer fronts only. Light sand with 120 grit sandpaper to smooth the edges. Apply Selley’s Allfix to the back of the pine trim pieces and press firmly into place on the drawer front edges. Repeat until all the pieces are in place. Let it dry overnight before continuing to the next step.

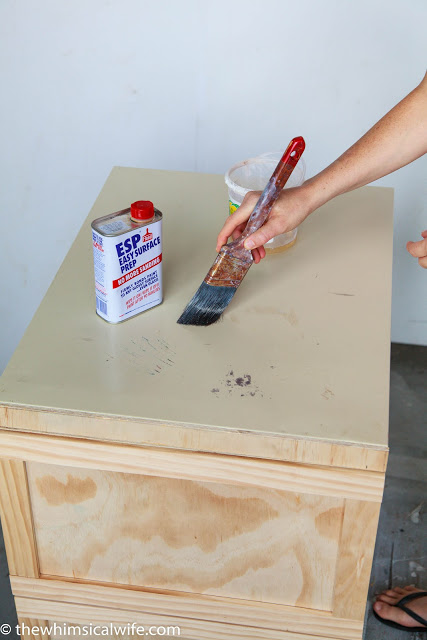
Step 5:
Give the whole cabinet a brush off to remove any excess dust. Use a paintbrush to apply an even coat of the ESP over the entire metal surface area. Wait 5 minutes before lightly wiping away the excess with a lint free rag. Let this dry for a minimum of 1 hour before proceeding to paint.
Step 6:
Either using an airless spray gun or a small foam roller apply an even coat of your chosen paint colour to the entire filing cabinet. Let the first coat dry for a minimum of 1-2 hours before reapplying another coat. Let it dry for at least 4-6 hours to let the paint completely dry.

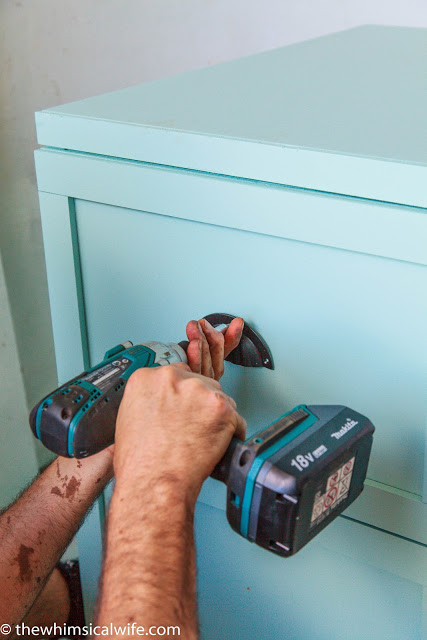
Step 7:
Once the paint has dried, measure and screw your chosen handles into place on the front of your cabinet drawers. Always measure where your handles are going to sit first to make sure you have them centred and straight. There is nothing worse than stepping away from a project and realising you have put on wonky handles!
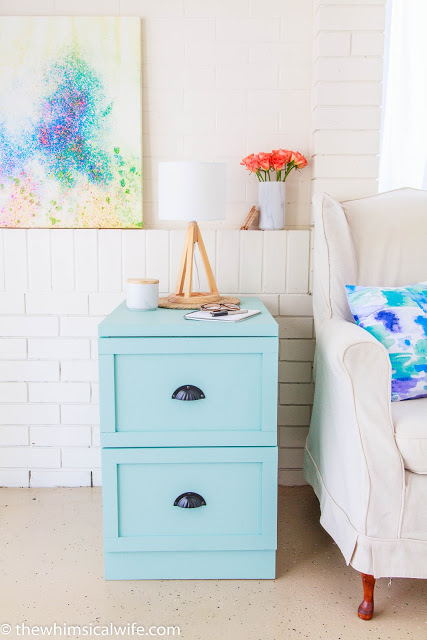
Step 8:
Position your sparkling new filing cabinet in pride of place in your home. Ours makes a fantastic looking side table don't you think. So bright and cheerful. Who would of thought a tired and daggy old filing cabinet would look so good?