

How was your weekend? I hope it was relaxing and full of creativity...... as mine was!
I have finally finished a project that was laying around for the past 3 months or so.

It is a Rustic Jewellery Board (Or Pin Board). It all started with a $5.00 wooden frame that i picked up at my local OP shop. (Which by the way has seem to jacked all their prices up to the point of being ridiculous - not happy). Anyway moving on!
 |
| Original Frame for $5 |
I loved the size and shape and had a project of a pin board in mind - i just needed to find the right frame and.... TADAR! I found it! It was out of necessity actually that i needed to create something to hand my jewellery on. You see i love to by "fashion" jewellery ( i love to accessorize) - not the expensive stuff unfortunately - and out of that love i now have an excess of earrings and necklaces that are overflowing out of my jewellery box.
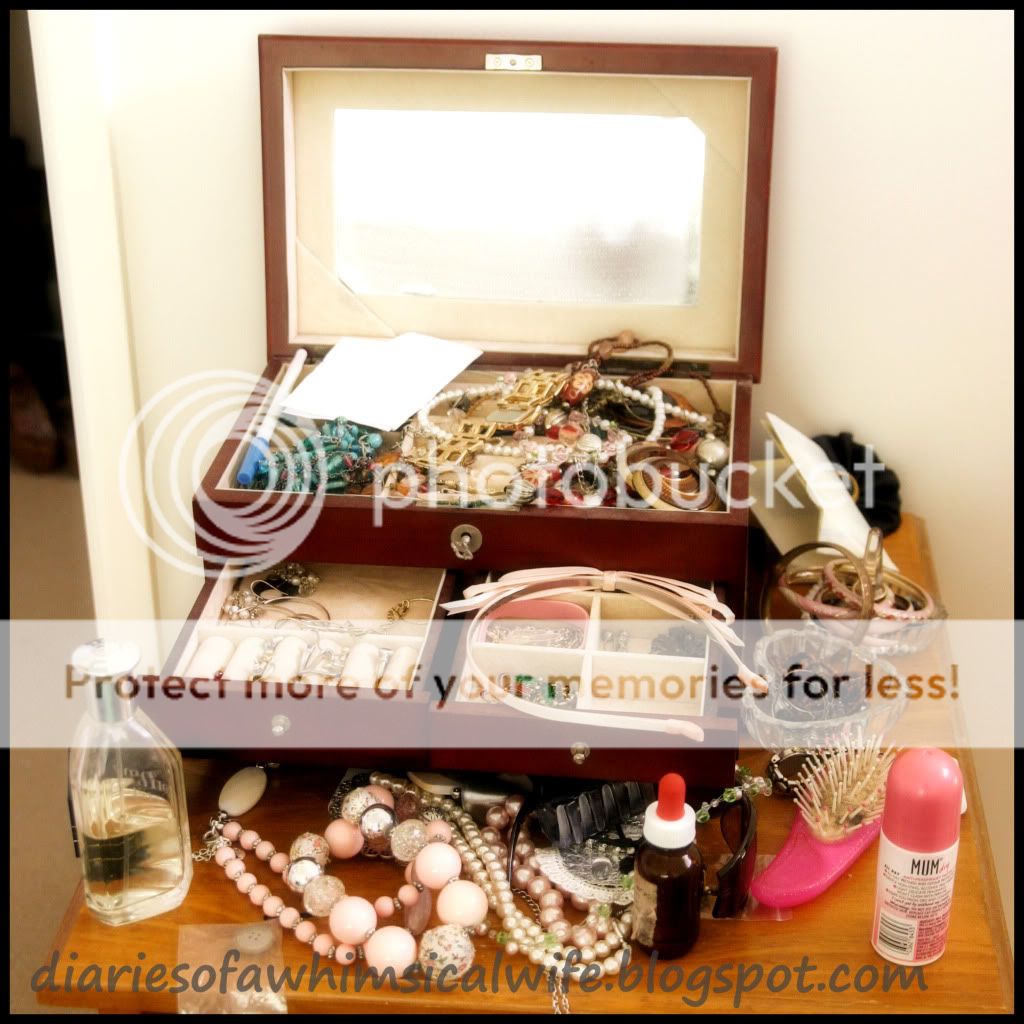 |
| Do you have this problem?? |
I thought about buying one of those steel mannequins to hang it all on but then there was the problem of where to put it, and they're so expensive as well.
I started off by giving the frame a light sand and painting with a white acrylic paint. I gave it a few coats for good measure. The fun then began! SANDING!! I rubbed and sanded (by hand) for what seemed like ages to get the aged look. I seemed to not get very far with it as i don't have the muscles to get in there. My knight in shining armour came and lent his muscles and VOILA we had "aged" and rustic look.
 |
| Sanding... |
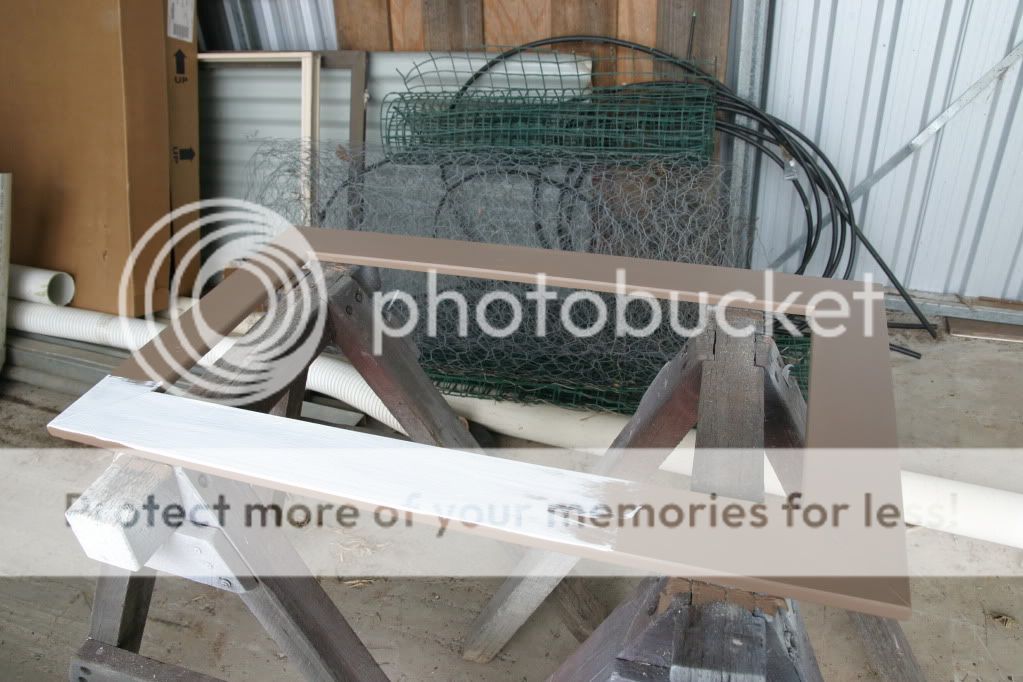 |
| Painting...... |
The next step was to create the pin board center. I started by cutting out a piece of plywood for the backing. I then used quilting batting to create the puffed look that i wanted. I overlaid this with a lovely rustic looking linen which I picked up at spotlight.
 |
| Quilt Batting |
 |
| Jute Twine |
Jute twine was used to create the diagonal pattern over the linen fabric and glued at the edge with a glue gun, I then sewed these gorgeous buttons at each intersection. To finish it off i glued the edges of the linen to the backing board.With the help of my husband I nailed the board into place framing the pin board perfectly.
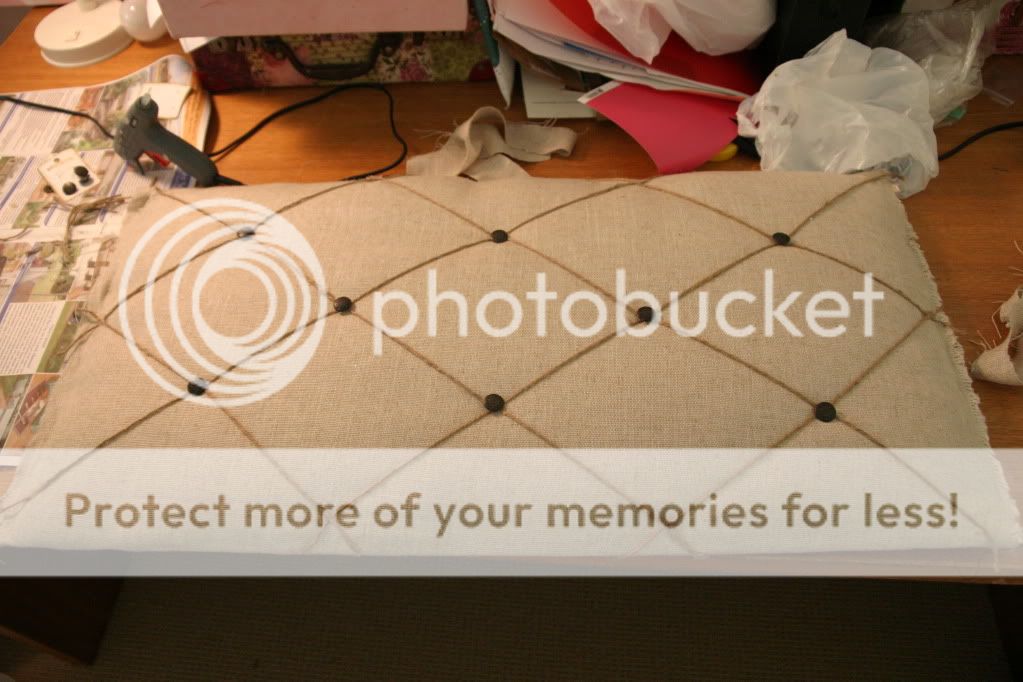 |
| Buttons all sewed on. |

The last step was to attach the coat hooks to the bottom of the frame. You have no idea how hard i looked for hooks similar to these for a reasonable price! Non existant! I ended up finding them cheaply on ebay from a USA supplier, which still worked out cheaper than buying in australia! So once they were attached we were in business to put it up!
 |
| My lovely coat hooks! |

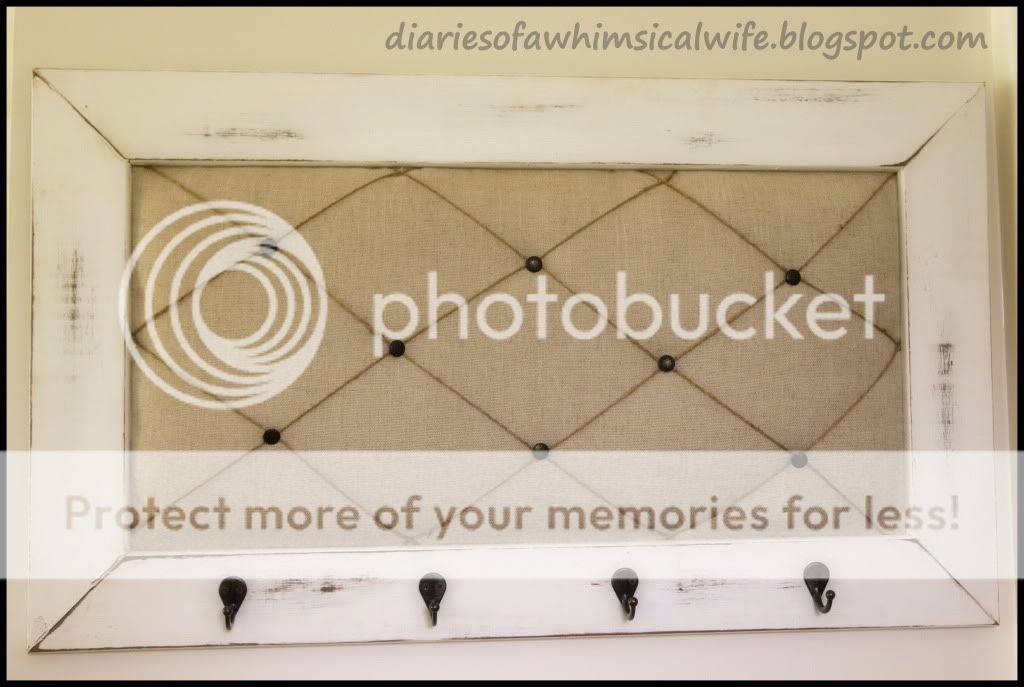
So there it is in all it's glory. I think it turned out pretty good if i don't say so myself! The best thing of all is i now have a tidy jewllery box! YAY!
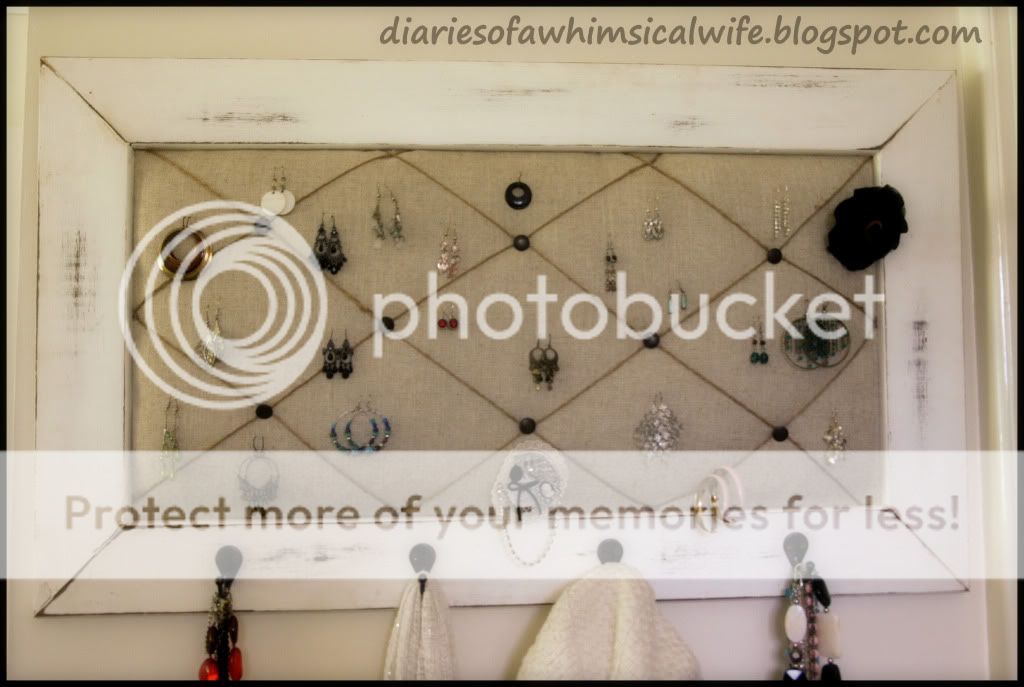 |
| Finished Result with jewellery all in it's place! |


Yay for tidiness and order!
