

"This is the ugliest piece of furniture I've ever seen" .... That was what my husband said when I pulled this telephone bench out of the back of the car after one of my OP shopping expeditions.
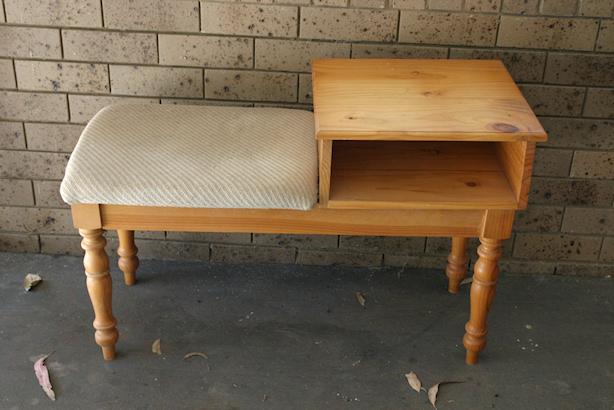
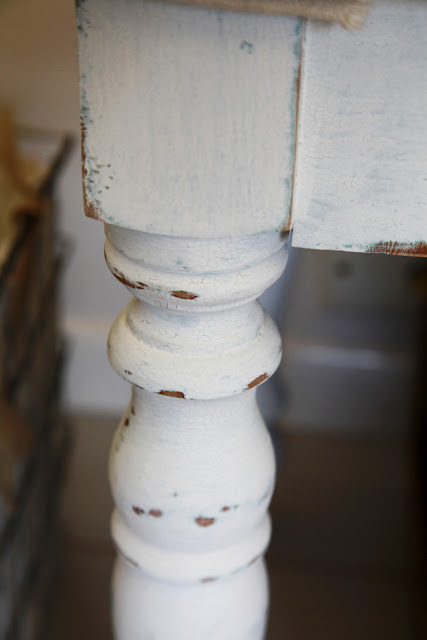
It really didn't give me a vote of confidence on my decision making on this piece but I had a vision in my mind of what I wanted to do with it and obviously hubby did not see what I saw in it. What I saw was the lovely turned legs, the ability to re-upholster it in a lovely french themed fabric and the quirkiness of the piece - being a one of a kind feature piece sitting in someone's home.
I bought this when I was heavily pregnant probably nearly ready to pop actually. It then sat mournfully in our garage for a couple of months until I got a handle on looking after a newborn and got over having our precious boy. Our dog actually loved to sit up on the cushion bit of the bench and sunbake on it in the morning. What a pampered pooch!
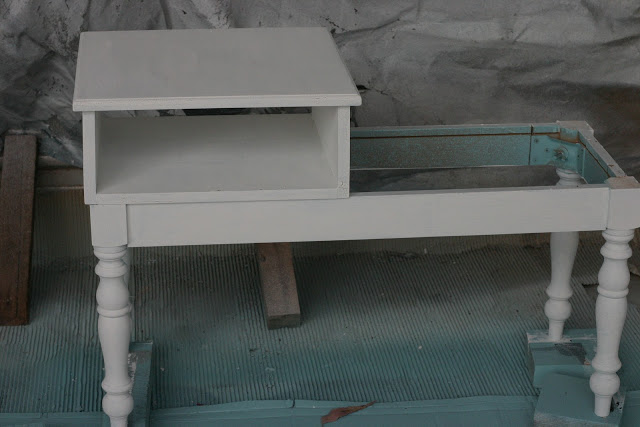
I was a bit unsure of what to do exactly with this piece - whether to make it into a bench seat or keep the little cabinet on top. I even resorted to asking for advice on Facebook. I ended up deciding to keep it as is because it was such a unique piece of furniture!
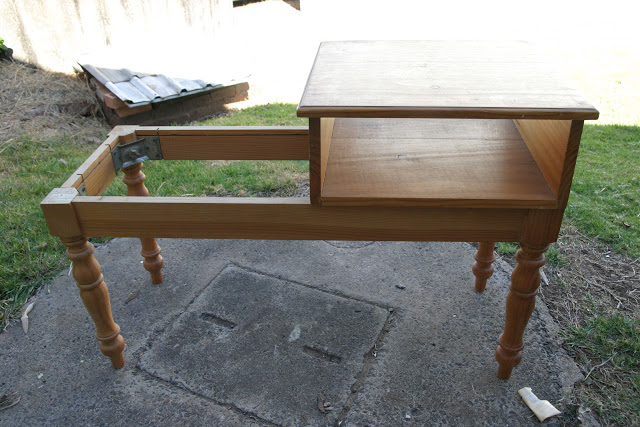
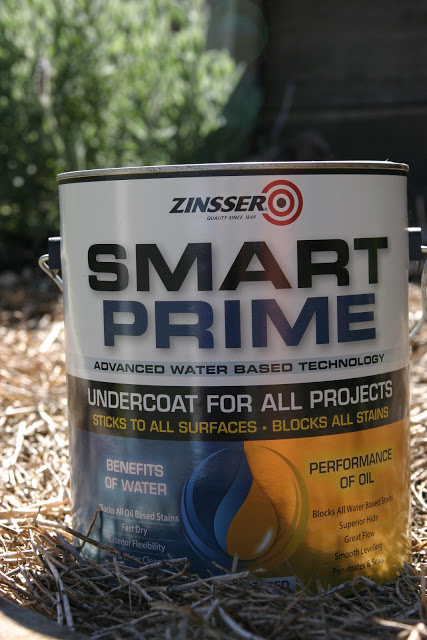
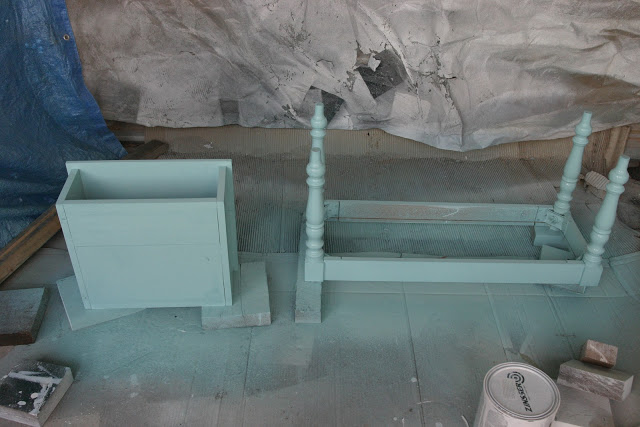
So one fine morning when baby was asleep (for a period longer than 40 minutes) I snuck outside and took this "ugly" piece of furniture apart and gave it a good sand. I was able to take the seat and small cabinet off the base which gave me easier access to sand the entire thing. I undercoated it in Rust-Oleum Smart Prime. This particular primer blocks stains such as existing varnish or wood stains etc from coming through to your top coat. It is a water based product which makes for easier clean up! I really found this product a breeze to use and it dried really quickly. It is slightly gluggy to start off with when you first open the tin but after a good stir it all comes together nicely. I used a paint brush to apply this to this piece of furniture but you could also use a roller or a spray gun.
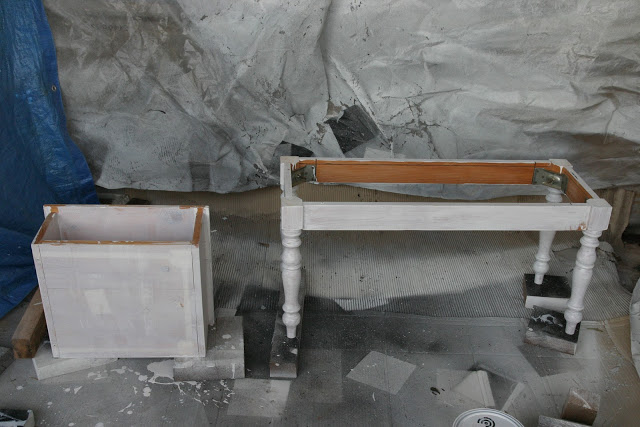 |
| Primed with Smart Prime. |
After the undercoat had dried I then gave it a spray paint with a duck egg blue colour that I mixed up myself with a few pots of paint I had sitting around. The look I was aiming for was to sand back the top coat of white I was going to apply to show this colour in patched throughout the piece. Can I just say I love love love my airless spray gun. It painted this piece in under 15 min which was so good when your trying to do these things in between feeds and sleeps!
I then painted the topcoat in Snow White Milk paint. The beauty in this paint is the crackle and peeling effect that it gives to a piece of furniture. I have used this paint on a few of my projects such as my Blanket Box, and Queen Anne Dresser & Chair makeover.
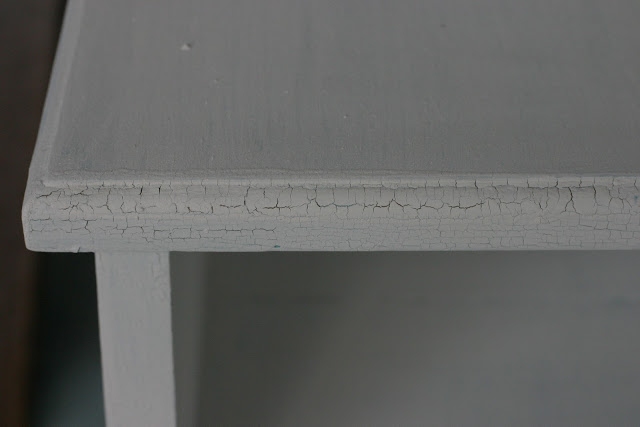
I was hoping the paint would peel off in area's revealing the duck egg blue colour below but this paint is unpredictable and sometimes it does and sometimes it doesn't so unfortunately it didn't but that's the beauty of it it - you never know how it will react. So I had to sand it in areas to try and reveal the paint underneath.
My next project for the seat was to re-upholster the cushion section. I was glad to peel off the ratty fabric that was covering this seat. It was pretty dirty and gross and I was glad to get rid of it. I had to use a screw driver to push out the staples on the back of the seat. This took a little while to do but I did it while sitting in the sun on a beautiful day so I didn't mind it so much.
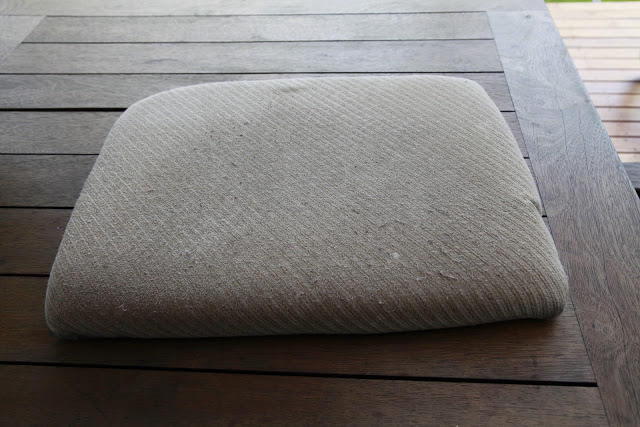
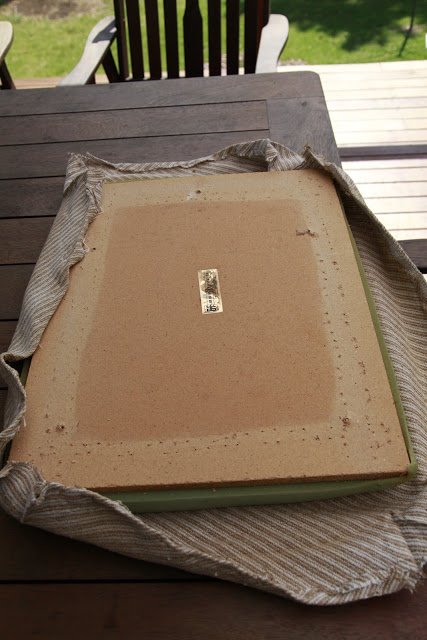
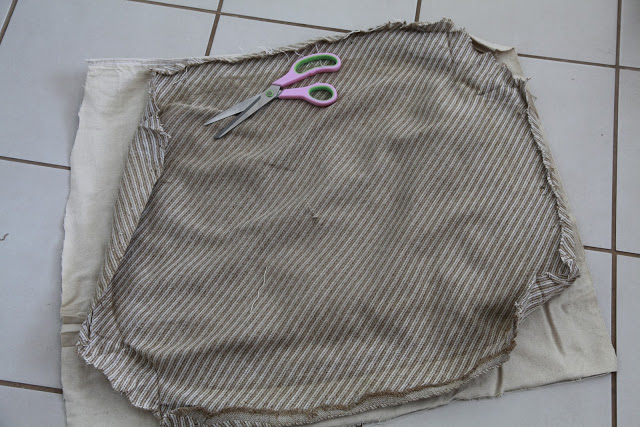
After removing the staples I then took the piece of fabric that was on it and cut out a matching piece from the fabric that I was going to use to re-upholster it in. I decided on using the canvas drop cloth material that I had also used to make my wingback chair covers. I had some leftover which was a bonus. I didn't want to spend a lot on this piece as I was going to re-sell it once I had finished it.
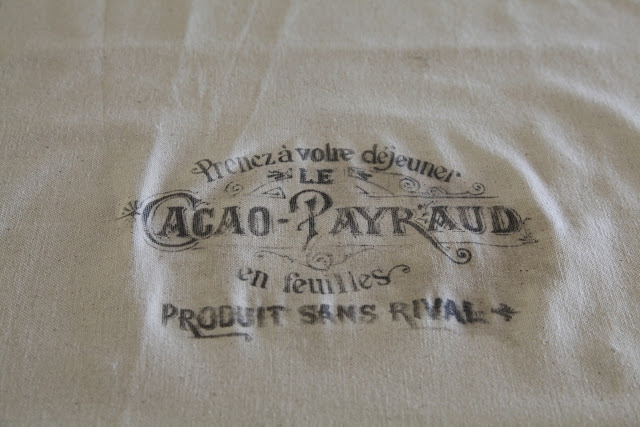
I wanted to give this my signature french theme so I decided to transfer some french text onto the fabric before upholstering the seat. I looked into a few different ways to do this and the best result that came up was this method below.
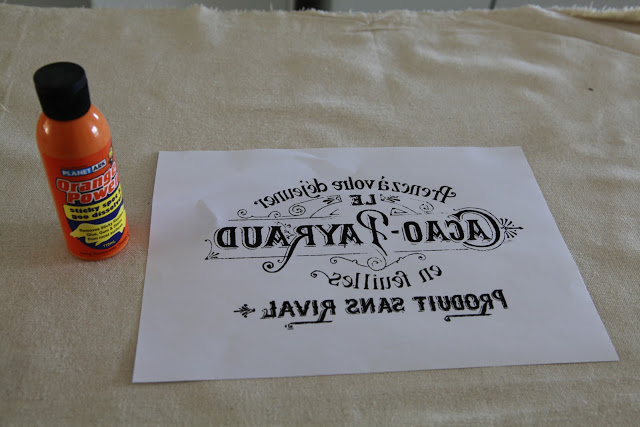
First print off your desired image in reverse so that it will be the right way when you transfer the image to the fabric. This method works best if you have freshly printed the image. I used a HP Deskjet printer to print the above image. I got the image from my one stop image website the Graphic's Fairy. Once you have printed your image liberally apply orange power sticky spot and goo dissolver (found in the cleaning section of the supermarket) over the image.

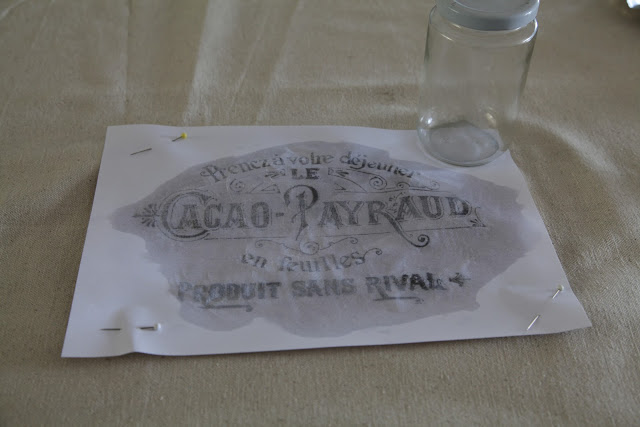
Center the image onto your piece of fabric and pin into place. Using the back of a spoon or the base of a glass jar (like I did) rub the image very firmly over each word and section of the image. This will give a good transfer onto your fabric. Take a quick peek on your fabric to see if there are areas you need to rub a little more to transfer the image completely.
Remove the pins and paper and see your image transferred onto your piece of fabric. Let it dry for a few hours before doing anything with it. Since the goo remover leaves a little bit of a oily residure I lightly patted my image with baby powder and let it sit on there for a hour or so to soak up the oil. I then gave it a bit of a pat and rinse off. Be careful when doing this as if it is not dried properly it could rub the image off the fabric if your not careful.
I then gave it a good iron and stapled it back to the existing foam cushion. I am really happy with how the whole seat turned out. I was a bit unsure if I made a bad decision on purchasing this but when I see the end result I knew I made the right choice. Sadly I didn't get to enjoy it for very long as I sold in within a week of finishing it so I only have my picture to admire now!
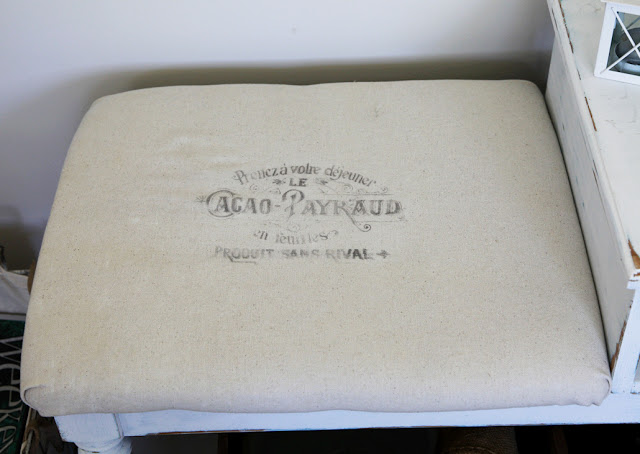
So the ugly ducking finally turned into a beautiful swan!


I just love the finish of the piece. Even though I didn't get a lot of the duck egg blue colour coming through the little peeks of colour really do look good!
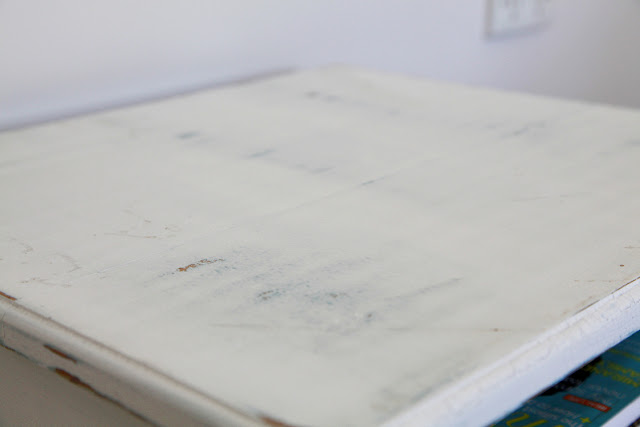
As you can see below the milk paint really gave a nice crackled finish to the whole piece and a good old sand really adds the rustic character!
I had so much fun doing this piece up! It was a joy to complete and I am super happy with the result and I hope the new owener will enjoy it! :-)

blog directory