

I have to say this project would have to be one of my favourite pieces that I have done up so far in my renovation career. I guess because it was something a little bit different to my normal side table, hall table renovation. Although the Telephone Bench Seat comes pretty close to being near the top of the favourite list.
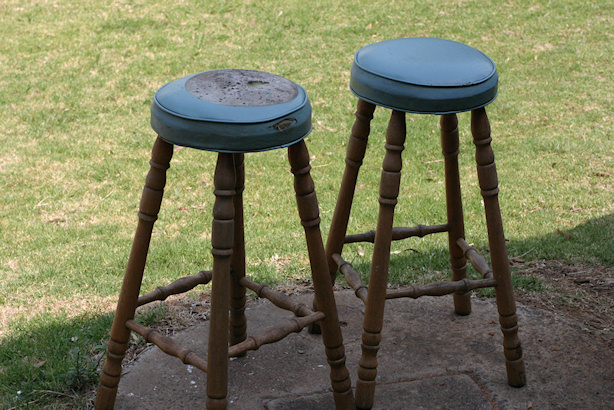
These little chairs were in sad repair when I found them out the front of my local OP shop. I don't think they even made it into the shop they were that ugly!
Or maybe someone had just dropped them off but either way I knew I wanted them straight away when I saw them. They were sturdy, in great shape apart from the fabric and would paint up really easy.
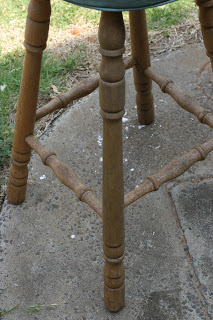
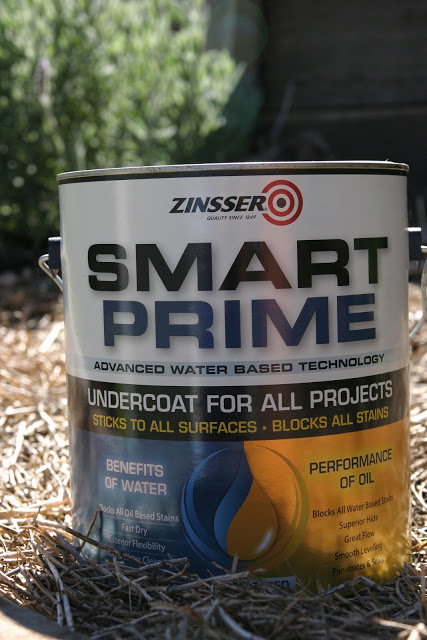
I went in and asked how much they were selling them for... guess how much I paid... $6 for the both of them! BARGAIN! I was so excited when I brought these home - not sure hubby was - and I couldn't wait to start on them! I sanded the all the legs down and gave them a undercoat using the Rust-Oleum smart prime that I used on the telephone bench seat. Great stuff!
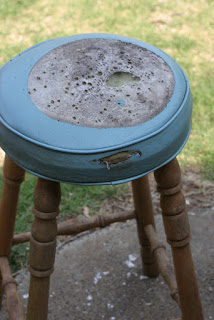
After undercoating and painting the topcoat in Dulux Natural White, it was time to take off the old upholstery. As you can see in the picture below there were layers and layers of staples to take out! I think I had a few blisters on my fingers from trying to extract them with a screw driver. Yuck.
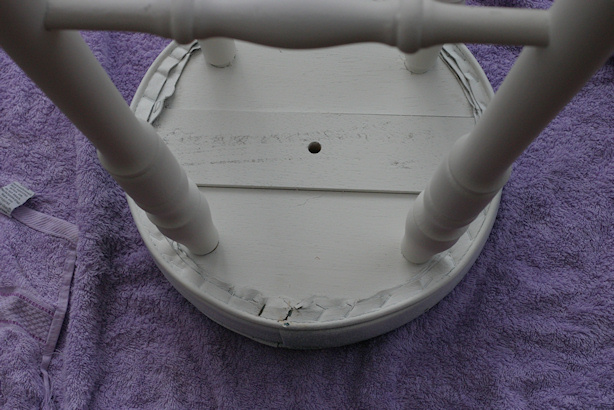
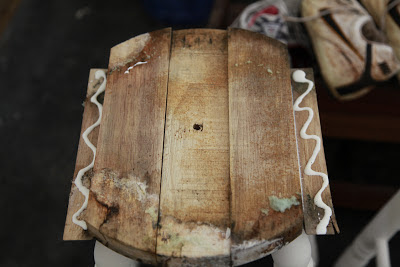
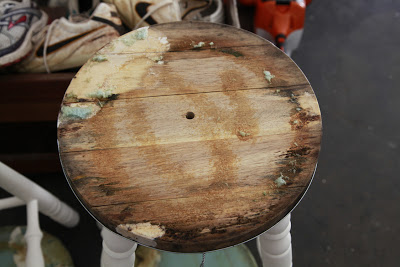
After removing the staples I found that the old foam underneath was in pretty bad shape and since I was selling these stools I wanted a nice finish so I removed the foam as well. After removing the foam on both the stools I noticed that the base's of the stools were basically falling apart. The foam and staples had basically been holding it together. So out came the wood glue. I glued the base back together and wrapped some wire around the edge to hold it together while it dried.
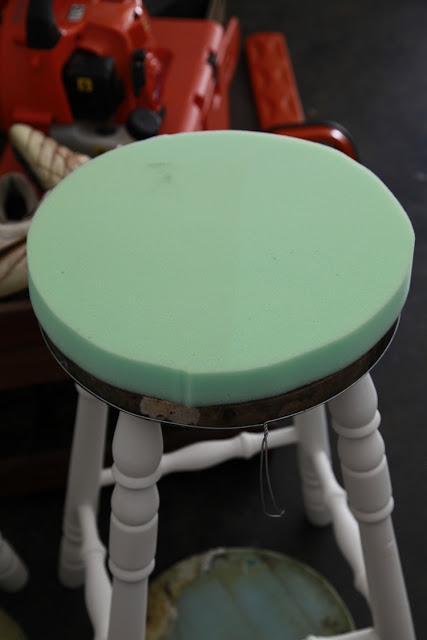
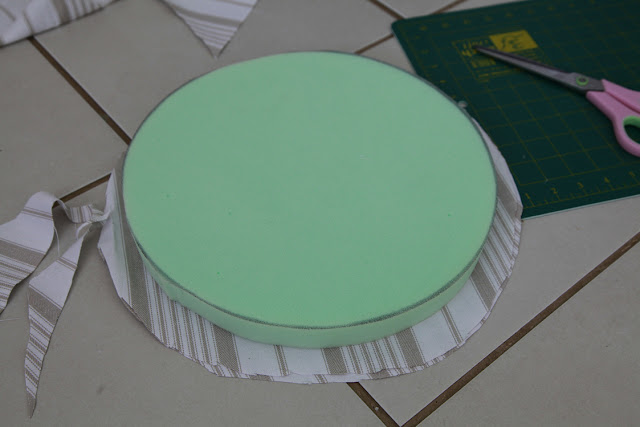
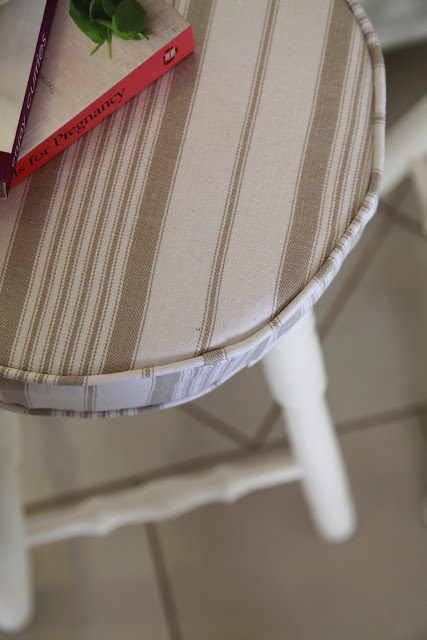
After it had dried for 24 hours it was time to put it's face on so to speak. I bought some new pieces of foam for the tops of the bar stools and got to work sewing the new fabric for the top. I wanted to create something a bit different than my usual French Country style so I decided to go with a coastal feel and go with a "Hampton" style fabric.
I found some gorgeous neutral striped fabric at spotlight which I fell in love with and knew it would work in perfectly with the theme I was going for. The next step was to cut up the pieces of fabric to re-upholster the seat. I basically copied how the original seat fabric was put together - which made things a LOT easier than trying to work it out myself. Great tip if your ever trying to reupholster something use the old material that you pulled off the piece as a template to cut out the new pieces of fabric.
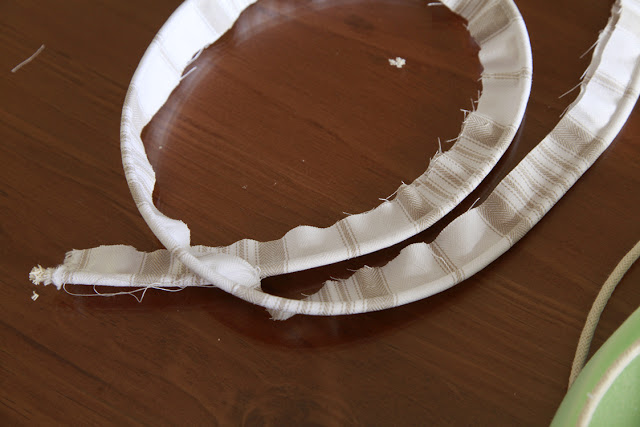
Staying true to the old seat upholstery I made up some piping to go around the top and bottom edges of the seat. This really gives a professional looking finish and it is really EASY to do.

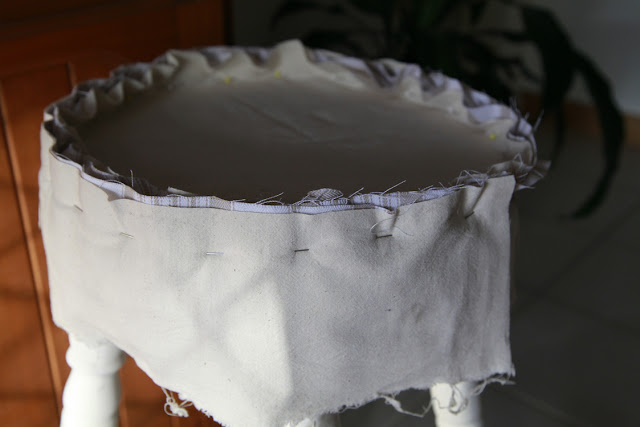
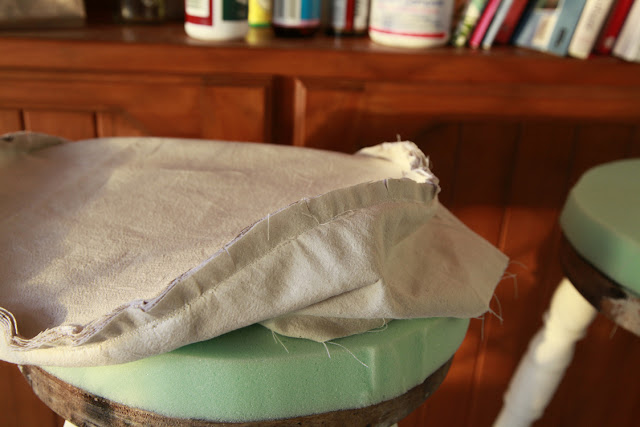
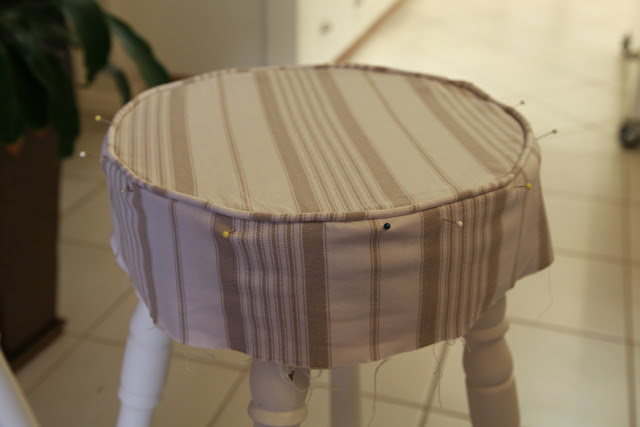
After placing the fabric onto the new foam I noticed you could see the green colour of the foam through the fabric. So I decided to line the fabric with calico to block out any colour coming through. I then pinned the piping around the top edge of the seat. Pinning straight onto the seat makes life so much easier and gives you a perfect fit at the end.
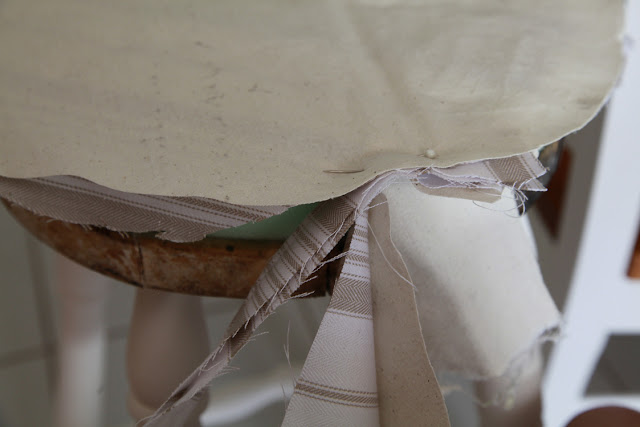
After pinning all the way around with the piping its time to get sewing. I sewed the section that I pinned and clipped and trimmed the seams all the way around the edges (seen below) this helps the seam ease around the seat and give a better finish.
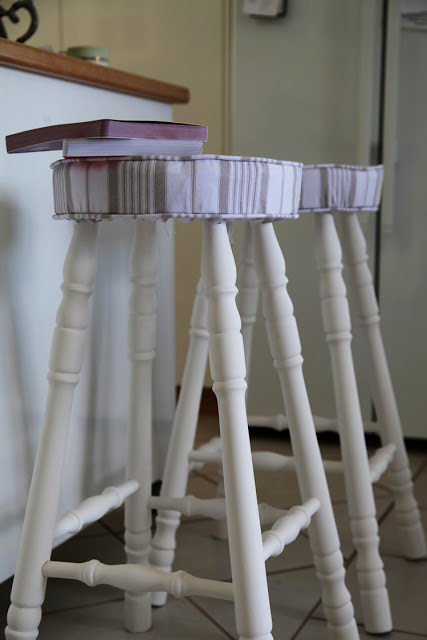
After finish both the top sections of the seat it was time to turn in back the right way out and fit the cover into place with pins. Doing this helped keep it's shape and fit when it got turned back upside down to staple the cover into place.
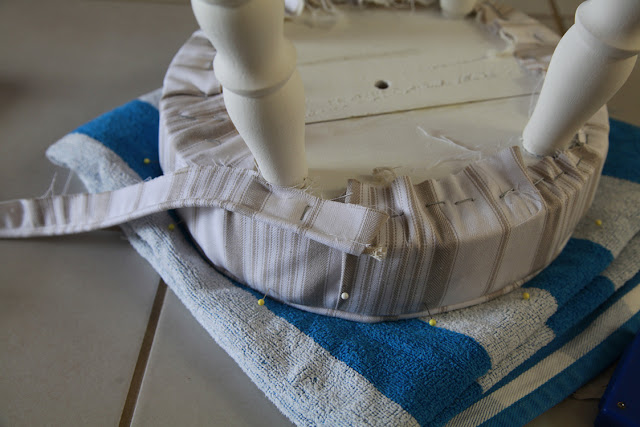
After stapling the cover into place the next layer of piping around the base of the chair was stapled into place. As you can see I needed a fair few staples to fit the cover into place and more to put the piping on. Poor person who has to re-upholster it again in 20 years time!
After trimming the pieces of cotton hanging all about underneath and making sure any excess fabric was stapled in place the big reveal was in order......


They turned out pretty well I think. There were a few little things that annoyed me in the finished product - a few loose sections of fabric here and there but that's the perfectionist in me talking now! I was able to sell this a few weeks back but I was SO tempted to keep them myself I just didn't have anyway to put them. Such a shame!

blog directory