

I thought I would share with you today how you go about creating a piece of french country furniture. For the novice painter and renovator it may seem a little daunting looking at this beat up piece of furniture and wondering how the heck to get it to something that looks reasonably good to put in your home.

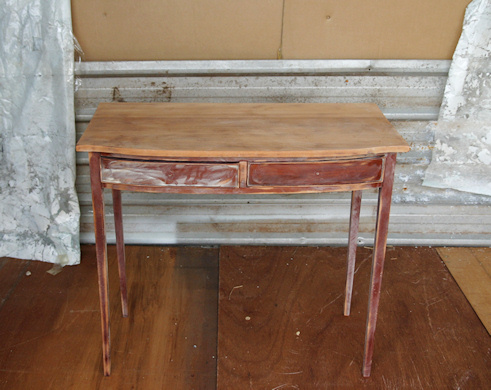
This is what I started with a sturdy but a bit of a beat up piece of furniture. It had some bad scratches and wearing on the table top and was in a dire need of some attention.
The first step to any renovation even before sanding is to decide what you want to do with your chosen piece of furniture. Things such as what colour you want to paint it, what colour stain to use if you are re-staining the top. What are you going to do with the terrible knobs/handles that are attached to the piece. These decisions need to be made before you begin so that you have a vision of what you want the piece to look like at the end plus finding out how much your idea is going to cost. Things such as undercoat, paint, stain, knobs and handles all add up and it is nice to know an approximate cost for these things before you start. You don't want to get half way through and realise what you wanted to do is going to cost too much. I know you want to get started on creating a gorgeous piece of furniture but a little patience goes a long way in the early planning stages. If this is your first time renovating a piece of furniture I suggest going basic in your design. You many have all these wonderful ideas but in reality they are either time consuming, difficult and a pain in the bum. Go simple to start off with to get your confidence and practice up.
If you have no idea of what you want to do with it then I suggest you don't start doing anything to it until you have made a decision. If you are stuck for ideas why not follow me on pinterest and check out some ideas that I have pinned for inspiration or google for some further inspiration. You can also check out the list of projects that I have completed for some other inspiration. After you have decided what you want to do with your chosen piece of furniture it is time to go and buy the materials that you will require to transform your piece of furniture into something fabulous.
Material that you will need:
Orbital Sander *or a sanding block to do it by hand*
Sandpaper - 180 grit is best to start off with.
Breathing Mask (if using orbital sander)
Undercoat - preferably a stain blocker if using it on stained wood.
Paint Colour of Choice
Chosen Wood Stain *if using*
Good Quality Paint Brush
Foam Roller
*or airless spray gun*
Clean Lint Free Rag
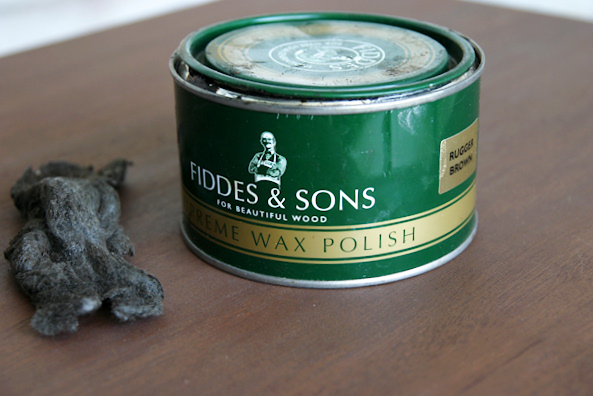
Dark Furniture Wax
The first step is to remove any knobs, handles, hinges or hardware attached to the piece. Place these in a bottle with a lid for safe keeping so that the pieces do not get lost. If you think you will forget how the hardware went onto the piece take a few photos to jog your memory to help you put it back together at the end.
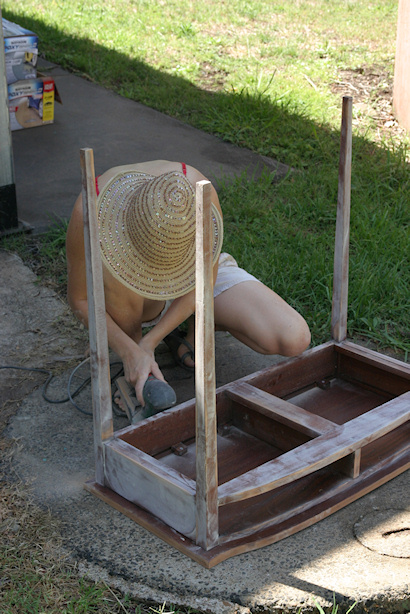
Next sand the piece of furniture to remove any glossy surfaces to allow the undercoat and top coat of paint to stick properly to the wood. Make sure you are in an open space where it will not matter if dust is created. I tend to do mine outside to allow for breathing space and to let the dust fly away in the wind. If you miss this step you could be in for disaster at the end with paint peeling or rubbing off. So do it right the first time and it will save you endless trouble in the long run. If you want to create a stained wooden top like I am for this table it is necessary to sand back the table top back to bare wood. I would suggest doing this with an electric sander because if you tried to do it by hand you would be there ALL day long. If you have layers and layers of paint to remove you can try using paint stripper to get the majority of the paint off before going onto sanding back the remaining paint.
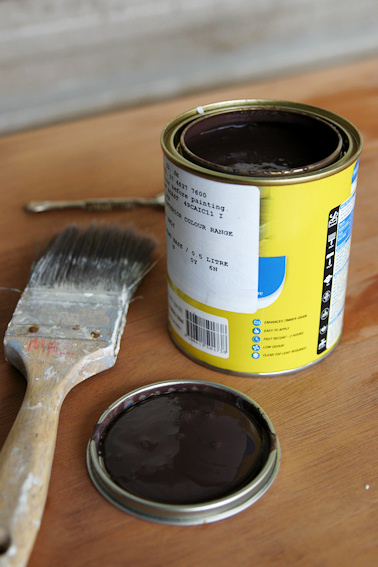
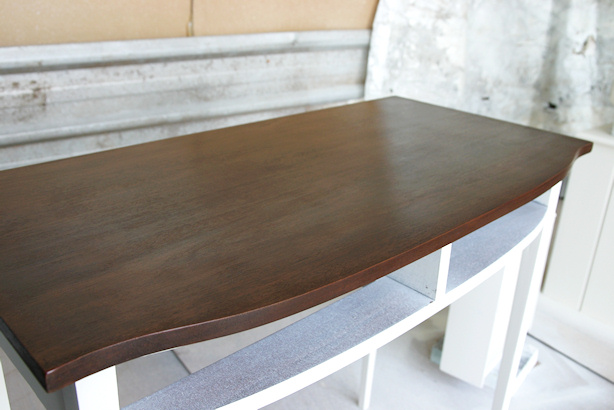
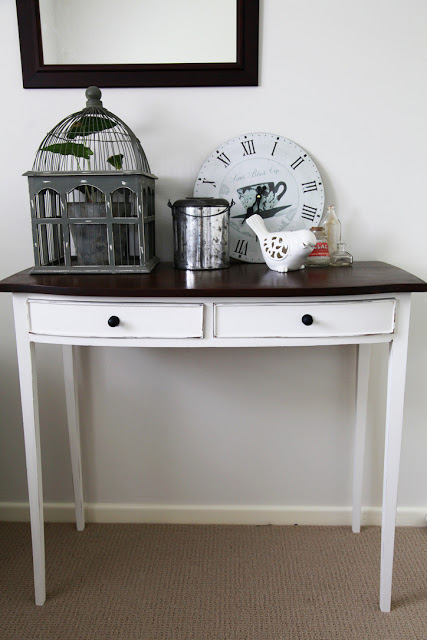
Once you have completed the sanding process give it a good dust off with a brush and wipe it over with a damp rag to remove any built up residue from sanding. If you are going for the two tone look with a stained top and a painted base I would suggest staining the top before going ahead to paint the base. This will stop the stain dripping onto a newly painted base and having you to re-paint it again to fix up these mistakes. I use Cabots Interior Waterbased Stain to stain my furniture with. I have found it easy to apply, quick drying and I love the colour range that they have. You can buy pre-tinted colours in this range or buy a tint base and get it tinted to you specified colour. I chose a lovely chocolate stain for this table as I wanted something rich and lustrous to contrast with the light white base of the table. I recommend reading the instructions on the back of the tin before going any further with applying the stain.
The first step in apply the stain is to make sure the table is thoroughly clean and free of any dirt or dust. I then wipe the top over with a soaking wet rag so that the table top is slightly damp. By doing this it will stop the stain from soaking in too much allowing you control over how dark the stain will be. If the table top was dry it will soak it up very quickly leaving you with a stronger colour than you may of originally wanted.
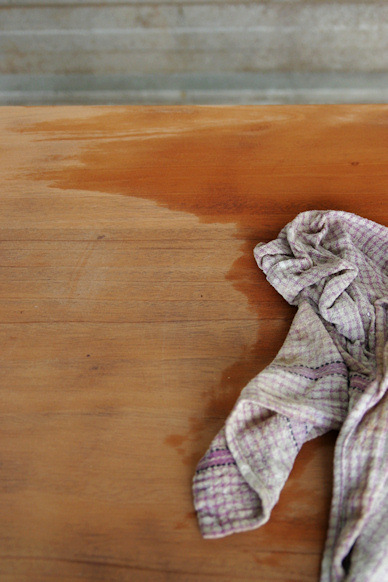
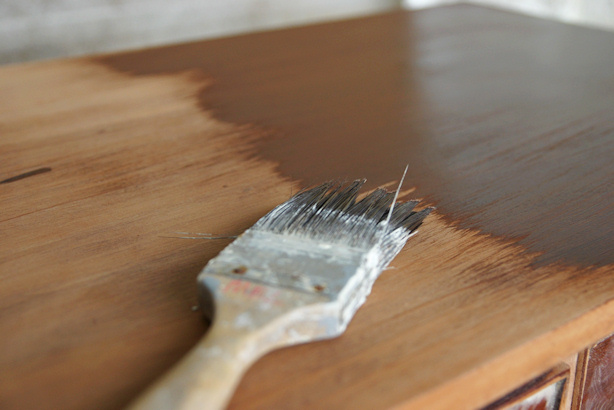
Using a good quality paint brush, brush the stain onto the top in the direction of the wood grain. Working quickly use long firm strokes applying the stain evenly along the top in sections. It is important that you work quickly when doing this otherwise it will not look good when you have applied stain to areas that have already dried. It is better to apply a lighter coat on your first round and applying a second one later to build up the colour rather than a thick coat to start off with and find out that you are unhappy with how dark it has turned out.
Let the stain dry for the allotted amount of time that the tin says. I think it is something like 5 minutes but I cannot remember. The longer you leave the stain on the darker it will be. Get your clean lint free cloth ready to wipe back the stain and reveal your lovely stained wooden top.
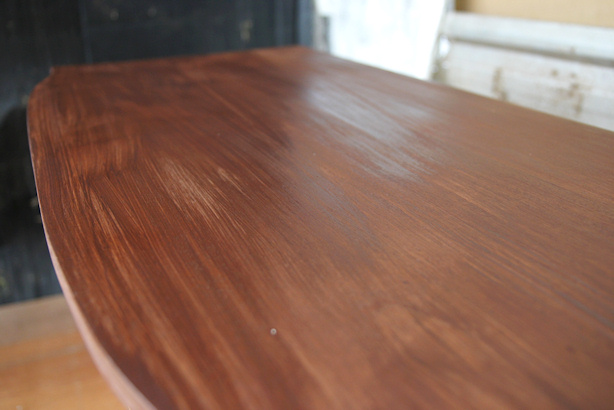
Wipe the stain off in the direction of the grain of wood as this allows for a nice finish and won't leave any wipe marks. The first coat of stain may sometimes look a little bit patch but don't stress as after applying a second coat it will meld together nicely. Leave the first coat to dry for an hour or two before applying a second coat in the same way as the first leaving out wiping it over with the water soaked rag as this is no longer necessary.
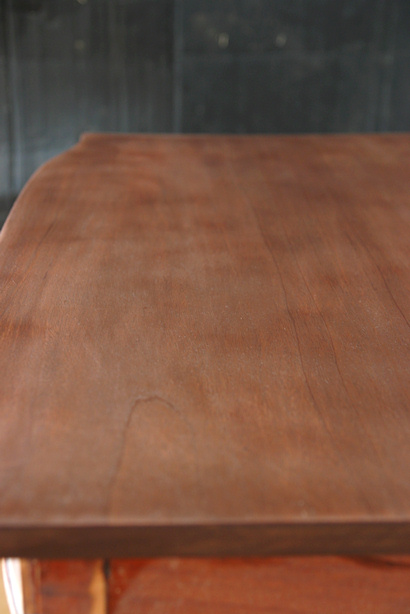
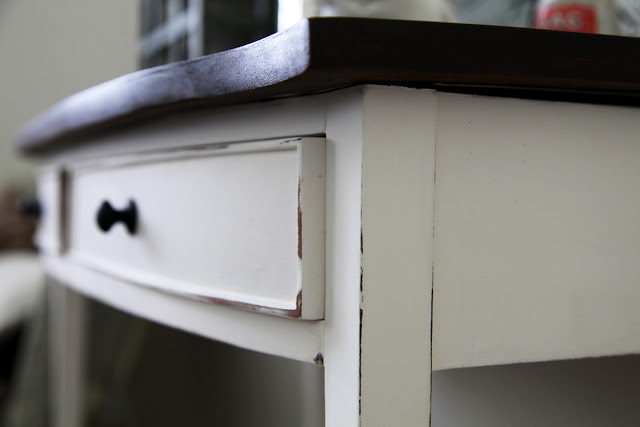
Once you are happy with the colour of the stained top let it dry for a day before covering and taping up with newspaper ready to paint the base. By doing this you are protecting the stained top from any accidental paint splatters that may occur during the painting process. Once the top is all snugly wrapper up it is time to get painting the base of the table. I paint a coat or two of the Smart Prime stain blocker undercoat to stop anything leeching through to the top coat. Once this has dried I apply two coats of my chosen top coat leaving any hour or so in between each coat. Once you are happy with the finished paint colour give it a little sand here and there to rough up the piece if you are going for the rustic look. Places to sand would be along the edges and bottom of the legs, around the edge of drawers and along the sides of the table. Once you are happy with that remove the newspaper to finish off the table top.
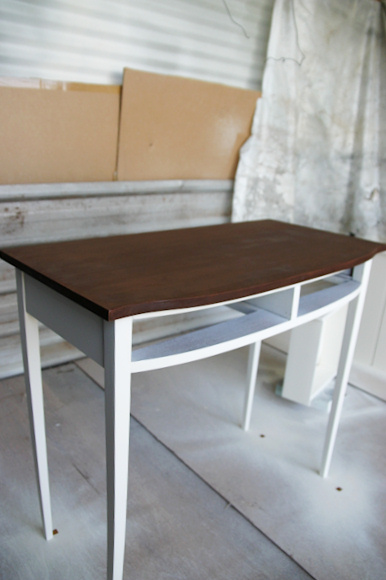
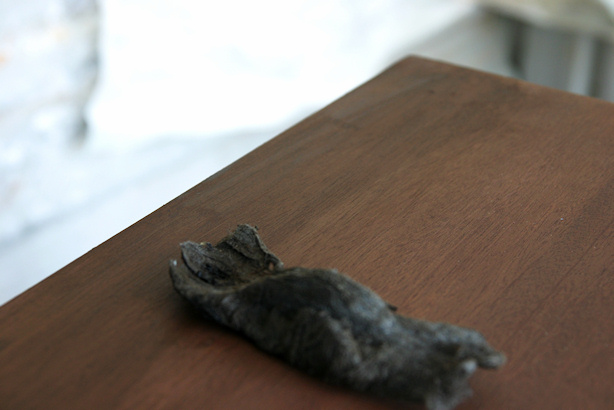
To finish the table top off I then use a furniture wax to give it a lovely shiny, lustrous finish. To apply the wax simply use a lint free cloth or specialty fine steel wool wiping the wax in the direction of the wood grain. Leave the wax for 2-5 minutes to slightly dry and then with a clean lint free rag buff the wax in the direction of the wood grain for a shiny finish.
The last
thing to complete the look of the table is to either add back on the old
knobs/handles or replace them with new ones. I opted to paint my existing golds knobs
in a matte black using Rust-Oleum Universal spray paint. This saved me money in buying new knobs and finished off the look nicely.
I hope this little tutorial gives you a little confidence to step out and get that furniture project done that has been lurking in the wings for sometime. If you have any questions don't hesitate to contact me or for more immediate answers pop over to my facebook page and post a question on my wall. Don't expect perfection on your first project as it does take time to master the process, however be proud of your efforts and the fact you repurposed an old piece of furniture into something fabulous!
