

I caused a bit of a commotion on Facebook when I posted a picture of this Tirimisu Layer Cake but held back posting the recipe until I made you all work for it by getting 50 likes on the photo. Hey sometimes you gotta work for the good stuff! I even nearly sent one poor pregnant lady into a near catatonic state. (Sorry Skye) I learnt a lesson, never dangle the possibilities of cake in front of a pregnant lady and not give it to her.
The idea of this cake all started with coffee. Don't all good things start with coffee? Like the beginning of a day and you drag yourself out of bed with bedraggled hair and bags under your eyes. Coffee is the answer to your problems at that very moment! Or are you one of those people who spring happily out of bed with a song in your mouth and a smile on your face ready to face the day. I may just hate you if you are! No just joking. It would be nice to feel like that sometimes but us mum's know coffee (and cake - especially Tirimisu Cake) make the world keep turning.
I was given the opportunity to review the new Nespresso Pixie Aeroccino3 capsule machine. The people at Breville have sat down and put pen to paper to redesign the capsule coffee machine into a sleek, compact and aesthetically pleasing to the eye model. We appreciate statement kitchen appliances in our Kitchen space. To add dimension and personality to our kitchen decor and make it our own. The new Pixie design has incorporated minimalist and industrial lines to snugly fit on our benches. It is smaller than previous models of the machine now allowing it to have it's own area in the kitchen without taking up a lot of room. These capsule machines have revolutionized a cup of coffee in the home. No more instant coffee and no more grinding, percolating, and frothing. This model even remembers your preferred cup size and your can have the option of hot or cold milk frothing. Great to make iced coffee!
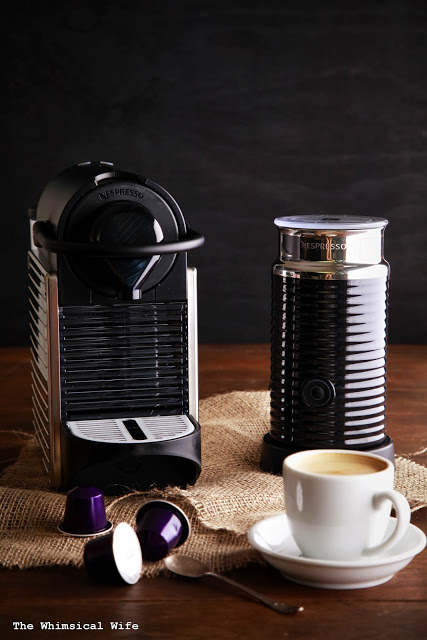 |
| Nespresso Pixie Aeroccino3 RRP$349 |
My family have the older models of the Nespresso machines in their homes. So I am not new to how these machine works. This Pixie model has a similar design to these machines with the added difference of the more compact size and the lifting of the front lever up to open up the capsule hole. This took me a few minutes to work out how to do. If I read the instructions first that would of helped. The quality and taste of the coffee is second to none and the option of making your own cappuccino at home is hard to stop at one or two cups. I find it also helpful that I can use my own Almond milk with these machines which caters for my intolerance and allows me to treat myself. With the technology of cafe quality coffee available now who wouldn't want to have coffee and cake at home!
If you are sick of your instant coffee why not think about investing in one of these new Pixie Aeroccino3 machines for Christmas!?
Let's talk cake! After trialing the coffee machine I knew I wanted to make a show stopping coffee based dessert. With Christmas on our doorstep I wanted to make something that could be used as a celebratory dessert but one that would cater to a range of allergies. People with food allergies want to eat dessert too so after sitting down and mulling over the idea for a few days I came up with a gluten, dairy and refined sugar free version of Tirimisu in a cake version. I have never tried Tirimisu and missed the opportunity to indulge in it before I was diagnosed with lactose intolerance. After looking at the basics of what makes up a Tirimisu and making the sponge cake base THREE times to get it right I think I have perfected the recipe. I hope!
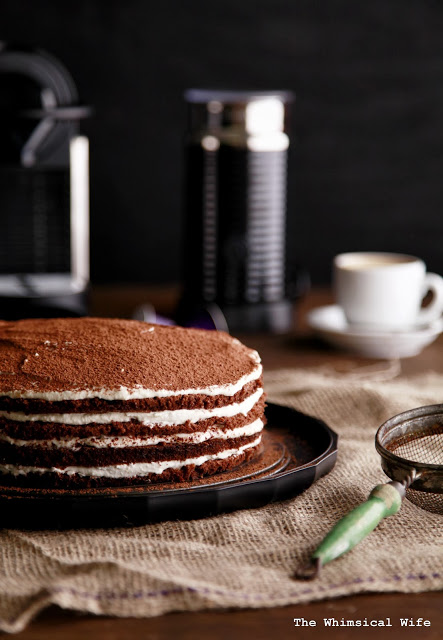
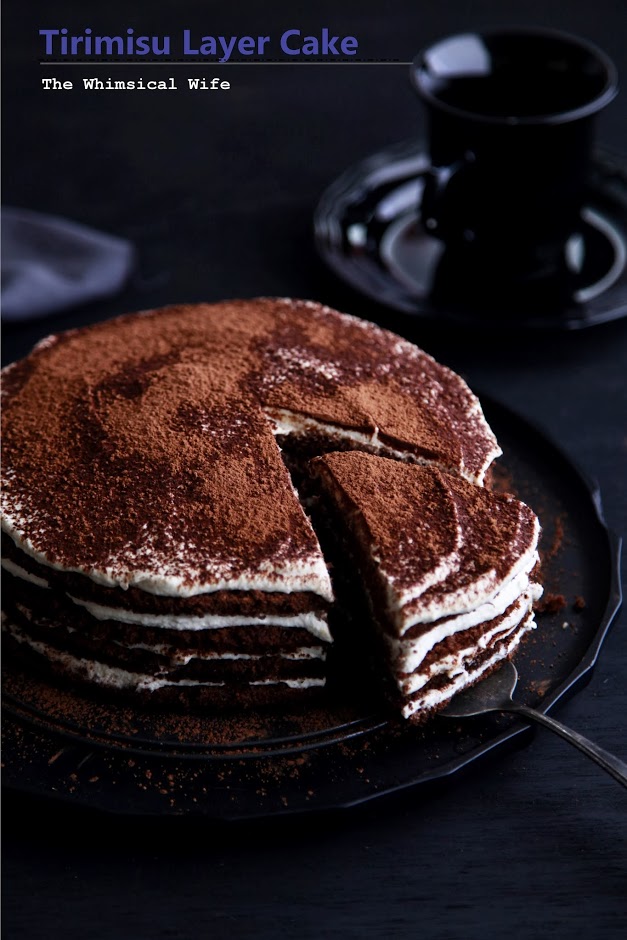
So what makes up this cake and how is is allergy friendly. Well I am glad you asked! To start off with we have layers of coffee soaked chocolate sponge cake (gluten free). Sandwiched between these layers is rum infused coconut and cashew cream all topped off with a good sprinkling of cocoa. Hubby had a piece last night and was pleasantly surprised at how good it tasted for a allergy friendly dessert! I demolished a piece this morning and have to say it was pretty damn good. If I don't say so myself. Make it for yourself this silly season and see how good it is!

Tirimisu Layer Cake

by
Prep Time: 24 hours (soaking & chilling)
Cook Time: 20 minutes
Keywords: bake dessert dairy free gluten-free sugar-free chocolate Chinese New Year Christmas Thanksgiving birthday Easter cake fall spring summer winter
Ingredients (Serves 8-10)
- 6 eggs, separated
- 20x 2g satchets Natvia (or 1/3 cup coconut sugar)
- 3/4 cup gluten free self raising flour
- 1 teaspoon gluten free baking powder
- 1/4 cup cocoa
- 1 x 400g tin coconut cream (I use the pandaroo brand)
- 1 capful of rum
- 1 tsp vanilla extract
- 1 1/2 cups raw cashews
- 2 medium lemons - zest of 1, juice of 2
- 1/4 cup rice malt syrup, warmed until runny
- 200ml espresso coffee
- 2 x 2g satchets natvia
- cocoa for sprinkling
Instructions:
*24 hours before you want to make the cake make sure you place the tin coconut cream in the fridge.
*The night before you want to make the cake place the cashews in a bowl and cover completely with water and place in the fridge to soak.
Chocolate Sponge Cake
Preheat the oven to 175 degrees (fanbake) and grease and line 2 x 23cm sponge cake tins.
In the electric mixer bowl place the egg whites and beat for 5 minutes until stiff peaks form. Slowly add in the natvia and beat for a further 2-3 minutes until the natvia is dissolved. On a low speed add in the egg yolks and beat to combine. Remove the bowl from the mixer and sift in the flour, cocoa and baking powder.
With a spatula slowly fold in the dry ingredients trying to keep as much air as possibile in the egg mixture.
Divide the mixture evenly between the two tins and place into the oven. Bake for 12-15 minutes or until a skewer comes our clean. Remove and let them cool for 5 minutes before turning out onto a cooling rack to cool completely.
Place the cake in the freezer for an hour before assembly - this will help to cut it in half. Remove and cut evenly in half.
Coconut Cream
Remove the coconut cream from the fridge and open the tin. The cream should have separated from the liquid and should be firm. Carefully scoop out the white waxy cream and place into a mixing bowl. Throw away the remaining clear liquid that is left in the tin. Add the run and vanilla essence and beat for 2 minutes until smooth.
+Cashew "Mascapone" Cheese"
Drain the cashews in a sieve of all the water. Place into a food processor along with the lemon juice, zest and rice malt syrup. Blend for 4-5 minutes until smooth and creamy. If it is a bit firm add a tablespoon of water to loosen a little.
Assembly
Mix the espresso coffee and natvia together.
In a large bowl mix together the coconut cream and cashew "mascapone" cheese until well combined.
Place one of the four sections of cake onto a cake stand or serving platter. Drizzle over 50mls of the coffee. Spread about a 1/2 cup of the cream mixture onto the top of the cake and spread around evenly. Leave a 1/2 cm border around the edge as this will fill in when the next layer of is place on top. Add a sprinkling of cocoa on top of the cream mixture before placing the next layer of cake on top. Repeat this process with each remaining layer of cake.
Finish off with the rest of the cream mixture and a good sprinkling of cocoa. Place in the fridge for a minimum of 2 hours to cool completely and to let the flavours marinate together.
Serve straight from the fridge.
Cooks Notes
This cake can be made a day or two in advance. It will only taste better the longer you leave it. Store in a air tight container if making in advance!
Cooks Notes
This cake can be made a day or two in advance. It will only taste better the longer you leave it. Store in a air tight container if making in advance!
Powered by Recipage
This cake would be perfect to serve alongside a nice frothy cappuccino or long black. Whatever takes your fancy!


{Disclosure: I was given a Nespresso Pixie Aeroccino machine to review. I was not paid to write this post and all opinions are my own}


Food & Drink blogs