

I want to introduce a old school friend of mine who I got back in touch with through facebook and her blog www.pregnancybabychild.com. Her name is Melissa and she kindly offered to write about her son's 1st Birthday dessert table that she did and boy oh boy are you in for a treat! It's truly amazing!
Family and friends (and readers I’m sure) are elated to hear the wonderful news of a whimsical baby in the making. However the unfortunate side effects of pregnancy are interrupting the blogging from our favourite housewife! She’s asked me to guest blog and after reading one of her recent posts about her upcoming dessert table, I thought what a perfect topic to discuss.
A few months ago I had the opportunity to put together my
very first dessert table for my son’s first birthday party. Like Melissa, I have
an interior design & art background so this was right up my alley!!
The party was a Teddy Bear’s Picnic theme, which meant
rather than a colour orientated dessert table, I focused on bear related food
and decorations. I still had a colour theme which comprised of red, teal blue,
brown and white. Blue and red gingham fabric also played a massive role in everything
I created for the party.
I found the hardest part about planning this party and
putting together a spectacular dessert table like we see online and in
magazines was cash flow! As usual this meant that I had to do what I always do
to keep costs down – DIY! Other ways I tried to keep the party within a
reasonable budget was by using props I already had in my home such as a picnic
basket to hold all the cutlery and wicker baskets teamed with floral foam
covered by shredded paper for cake pop displays. Not to mention all my existing
art and craft supplies I’ve managed to horde and gather over the years!!
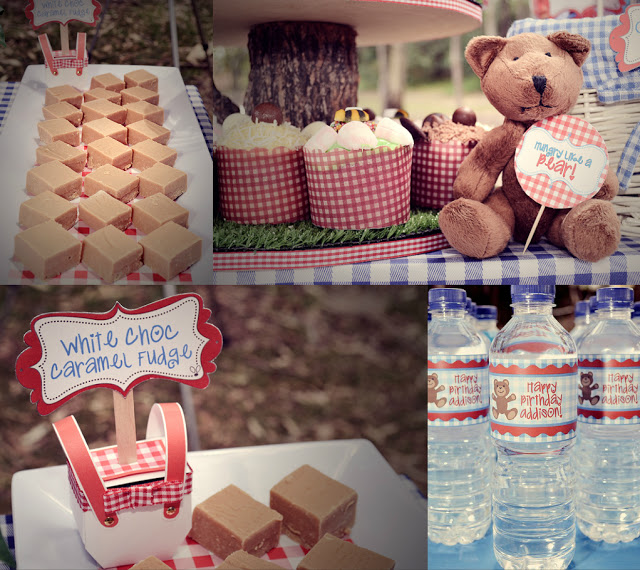
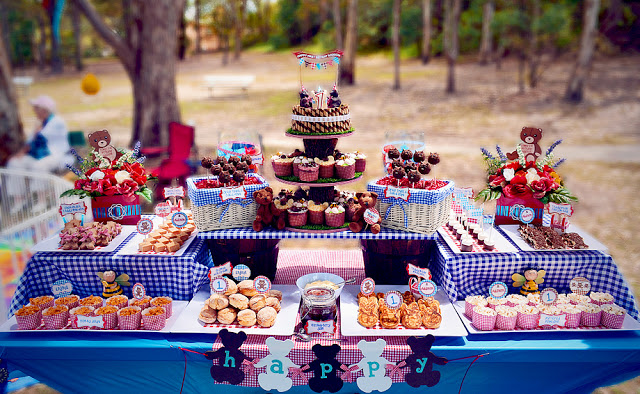
Keeping it simple is often better therefore the majority of the food was arranged on square and rectangle white melamine plates (the party was held in a park so melamine was the safer option, if we were at home then I wouldn’t hesitate to pull out the fine china instead). The middle of each plate I actually used gingham pattern wrapping paper to add a splash of colour – cheap and easy! It also made clean up really simple too.
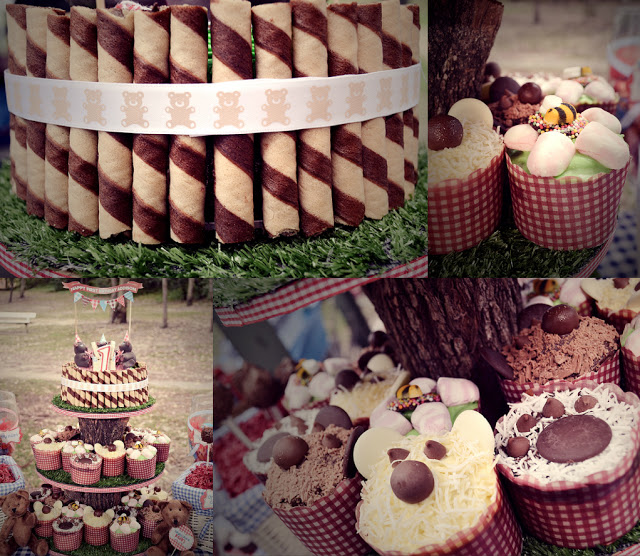
Like most dessert tables, the feature was of course the
birthday cake/cupcake display. What made this simple yet stunning centre piece
was the DIY cake stand. Three MDF rings decorated with faux grass from
Bunnings, red gingham ribbon, tree branches cut to suit and Bob’s your uncle, a
totally unique cake/cupcake stand!!
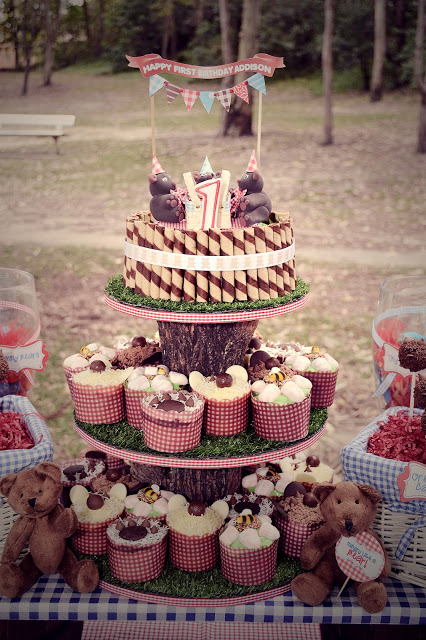
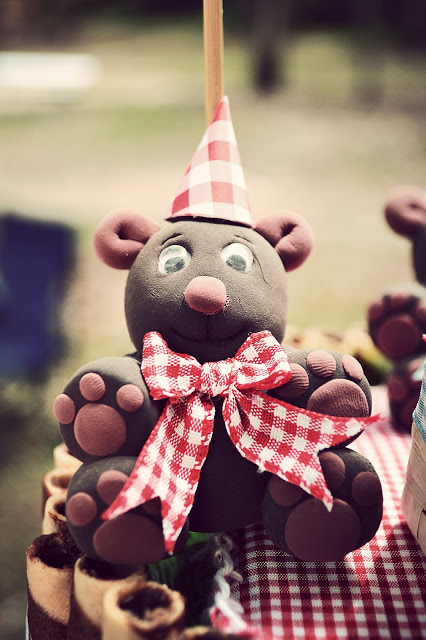
Each different flavour cupcake was decorated in a variety of ways including white and brown teddy bears, flowers with sugar bumble bees and bear paw prints, all baked in red gingham patty papers. The actual birthday cake was also simpler to create than it looks. All the decorations were made in advance to make life easy on the party day. The bears were not made from icing like one would expect but air drying modelling clay (this means they are also a great keepsake and reminder of my son’s first birthday)! A mini paper bunting was made for the cake to match the party decorations, along with a mini picnic rug and raffia paper picnic basket (hand woven) for the bears.
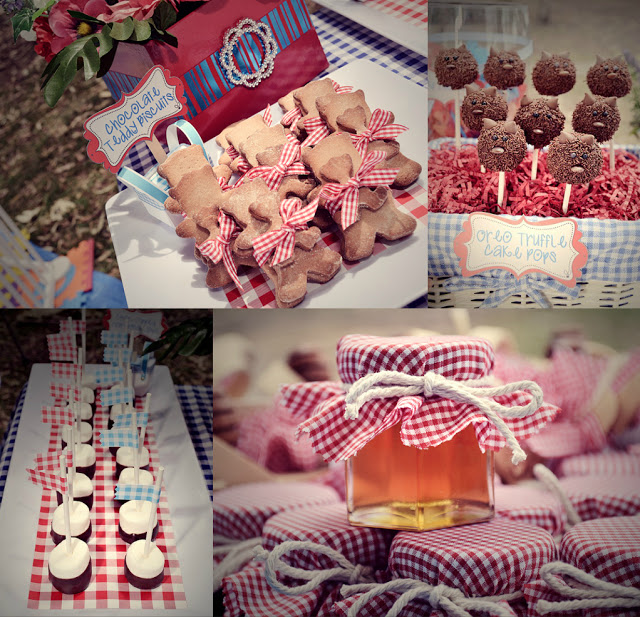
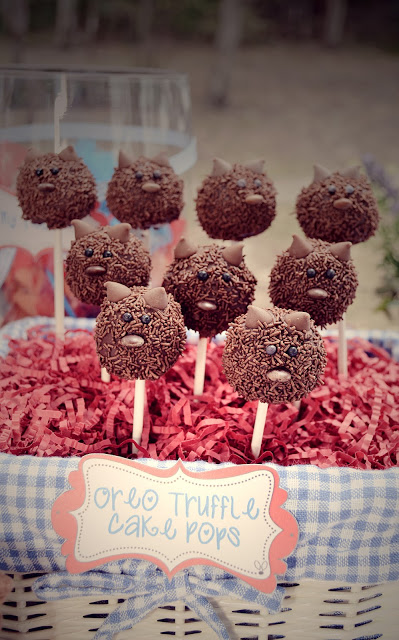
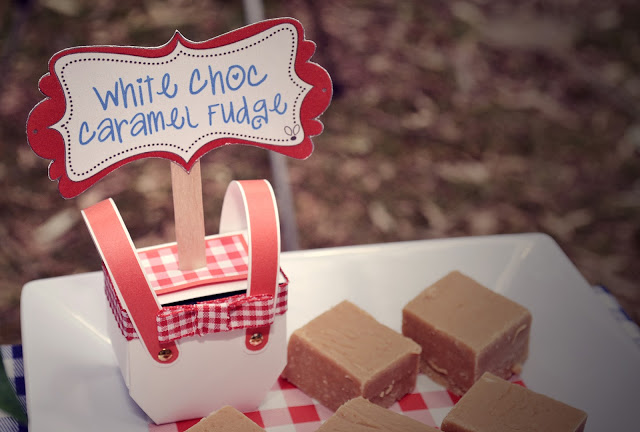
Food glorious food!! All of the food was home made in the three days before the party. The dessert table was filled with scrumptious titbits that fitted with the teddy bear picnic theme or were just too good to not include. These comprised of chocolate dipped marshmallows, white chocolate caramel fudge (I’ll be sure to pass this recipe onto the Whimsical Wife to share with you all), Oreo truffle teddy bear cake pops (my top tip for cake pops is to add some copha to the chocolate melts to get the best consistency for dipping the pops and do not try to make these on a hot day!!! Oh the stress they caused me!), buttered popcorn, teddy bear fairy bread, chocolate teddy biscuits (wrapped in ribbons in families of three to make them that extra bit pretty), teddy bear pikelets, scones (a picnic favourite) with homemade strawberry jam & cream, honey joys (a teddy bear’s favourite) and of course what teddy bear party would be complete without gummy bears and tiny teddies (I wrapped these in circles of blue and red tulle finished with a matching ribbon so guests could grab a bundle instead of going backward and forward to the table).
After looking at pages and pages of dessert tables I
discovered the secret to displaying the perfect table (apart from fantastic
table props and colour schemes) was symmetry. Like everything in design,
symmetry is truly effective in creating a space that is pleasing to the eye. I
created symmetry not just in the layout of the plates but with the food itself,
for example by using the same teddy shaped food. What also helped to create an
appealing table was the use of different levels. I achieved this by using
simple MDF platforms decorated with gingham fabric and timber planters.
Oversized wine glasses also helped to display the food at a variety of heights.
Some other bits and pieces tied the entire look together. Food
labels on paddle pop sticks let guests know what was available. These were
displayed in mini picnic baskets that once again I made in the party colour
theme (I also weighed them down with pebbles inside the baskets since it was an
outdoor party). It’s all the little things that really make the dessert table
something special. I made little signs on toothpicks to put in the food and
throughout the display with my son’s name, the number 1, teddy bears, hungry
like a bear and enjoy! Keeping in mind that everything needed to be prepared
well in advance, I arranged faux flower boxes in the party colours finished off
with “Happy Birthday” teddy bear cards. Little teddy bears and ceramic bees
were also used to decorate the table in the teddy bear picnic theme.

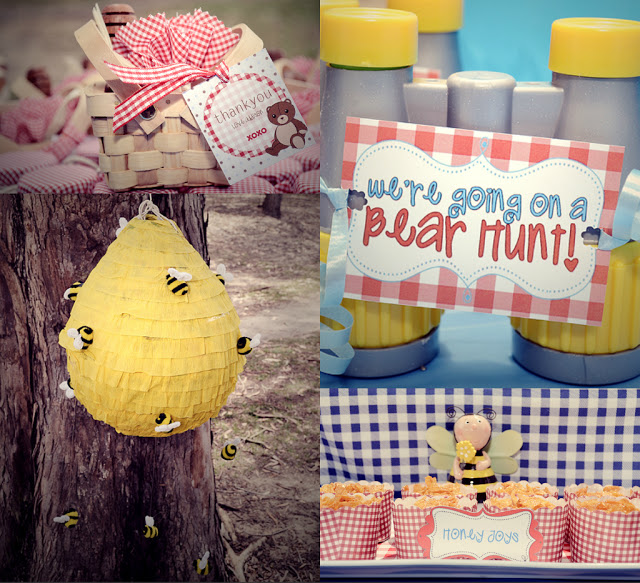
In addition to the dessert table I set up an another table
at the party for all the extras such as the birthday water bottles, the picnic
basket with cutlery and plates, party favours for guests…I could go on and on
about all the finer details, but I would be writing for a very long time and
you would probably get sick of me ranting…after all this party did take months
of planning and preparation!! I guess my best piece of
advice for anyone that is attempting to put on a party like this without the
help of a professional party planner would be to take your time with it and be
super organised. It is only over-whelming if you try to do it all at once! Plus
on the day make sure you have friends or family to help set up as time just
flies by and before you know it guests are arriving to enjoy all your hard
work.
Wow what an amazing dessert table. Thank you melissa for sharing your hard work with us. You did an amazing job. Melissa has also kindly given you my readers her delicious White Choc Caramel Fudge Recipe that she made as part of her dessert table. Yummo!
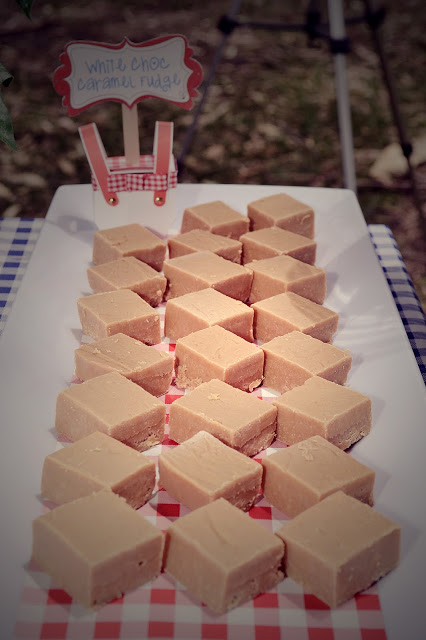
White Chocolate Caramel
Fudge
Ingredients:
1 can condensed milk
1 cup brown sugar
100g butter
200g white chocolate melts
Method:
1. In a large glass mixing bowl (or tupperware jug) heat
condensed milk in microwave for 1 minute on high
2. Add in brown sugar. Microwave for another minute
3. Add in butter (cubed). Microwave for another minute
4. Stir well. Microwave for a further 3-4 minutes on
medium
5. Bubbles should form and colour turns brown
6. Take out of microwave. Mix in melted white chocolate
7. Pour into a tin lined with baking paper (or silicon
mould) approx. 22 cms square
8. Refrigerate, cut into pieces while it is still
slightly soft. Leave to set fully in the fridge and enjoy!!
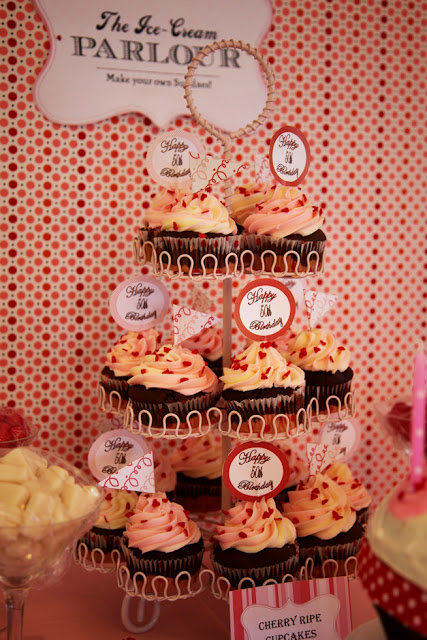
If you can hold out until next tuesday I will show off the Dessert table I did recently for my mum's 50th birthday.... here's a sneak peak below!

blog directory