

Well i really am a bit stunned at the moment and trying to get my thoughts together from the devastation that Toowoomba (where i live) has had due to the flash floods which hit it yesterday. Lives lost, buildings and business's damaged and just plain choas left in the wake of the "inland tsnami" as the news is calling it! Crazy. My thoughts and prayers are with those who have lost loved ones, who have loved ones missing or have been affected by the flood in anyway!
On the good news front... Diaries Of A Whimsical Wife was spotlighted by a great blog called Domestically Speaking. It is chocca block full of great ideas, projects and inspirations. Be sure to check it out! Thank you Maryann for choosing to spotlight my kitchen renovations. I appreciated it immensley.
Check out the posting here.
 |
| Project 2 : Using these bargain sash windows. |
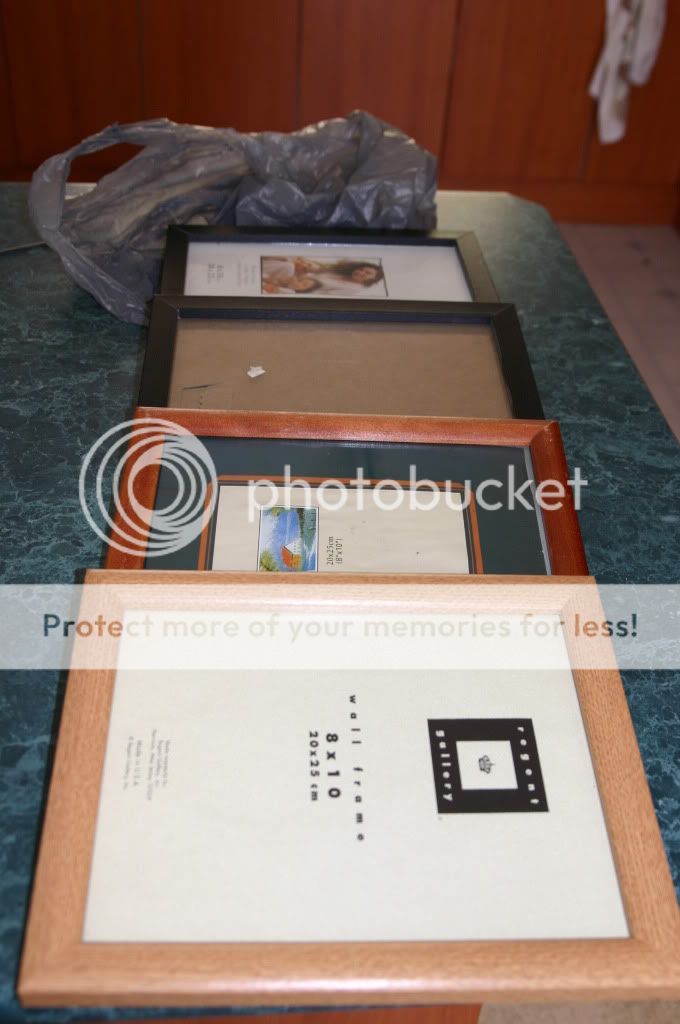 |
| And these photo frames ($2.00 the lot) |
Onto my next project I did using one of the sash windows that i got for a bargain price of three for $2.00 and a bunch of photo frames which I scored at a garage sale! The sash window that I used had clear glass and no framing through the middle which i thought would make a perfect picture frame. After a bit of clean up work on the frame removing gunk, old built up paint and rust I covered the glass in newspaper and taped the edges ready for a paint. I started with a quick undercoat and then straight onto the top coast which was an enamel white. I used spray cans for this as it is less fuss and mess! I did the same thing for the smaller frames using wire to hang them up as i sprayed them which reduced runs in the paint work.
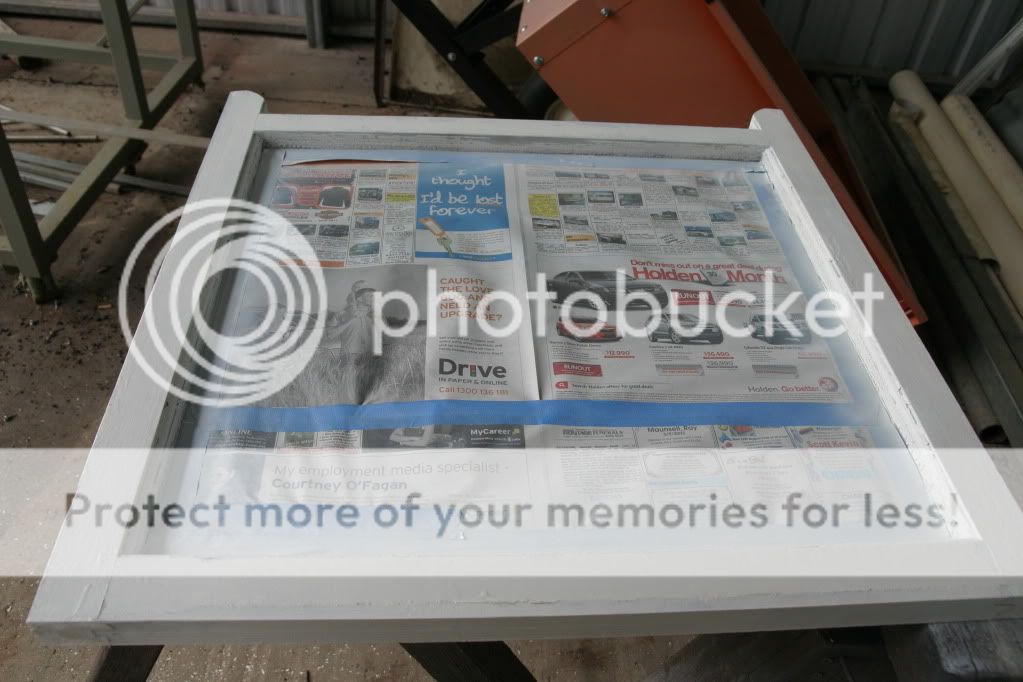 |
| All ready for the final coat. |
If you are using enamel based paint it is important to leave whatever you have painted dry for a few days as the paint drys quite slowly. Note i found this out after painting these frames and getting impatient and moving them which resulted in bumps and scrapes.
My plan for these frames is to use them to house some gorgeous pencil drawn prints we bought back from Paris when we visited there back in 2008 (Yes it has taken me that long to decide what to do with them) Read about our Paris visit here.
My talented husband cut out some matte board frames for the prints using a matte board cutter and some grey matte board that i picked up from a local art shop.
 |
| Finished product before hanging |
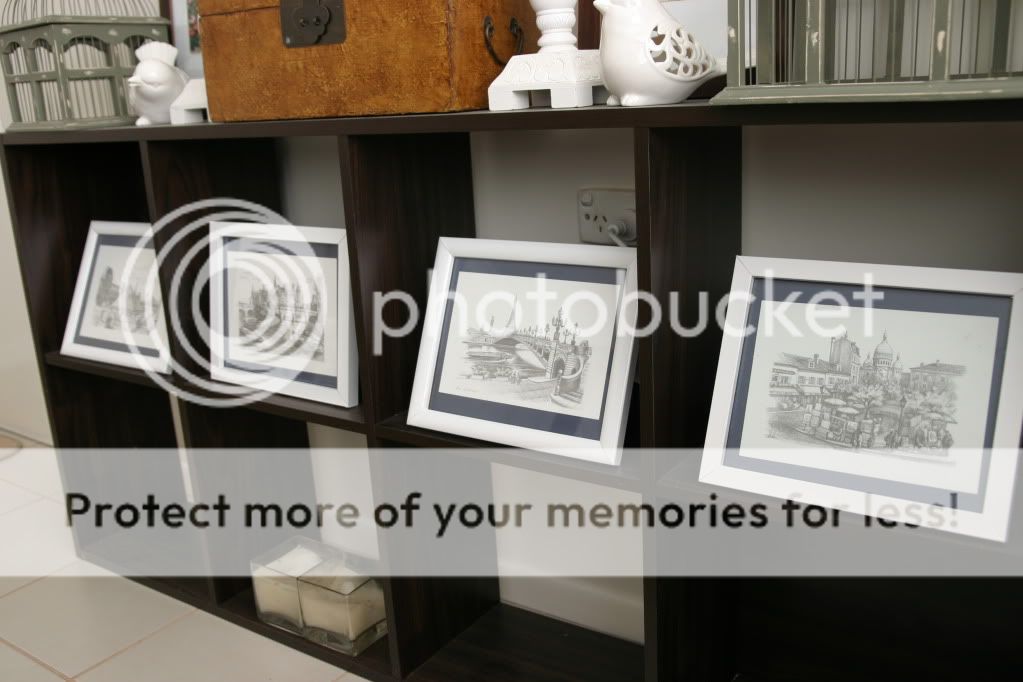 |
| Finished Product Before hanging |
I had finished this project about 3 months ago but we got busy with other things around the house and never found time to hang them. So these past holidays i jumped at our free time and got my dear husband to hang them for me.
 |
| Finished Sash window Project No: 2 |


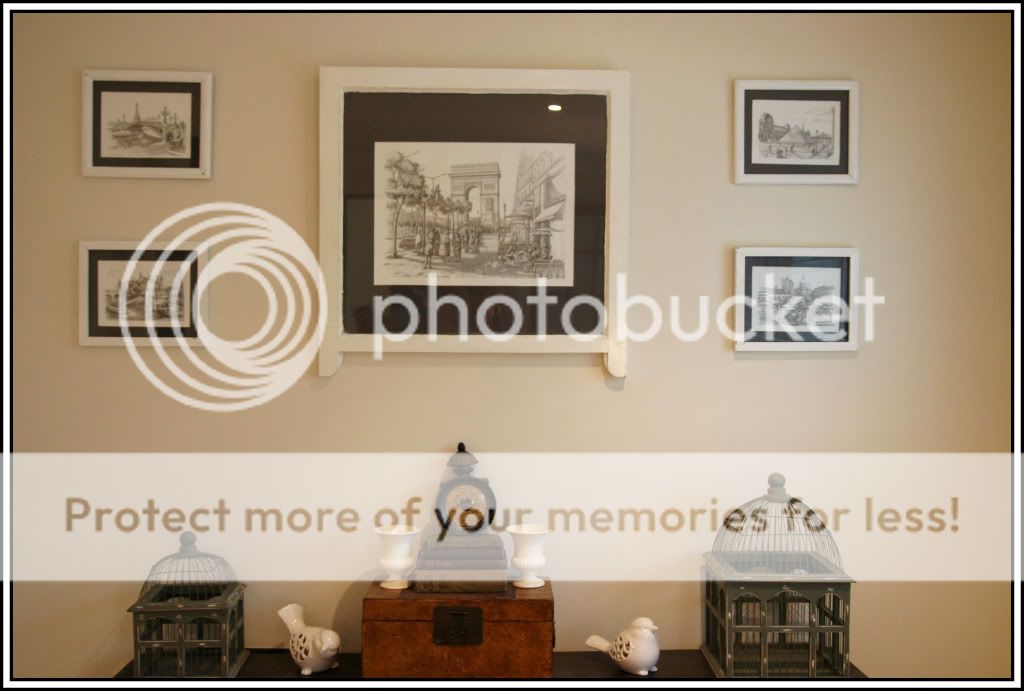 |
| Finally finished and hung! |
