I had some time recently to finish off some projects that had been sitting sadly in the corner of our shed. My fingers were itching to get them finished because I hate having unfinished projects lounging around the place. This French Country Menu board was on my to-do list for a while, and I was excited to be able to get finally the ball rolling and create my very own menu board.
I planned for the Menu board to adorn the wall in my newly renovated kitchen. You can see my kitchen inspiration here and my finished kitchen here. After I had a plan in mind for what I wanted, I started getting my tools together for my menu board. We initially picked up the old sash windows from our local dump shop - 3 for $5 - bargain huh? While others might look at these windows with a crinkled nose, I was delighted in the rustic appeal!
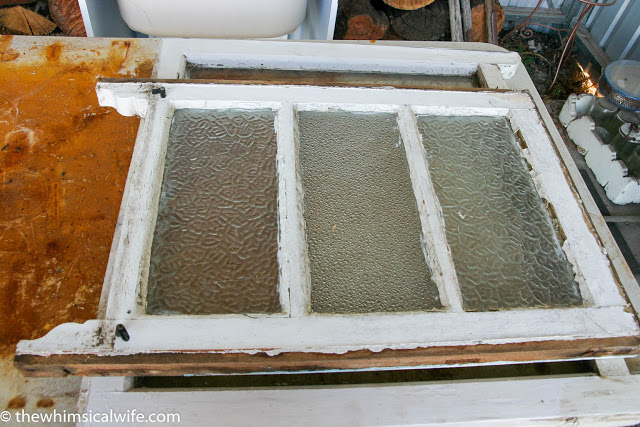
I chose the window that would work the best for creating the menu board. One without any section pieces and that the glass would be able easily to be removed. The first step for the window was to remove the glass, and I did this ever so easily - one big smash. WAIT - before you go willy-nilly breaking your glass window there are a few steps you need to take.
1. Tape add some strips of masking tape to the glass to stop it shattering everywhere.
2. Place the window over some laid out newspaper to catch the glass pieces.
3. Wear safety glasses and thick leather gloves when breaking and removing the glass.
4. Dispose of the broken glass safely and mindfully.
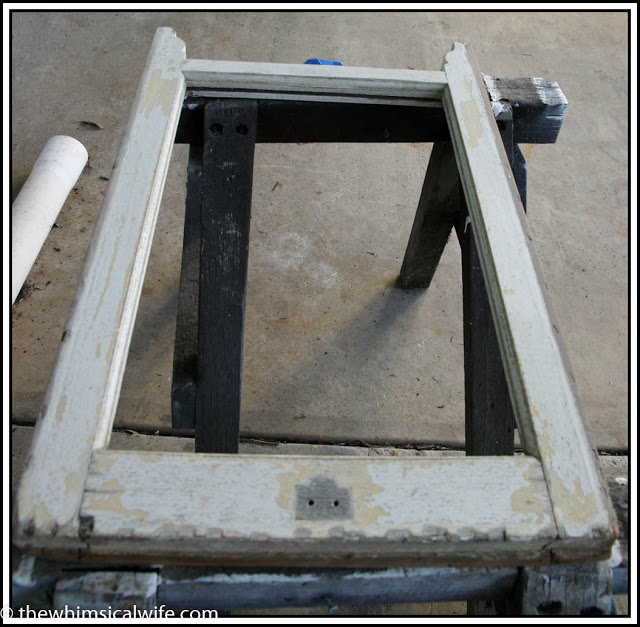
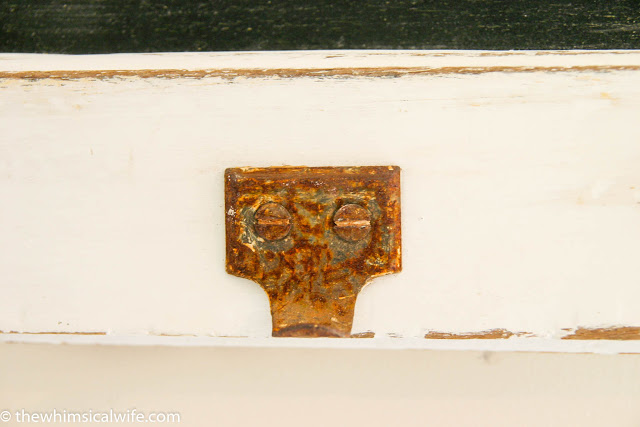
After the glass was carefully removed, I then went about cleaning off all the built up gunk around the frame. I gave it a good sand and removed any hardware that was attached to be replaced later. When removing hardware from any piece you are doing up to be put back on late make sure you place them in a jar or container. This will help keep all the pieces together without the drama of trying to find them later on.
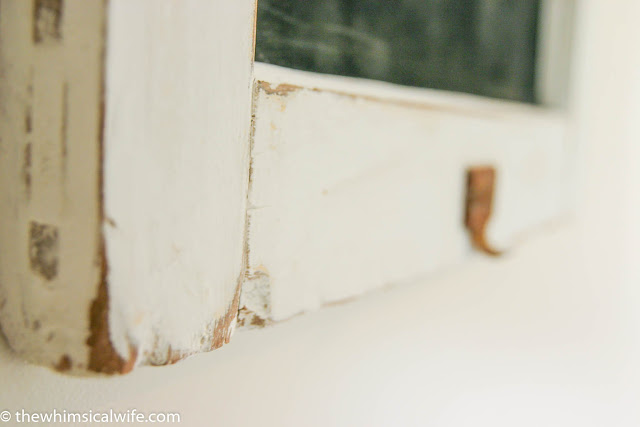
Once the window frame was prepped and sanded, I gave it a couple of coats of white acrylic paint and let it dry thoroughly before roughing it up a little with some sand paper to give it a rustic effect. When trying to make something look worn and rustic concentrate on the edges and corners of the piece and highlight any rough or dented areas by sanding it.
The next step was to cut-to-size and paint a piece of 4mm MDF board to fit into the space the glass filled. I painted the MDF with 2-3 coats of a chalkboard spray paint and let this dry before running a bead of wood glue around the edge of the board. I pressed it into the frame and held it with a clamp until the glue was dried. For extra strength, I hammered some small picture nails into the back of the frame to secure the chalkboard in place. I then replaced the old hooks and hardware back to the window frame to restore its rustic charm.
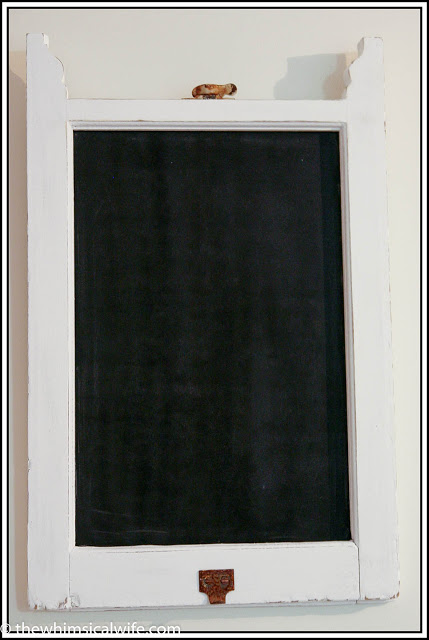
The board graced our walls for a few month's like this until I decided it looked a little bare even with chalkboard writing on it. It needed a little flourish of something to finish it off.
I started researching some fonts and swirls that I wanted to add to the top of the board. I played around with it on Word and printed off the wording and swirls once I was happy with the size and formatting. The next step was to colour the back of the printouts with lead pencil and roughly cut out and place the elements on the board.

I started researching some fonts and swirls that I wanted to add to the top of the board. I played around with it on Word and printed off the wording and swirls once I was happy with the size and formatting. The next step was to colour the back of the printouts with lead pencil and roughly cut out and place the elements on the board.
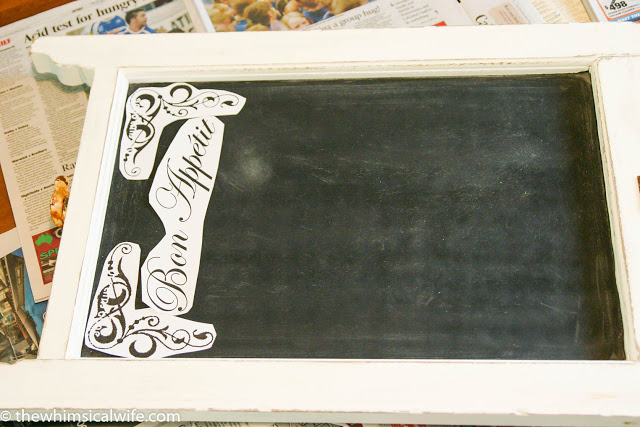
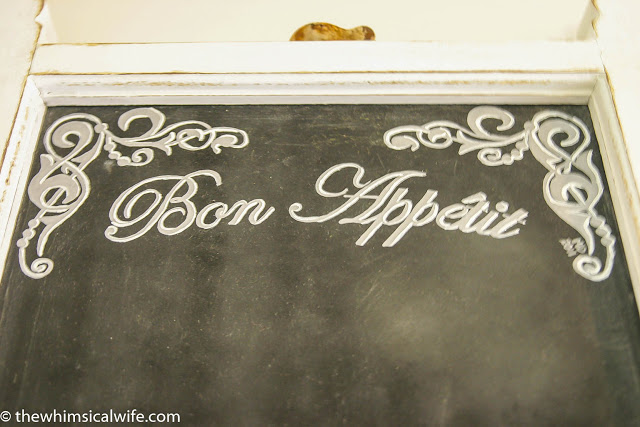
I then traced over the decorative swirls and words on the board, and the lead pencil on the back of the paper transferred the design for me to paint. Easy Peasy! Well, the hard bit began actually- Painting!

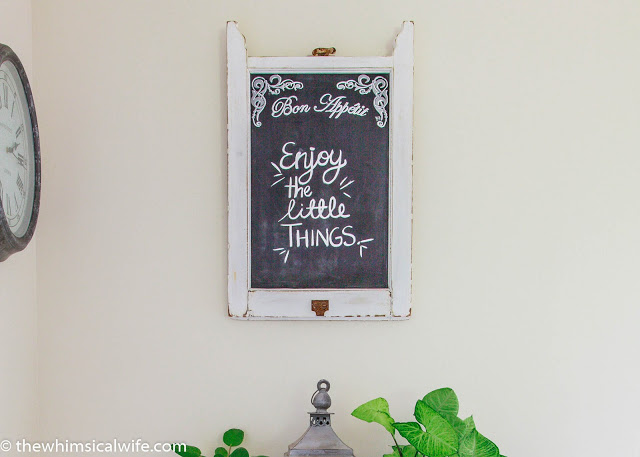
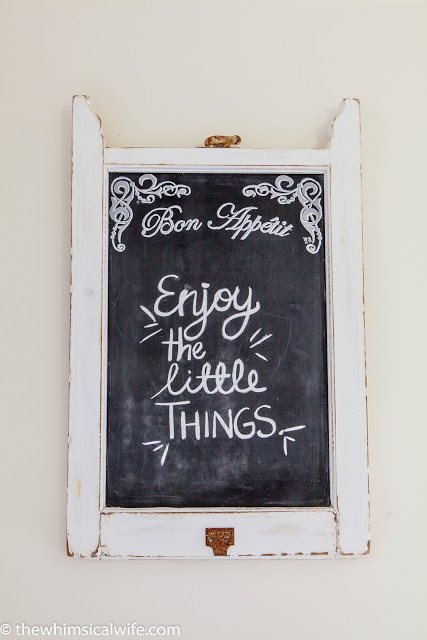
Using a fine point paint brush I wanted a neutral colour for the words and swirls, so I stuck with a lovely soft gray and white highlights. It was a bit time consuming and required a steady hand as the design was a little intricate but after an afternoon and evening of painting I finished it. My work was now complete.
While this is meant to be a menu board, I rarely write a menu on it. I mainly love to write inspirational quotes and little ditties to brighten my day or bring encouragement. This board has brought me more joy than I could imagine being able to write little words of encouragement for me and others to gaze upon during the day.
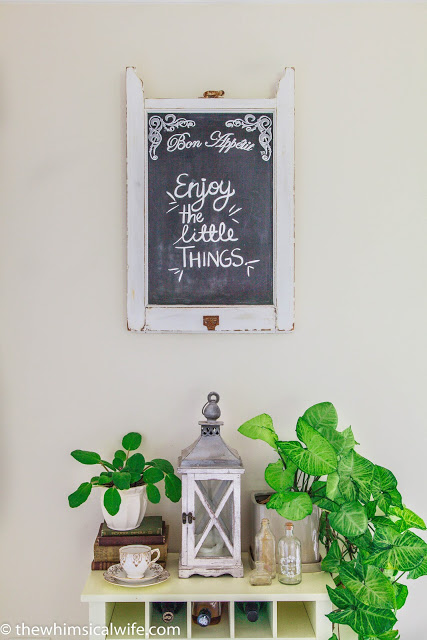
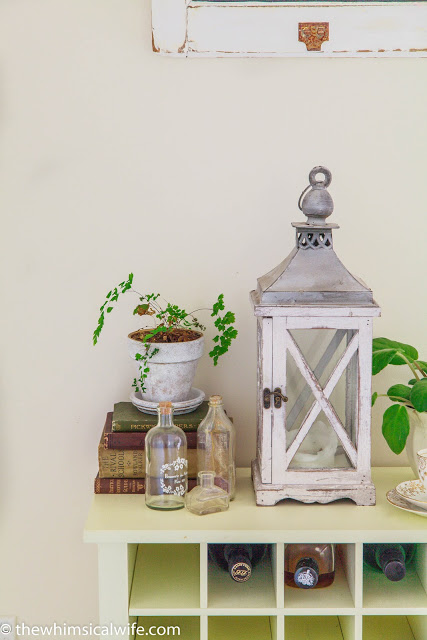
It fits perfectly above my little wine cabinet, and I adore styling it with all my favourite little knick-knacks and my latest obsession - all my new house plants!!