

It seems when I get going on a project I do a LOT at once - like more than one project all at once. It seems to be a bad habit of mine or I simply have a lot of things to do and get straight into when I can. I have been sitting on this hall table for a number of months waiting for the right time to get started on it. Winter is the worst time to try and paint something especially when you have to do it outside, it always seems to be cold, windy and or rainy.
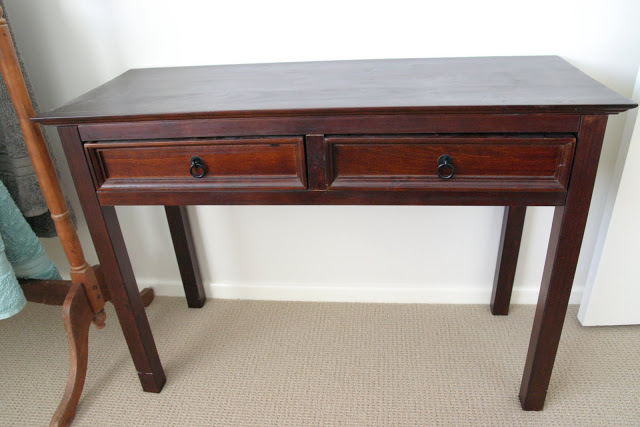
There was a break in the weather recently and I jumped on the chance to get started on it. I also dragged down a few other pieces of furniture to also renovate as well. More on those in posts to come. I spent a glorious morning out in the sunshine with my dog, Abby sprawled on the grass next to me as I got into sanding and painting this table.
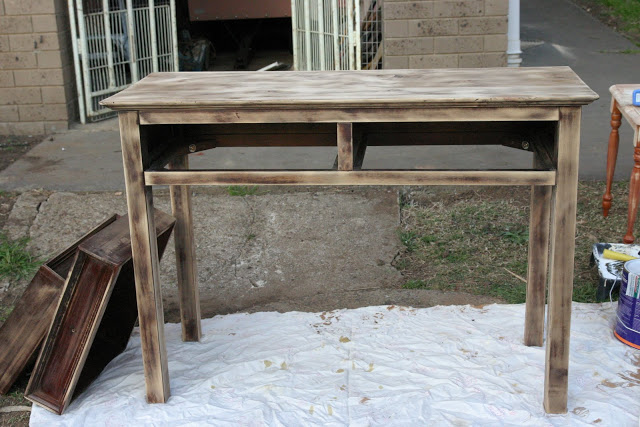
It was a nice change to being cooped up inside looking at the dreary skies outside. I got to the top of the table with an electric sander and sanded off the dark stain back to wood. I was aiming for a similar look to the small side table I recently renovated as it was going to be in the same room. I then roughly sanded back the rest of the table to allow the paint to stick properly to it! I may or may not of been a bit careless in this regard and a bit more sanding probably could of been done but it turned out fine in the end. You see I am inpatient in getting to the finished product. A fault that I need to work on!
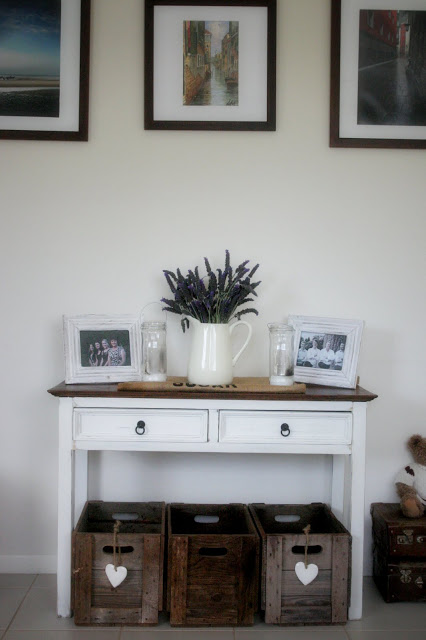
After a sand and a brush down to remove the dust I jumped straight into painting. I chose Snow White by Taubmans for the colour, which I was really happy with once it dried. It took a few coats to cover the dark stain that was still showing in places. I let this dry for a couple of days as it was still quite cool and it didn't dry as quickly as it would in summer.
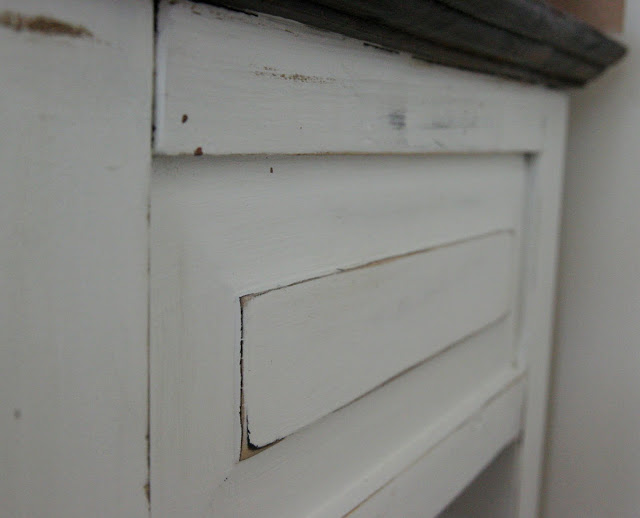
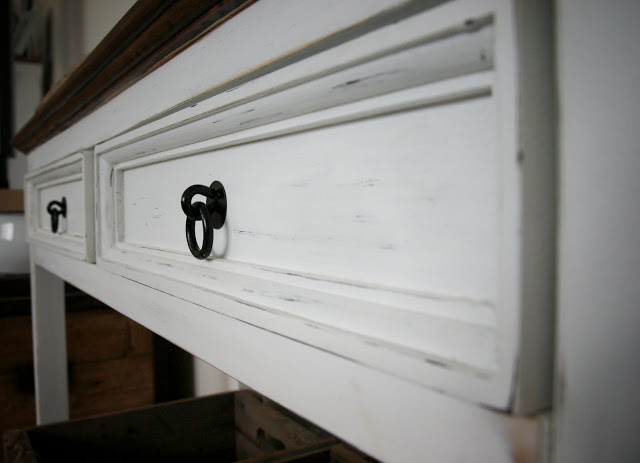
The fun part then began - time to make it "RUSTIC". For this I alternated between 180 -240 grit sandpaper and sanded patches around the table to make it look worn, chipped, scratched and a bit beaten up. I like that look you see. It takes a little time to get the look I was after but a bit of elbow grease and bob's your uncle I was done.
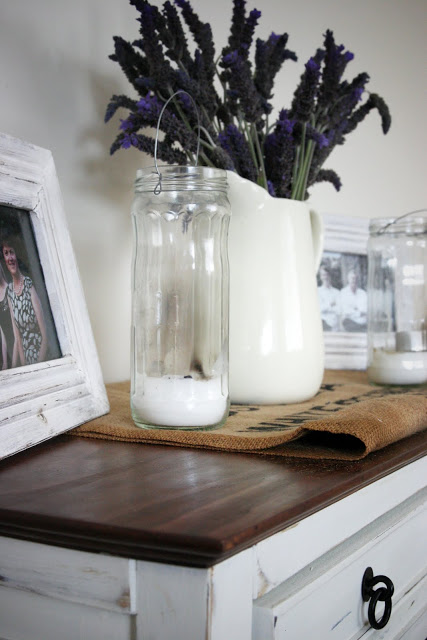
It was now for the grand finale - the staining of the top. I used a cedar stain on the top , the same as the small side table I redid recently. It used two coats of this, letting it dry in between each coat for about and hour. After a coat of Fiddes & Sons "Rugger Brown" wax to shine it up all nice and the like - It was done.
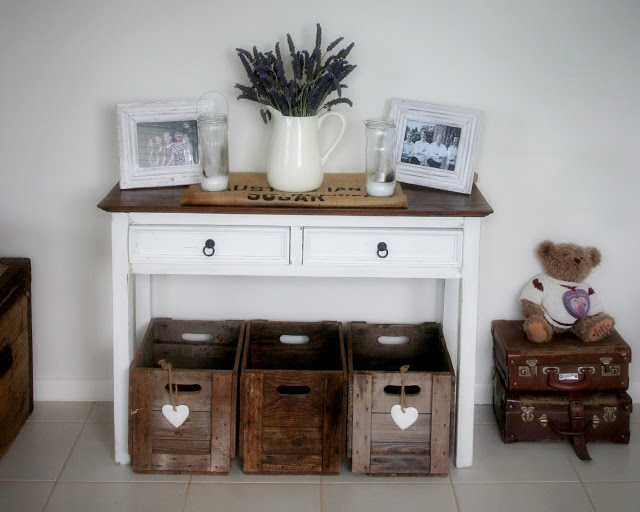
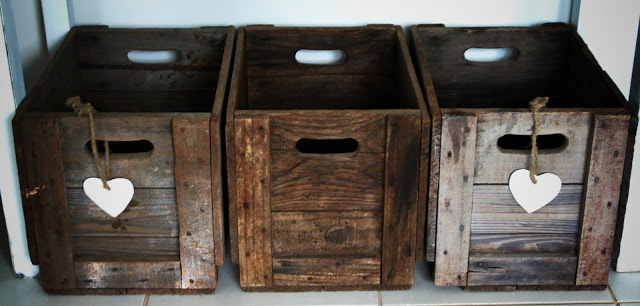
Do you love my gorgeous old wooden boxes! I picked these up at a garage sale a couple of months ago in someone old tool shed for the bargain price of $2 each. Yep I love a bargain find! Would you believe I found a box similar to one of these at an antique store and they were trying to sell it for $25! Oh my gosh!
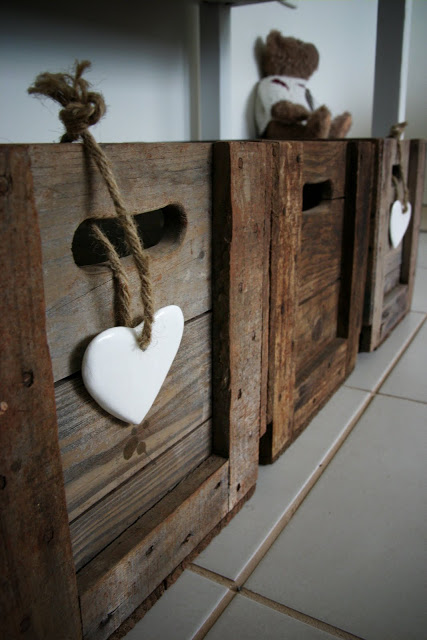
My plan with these is to make some blackboard tags for them to write what goes in each box. I want to use them as storage for toys, books, games etc when we start a family but in the mean time they'll stay empty unless I find something interesting to fill them with!
Do you like Mr Teddy and his suitcases? He is super cuet and I adore old suitcases! He loves his little spot in the corner and says Hi! I was lucky enough to again pick these up for the bargain price of $2 each at another garage sale!

Also don't forget to enter the Coco & Milo giveaway which finishes tonight. The winner will be drawn and annouced in tommorrow's post!
Until then......


blog directory