

Do you have projects lying around the house that are on your to do list but it seems that more things get added to the list before it. This is what happened with these two pieces of furniture. I finally gotround to restoring these two pieces of furniture that I have had sitting around under the house for nearly close to 6 months now. Thankfully we have a large storage space under the house!
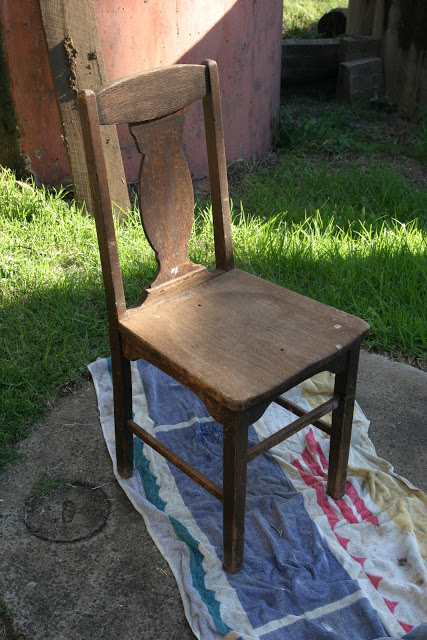
The chair I picked up at a garage sale quite cheaply and put it aside to use for something later. It matched the desk nicely so I decided to pair the two together. I purchased the Queen Anne desk off ebay- it was a bit of a mistake bid really. I'm sure everyone has had one of those. I originally wanted to use it in our room as a desk cum dressing table, but as you know I recently picked up something better with this dreamy dressing table. The desk was in Laidley which is about a 45 min drive from Toowoomba where I live. Hubby wasn't too impressed but we hooked the trailor up and made a saturday morning trip of it.
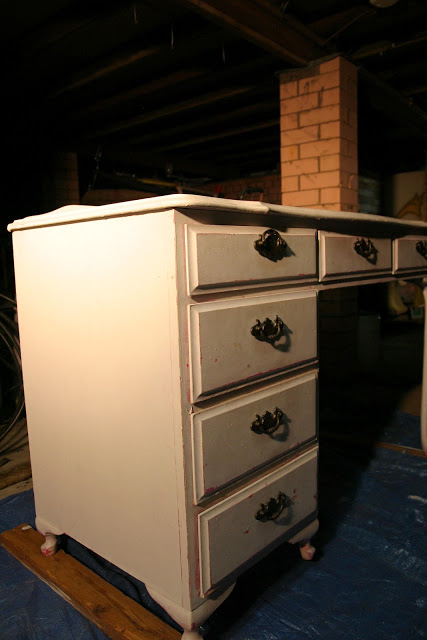
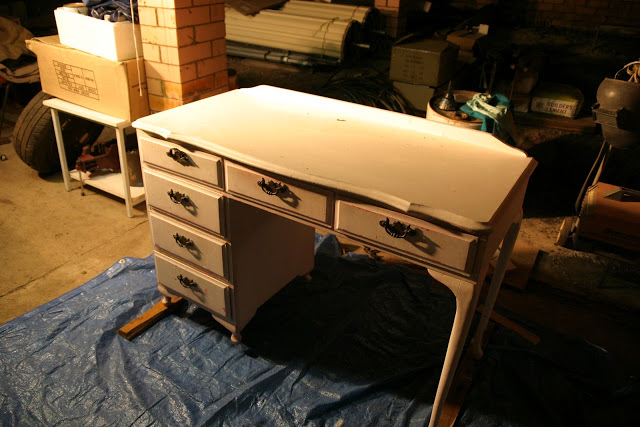
The desk itself was in pretty good condition apart from the garish bright pink paint peeking through the white paint as you can see in the pictures below. The previous paint job was something to be desired as well. I had grand plans of painting this piece with two colours and sanding it it back to show the lower layer of paint.
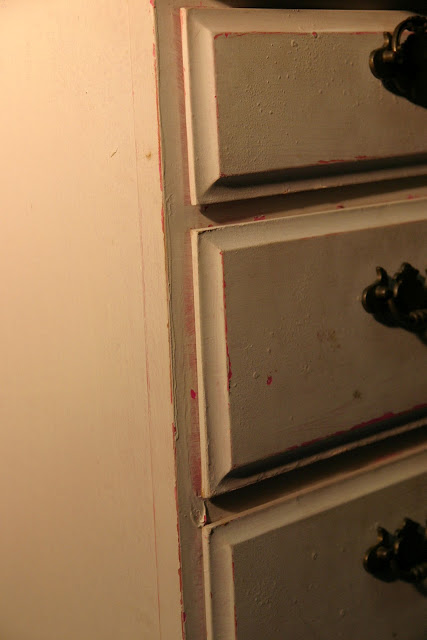
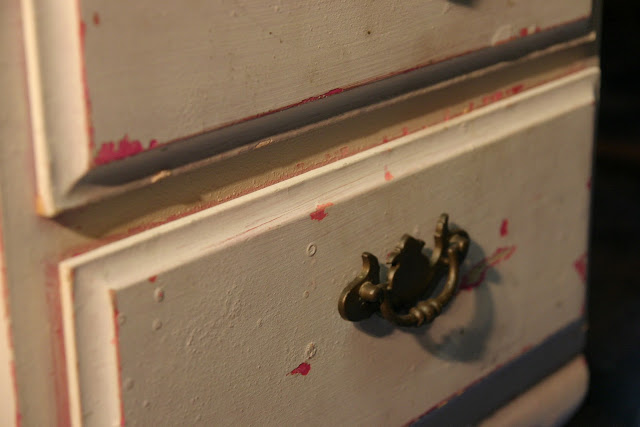
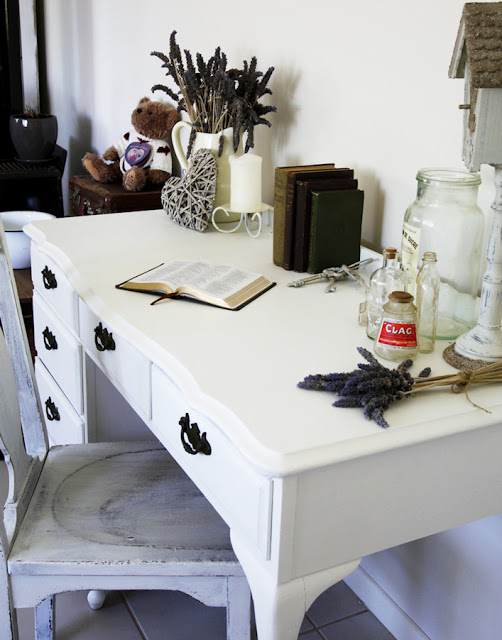
However the more I thought about the lovely pink paint underneath I decided I didn't really want to risk uncovering any of it. So I started with a grey undercoat to cover the pink and stop it seeping through to the top coat and painted the top coat with Dulux "snow white".
*Tip if you are trying to paint over anything that has had a pretty bright colour on it, start with a grey undercoat. This will help hide the colour and stop the base colour seeping through to your top coat. Do two coats of the undercoat if you can.

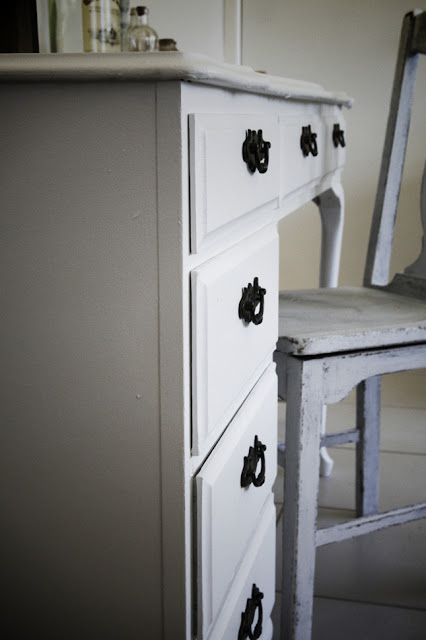

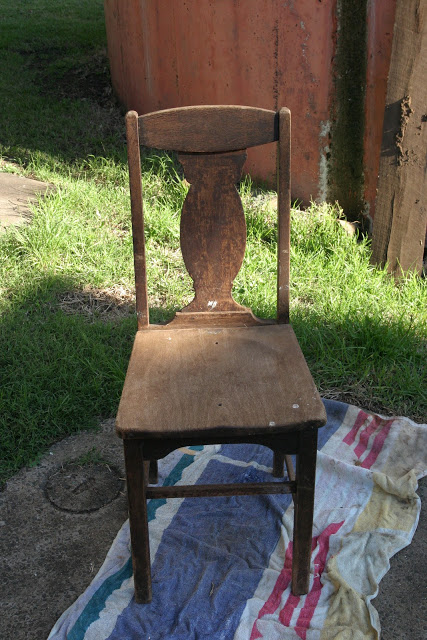
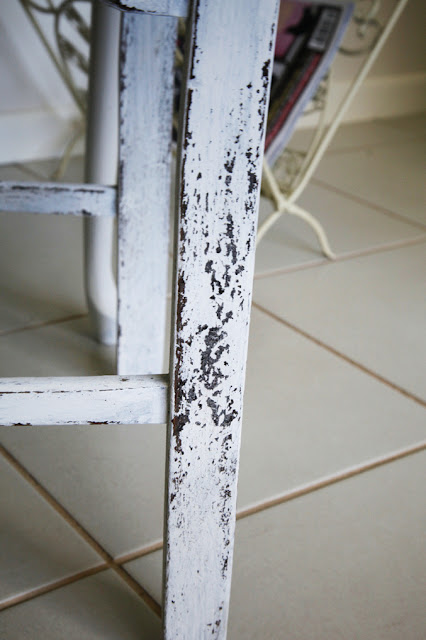
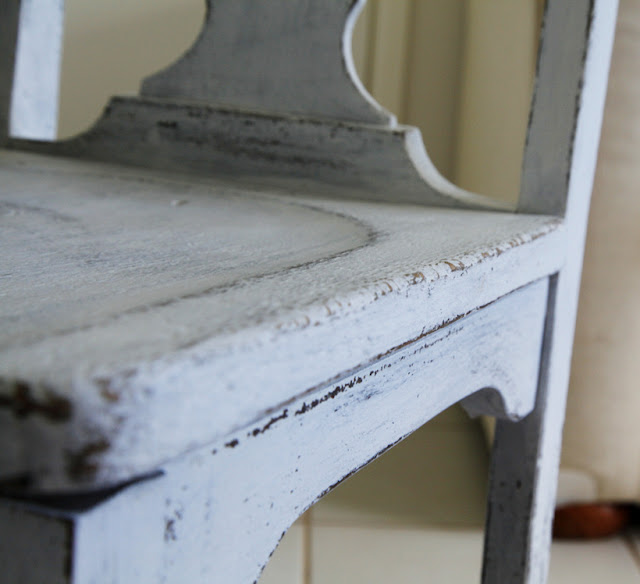
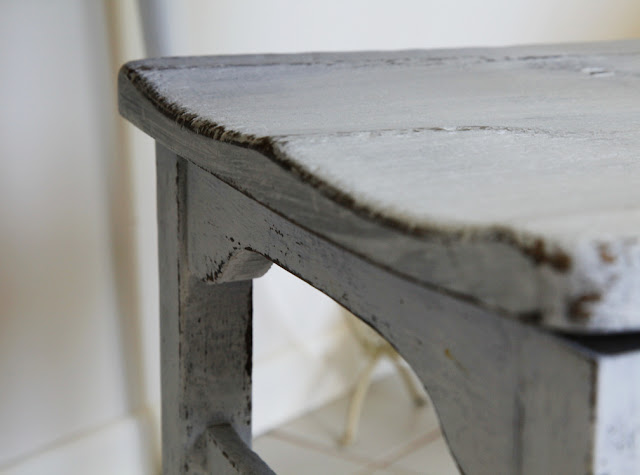
I was able to have a little bit more fun with the chair as it really was pretty bare and a great blank canvas. I used a different type of paint on the chair as opposed to the desk. I have talked about this paint before - Milk Paint. I used it on the Blanket Box I recently did up. I love the texture and rustic effect that this paint gives off once dried. I did the base layer in grey and the top coat in white and let them dry for a few days. The paint flakes in places giving it a rustic old feel. I gave the whole chair a rough sand along the edges and corners to give it a worn look.
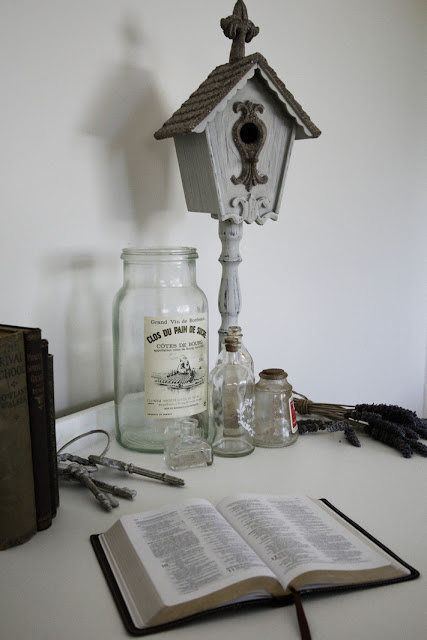
I am so happy with the end result of both the desk and chair and they just look dreamy together if I don't say so myself. The sad news is I cannot keep this set as I just have no where to put it in my house - I'm full up. So I am putting it up for sale - you can view it here. If I can't sell it here I will be putting it on Ebay to see if I get any luck!

blog directory