

It's been a while since I last shared anything with you on the decorating front. I have been busy with a million other things and to try and come up with something new to share with you has not been on my agenda. Having a very active toddler cuts crafty time to nothing while he is awake so that's my excuse for being slack. I imagine everyone of you has a little nook, or corner in your home that is looking a little bland or uninteresting. Not a lot going on in the decorating department and it needs something to jazz in up a bit. Maybe a bit of wall art, a picture or a frame of some sort.
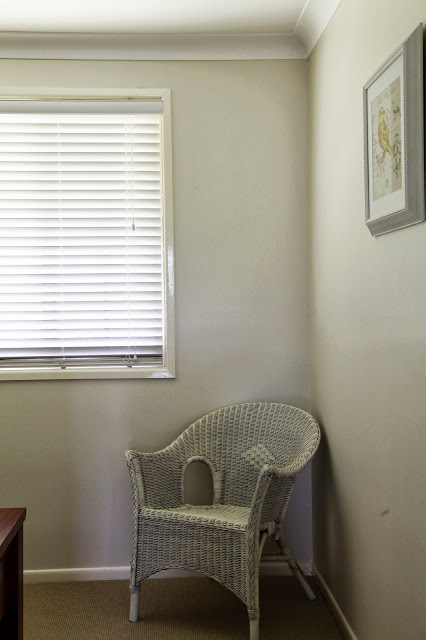
As you can see in the picture above I have that problem in our master bedroom. I have a little corner that doesn't have a lot going on and needed a bit of something to draw the eye to it. It is a focal point upon entering the room and can be seen by visitors when they make a stop to the lavatory. It needed something on the wall to draw the eye to and the chair needed some dressing up to make it cosy and welcoming.
Now if you have read previous decorating posts (Decorating on $2, Decorating on the Cheap, Decorating with Nature) you know that I don't like spending a lot on decorative items. That doesn't mean it has to look cheap and nasty, it just takes a little bit of nouse, creativity and some great products to get you on your way.
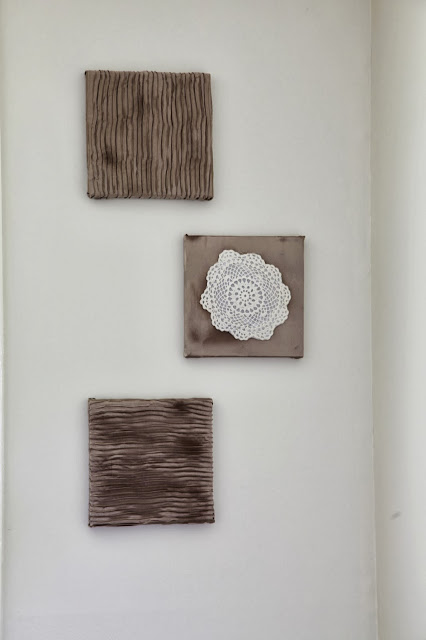
I decided to go with creating a set of 3 canvas prints for the wall with items that I had around the home, such as a set of old cushion covers that I was no longer going to use, and a old doily. I purchased a set of three 20cm x 20cm Artists Canvas from my local junk shop for $3.50 each and was given the SikaBond Spray Fix to review. So it was a perfect time to create some wall art.
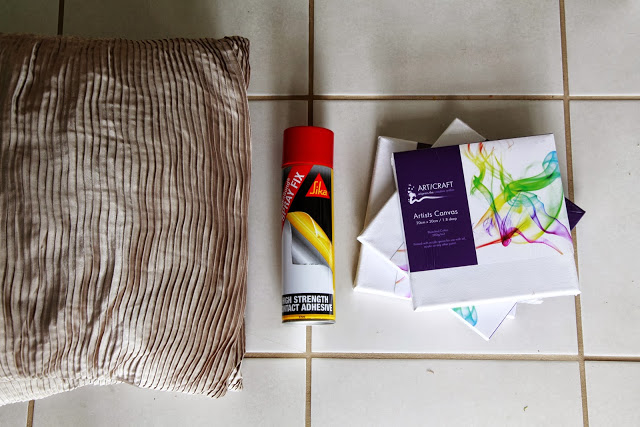
Equipment Required:
- Length of fabric or material to cover the canvas (*I used some old cushion covers)
- Scissors
- 3 x 20cm Artists Canvas
- 1 x Doily
- SikaBond Spray Fix
Let me talk a little bit about the SikaBond Spray Fix first. This product is a low odour, high strength contact adhesive spray. So in less technical terms it basically is a glue spray of sorts that can be used indoors as it won't fume you out. Good to know with a toddle about. It has a range of uses for things such as furniture upholstery (I cannot wait to try it on that), furniture lamination, art and craft work (such as I am doing here), adhering carpets and floor coverings and so on and so forth. It can be used on many different types of materials such as felts and fabrics, metal, foam, cork, most plastics, fibre glass and wood. It can be used as a temporary bonding agent or for more permanent bonding. For low strength bonding you only need to spray one side of the area you are wanting to bond together, for a higher strength more durable bond simply spray both sides. You can purchase the Sika Bond Spray Fix at Bunnings. RRP $18.95
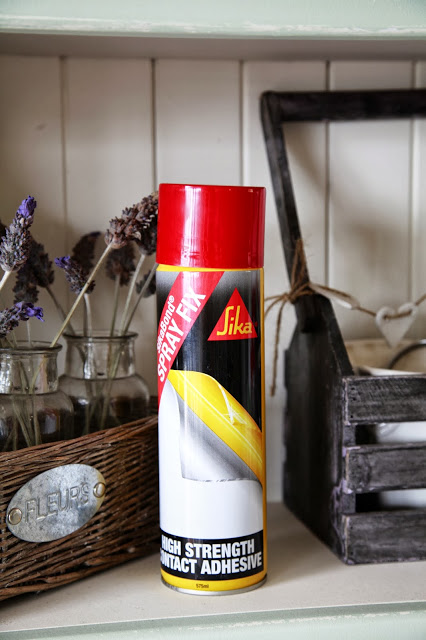
I have never used a contact adhesive spray before and found that this product delivered on its promises. It was very easy and straight forward to use. The instructions on the back of the can were concise and easy to read and the relevant do's and don't were listed there to read. It is a large can so you will get many uses out of this product. I doubt I used much at all making my wall art. So let's get to how I made them!
Step 1:
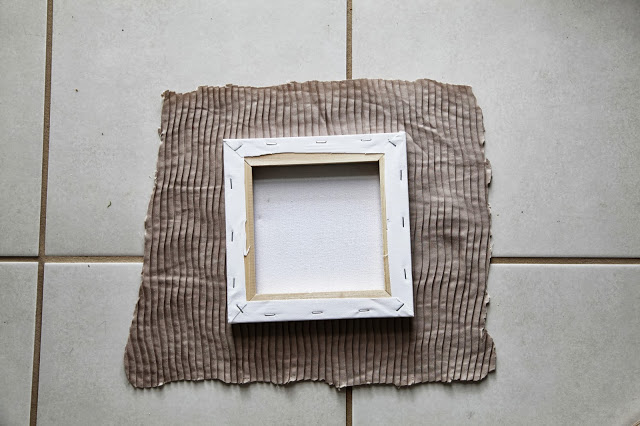
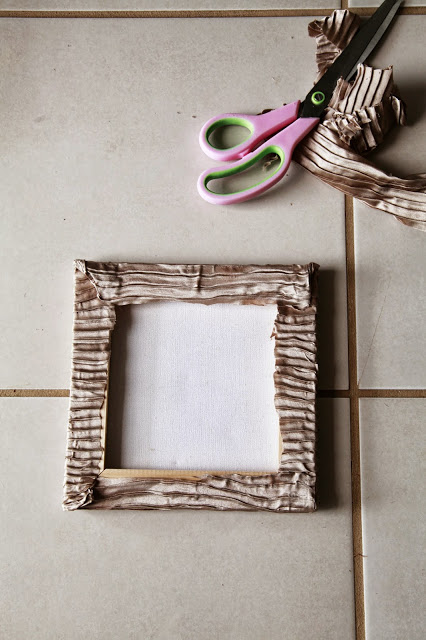
Cut the fabric out to the size of the canvas adding a 2 inch border. This allows to cover the edge of the canvas and enough to stick it at the back.
Step 2:
Lay some newspaper or an old sheet down in the area you are going to spray the adhesive. I chose to do this outside just in case any over spray landed on the floor. Lay your piece of fabric wrong side up and the canvas the right side up. Make sure you have thoroughly shaken the can to mix the product properly. Leaving a space of about 20cm between you and the can, spray a light, even mist onto to piece of fabric. Repeat on the front of the canvas.
Step 3:
Lay the canvas onto the piece of fabric and press down firmly. Turn over and reposition if necessary and remove any bubbles or creases. You have 1-2 minutes to reposition the fabric before the Spray Bond sets. Pull the edges of the fabric around the edge of the canvas, fold the edges in and stick to the back. If there are sections that need to be stuck down, simply spray a small amount of SikaBond Spray Fix onto the area and wait a few seconds before pressing down. Trim any excess fabric from the back.
Step 4:
Repeat for the remaining canvas's.
This is how mine turned out. I'm pretty happy with the result and it only took me about 30 minutes to complete. Perfect to whip up during a baby's nap time. The whole project cost me $10.50 to make as I had most of the materials already stashed away in my cupboards. If you are looking at creating some fabric wall art consider investing in some SikaBond Spray Fix. It was so easy to use and left no marks on the fabric, which would happen if you used wood glue.
I used some removable sticky hooks to hang my prints on the wall. So it required no drilling, nails, mess or hammers. Something a stay at home mum can do! Ha.
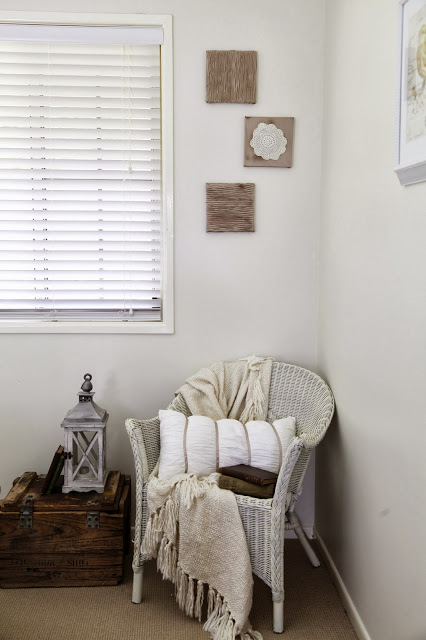
The little corner doesn't look so bland anymore. A little sanctuary where I can snuggle under a soft blanker with a cuppa and a good book!
{Disclosure: I was given a can of SikaBond Spray Fix to trial. I was not paid to write this post and all opinions are my own}


Food & Drink blogs