


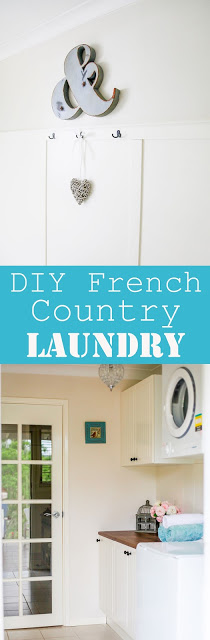
French Country Laundry Reveal
Welcome to 2014 everyone! A brand spanking new year can you believe it! What will 2014 bring I wonder? Hopefully good things! How's the new year treating you so far? Good I hope. How did you ring in the New Year? Well I would love to tell you I got into some spectacular looking dress, glammed up and rang in the new year with champers and canapes (like they do in the movies) but that would be lying. In reality it was much different. I rang in the New Year in my pajamas with a cup of tea and a bowl of watermelon and was asleep by 10pm. Boring I know!
That's life at the moment. Predictable. Well most of the time anyway until the little guy gets all mischievous on me! Anyway I thought it was high time I posted my Laundry reveal. Would you believe we started renovating this laundry when J.D was about 5 months old. He is now 17 months old. It has been finished for probably over 3 months now and I just never got round to taking some finish photos before the end of the year. So I think it is high time I showed you the transformation. But first let's see what it looked like first!
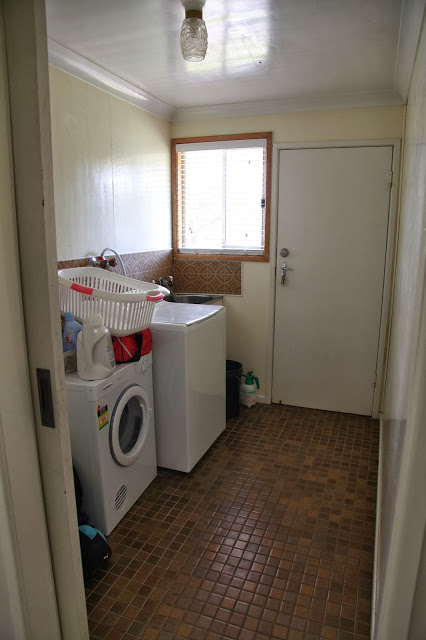
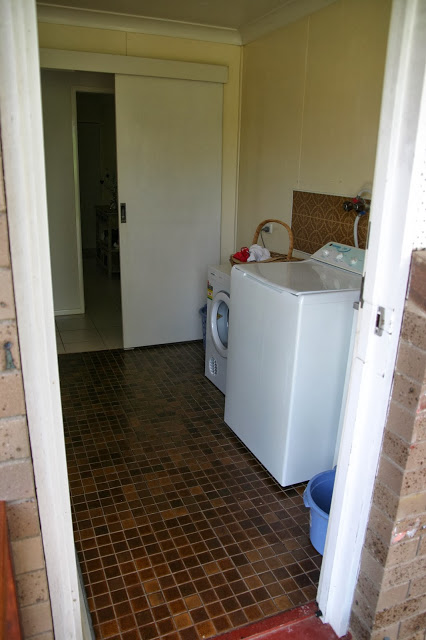
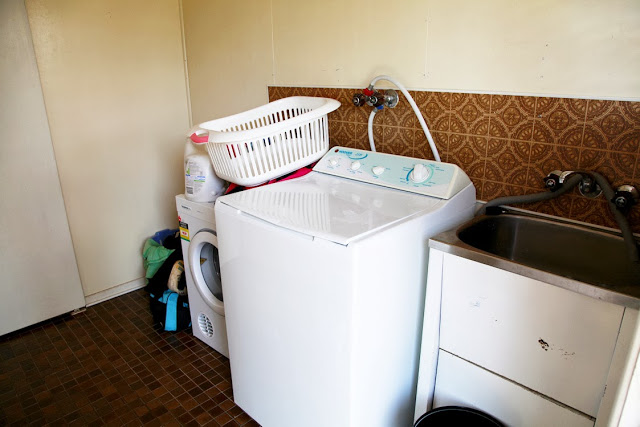
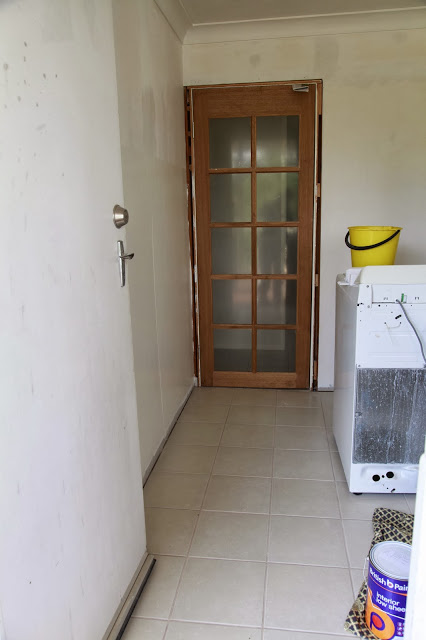
Yep that's it in all its glory right there. Original 70's tiles and splash back. Complete with sliding door! Gah! I didn't even bother tidying up since I really couldn't make it look any worse than it already was! We decided not to paint this area when we
&
. We knew we wanted to completely renovate it one day and decided to leave it until we had time to properly do it. I knew I wanted to keep it in the same
French Country Style
that I have been decorating the entire house in. So off to
I went and started looking for styling ideas. You can see my
here. The key items I wanted in this room was some storage space, a new laundry sink and some decorative features to add some interest.
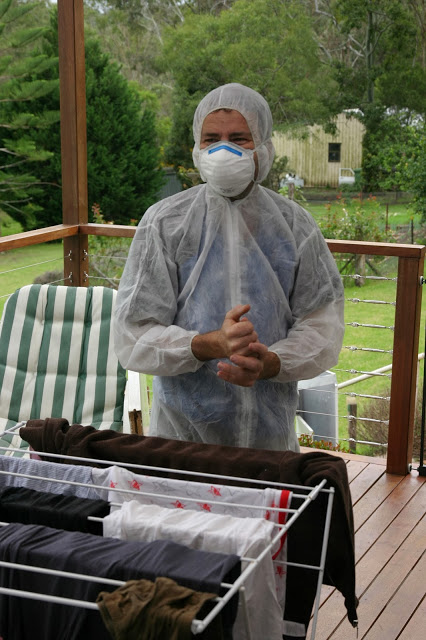
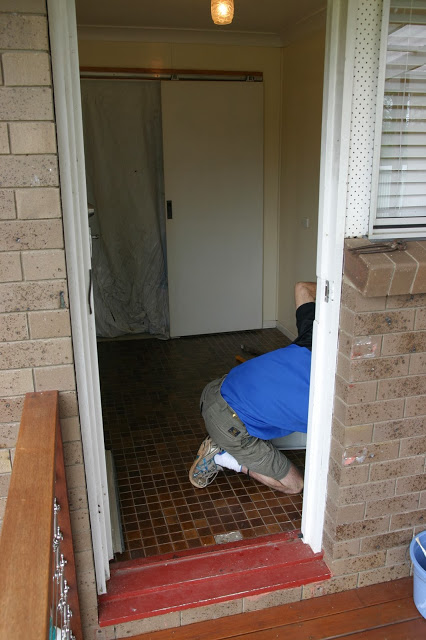
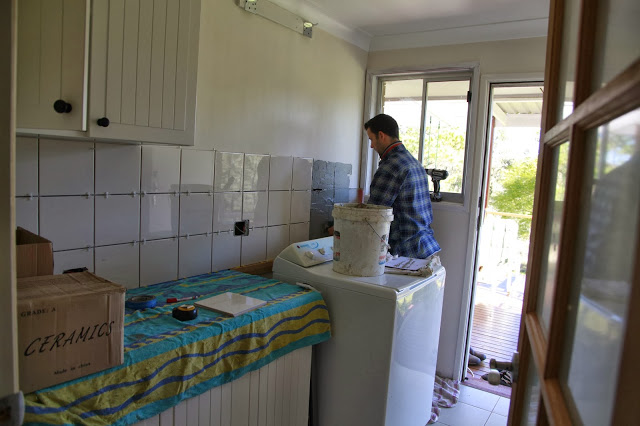
The first step to transform this drab laundry was to pull everything out and to start ripping up the laundry floor tiles. Hubby thought that there could possibly be asbestos in the room so for precautionary measures they (my brother-in-law pic below) sealed off the door and wore safety suits and breathing apparatus. J.D and I left the house for the day so we weren't breathing in any dust that was floating around outside.
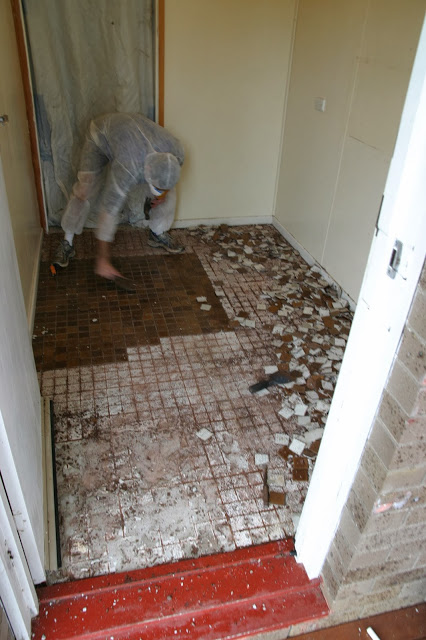
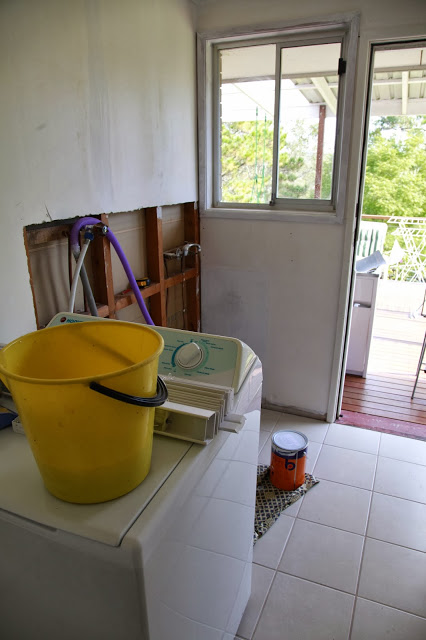
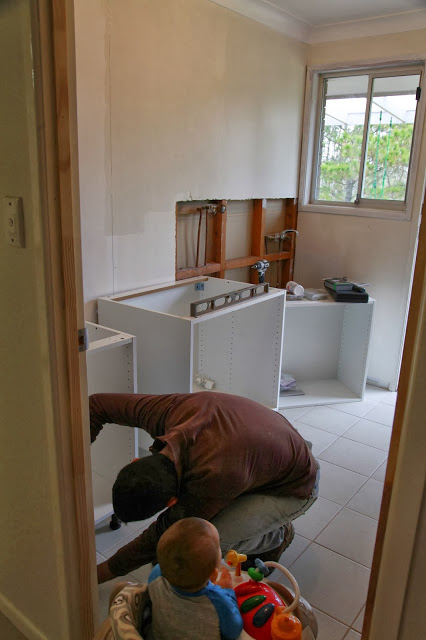
Once the floor tiles were ripped out and the debris was cleaned up safely it was time to get to putting the place back together. Can I say right here that I didn't do much of the renovation process of this room - I am the visionary and designer all DIY credit goes to hubby! I did a bit of painting but that is about it! You can see that half the wall is missing in the photo below. Hubby had to move some of the taps for the washing machine and re-plumb them. I tell this man can do it all! He tiled the floor first and then moved onto fixing up the rest of the laundry.

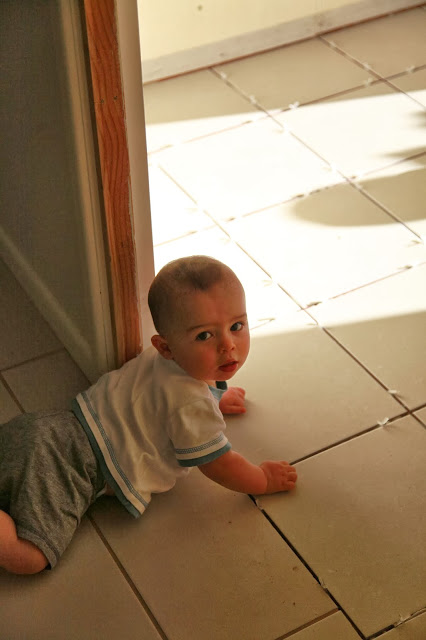
Gosh I can't believe how little J.D was when we first started this. He was still army crawling around the place. He walks now! Things take a lot longer to do when there is a baby in the house! Once the floors were tiled and grouted we moved onto replacing the sliding door that was used at the entrance of the laundry. We replaced the door for two reasons.
1
. By removing the door it allowed us to put a bench along the wall next to the washing machine.
2.
It was ugly and the french door was so much more aesthetically pleasing.
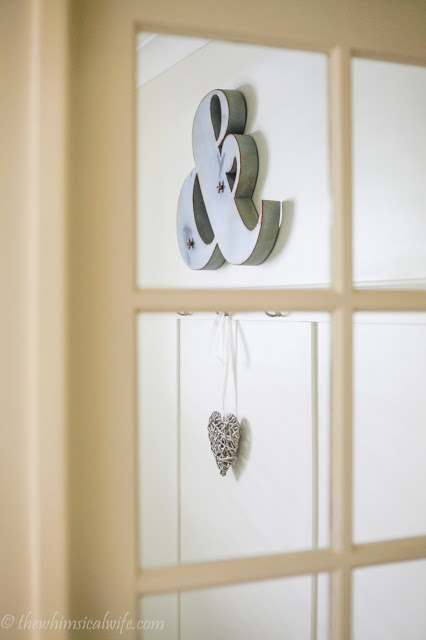
Would you believe we paid nothing for this door. It was actually left underneath this house when we purchased it. I knew I had to incorporate it into the design of the laundry. I have found that by installing this french door it allows heaps more light into the hallway too. Bonus.
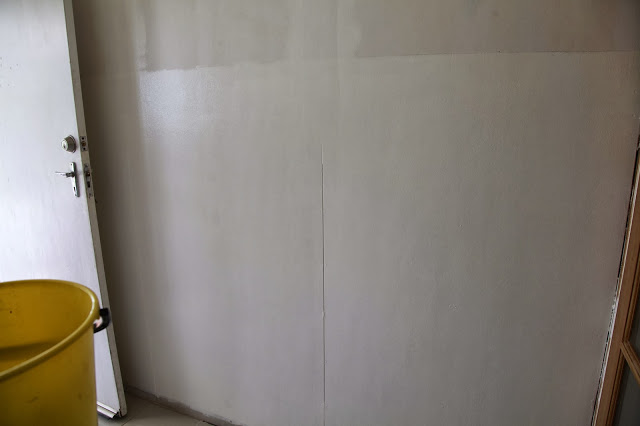
After the door was installed we were able to start prepping the room ready to be painted. We gave the whole room an undercoat including all trim. It was time to say goodbye to the drab and dreary wall colour and say hello to
. We have used this colour (1/2 strength) throughout our entire house. We opted to use 1/2 strength of the original colour for a nice neutral toning. For the trim we used
.
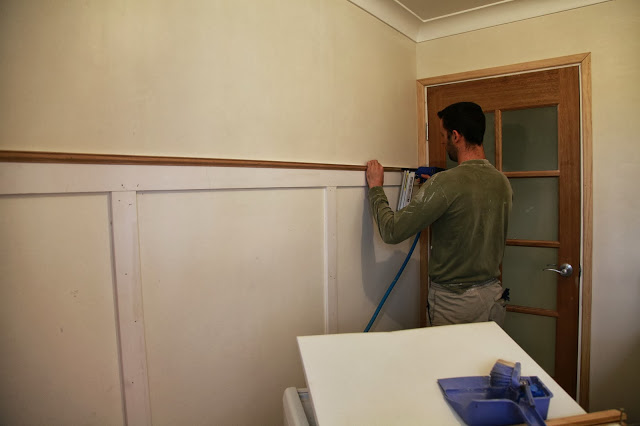
Once the room was painted hubby added the wainscoting panelling to the plain wall of the laundry. This was my decorative feature to room. I think it added a nice touch. We painted the bottom section of the wall in Fair Bianca and the top half in half strength Hogsbristle. The construction of the wainscoting was much simpler than I imagined. It was just a series of layers of different profiles of wood to create the top feature and pieces of wood nailed to the wall to create the panelling. Easy peasy when you know how!
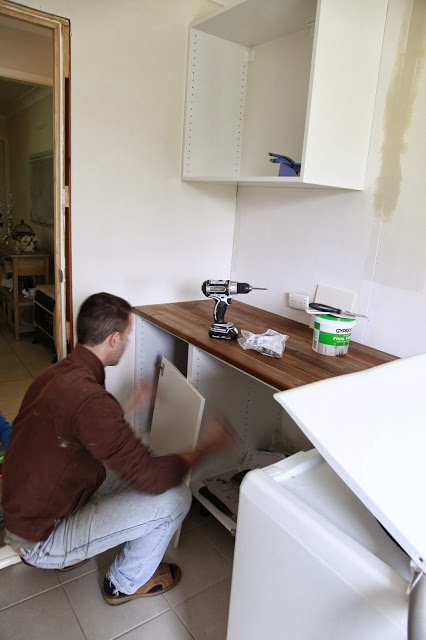
After the panelled wall was completed our (and by "our" I mean hubby's) eyes turned to fitting the cupboards, bench top and overhead cupboards. Now I had a joiner (the same guy who did our
) give me a quote on getting the cabinetry custom made for the area. I think it was approximately $1500-$1800 for cupboards to be made for this area. There was no way we could afford that. So I had to figure out a cheaper way of getting some cupboards into this space. I researched Ikea and found that I could get base and wall cabinetry and door knobs for under $800. So we made a trip down to Brisbane to pick up what we needed.
I bought the:
Faktum 1 Door Base Cabinet in Stat off-white
;
Faktum 2 Door Base Cabinet in Stat off-White
;
Faktum 2 Door Wall Cabinet in Stat off-white
;
We picked up the gorgeous dark wood bench top from Bunnings for $99. I haven't seen it again so I am wondering if it was a special they were having through. You can see J.D loved to be a part of the action when daddy was trying to work!
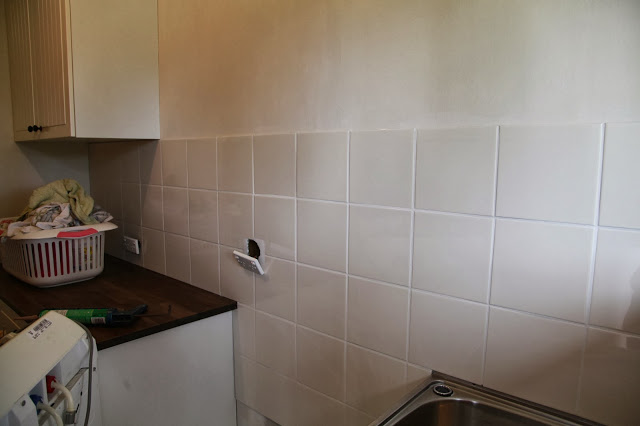
We were on the home straight now. Time to do some more tiling. We chose a plain cream tile for the splash back. I didn't add any feature tiles in the design as I wanted to keep it simple. Again hubby did all the work tiling and grouting the splash back. It looked a million times better than the retro laminate board that was on that wall.
The last feature to be added to the room was a new light fitting. I agonised over this for months as to what I wanted to put in this room. I wanted something a little bit special but nothing over the top. Every time we went into Bunnings I would make a bee line for the light section and walk up and down the aisles trying to figure out what I wanted. I ended up seeing this light in a cafe and realised how nice it looked. Although it probably is a bit showy for a laundry I don't care. You can see it through the french doors when you walk through the front door so its a feature that will be seen often!
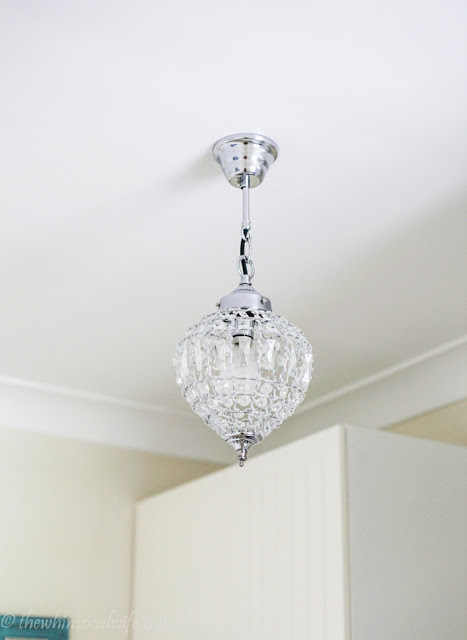
This is the Mercator Nizzari Small Chrome pendant from Bunnings. I think we picked it up for something like $50-$60. You can find the
. So before I reveal the finished product I will remind you first of what the original room looked like below......
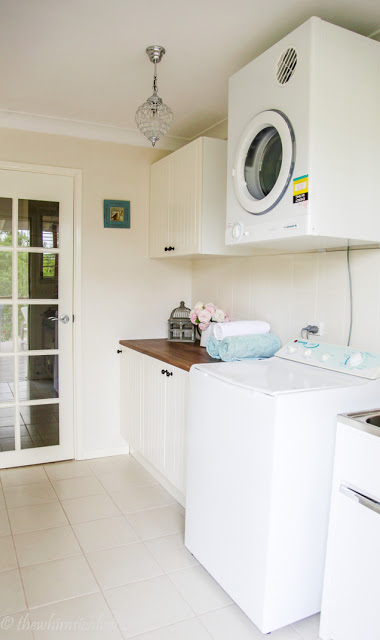
And it now looks like this....... Tada! Much better I think!
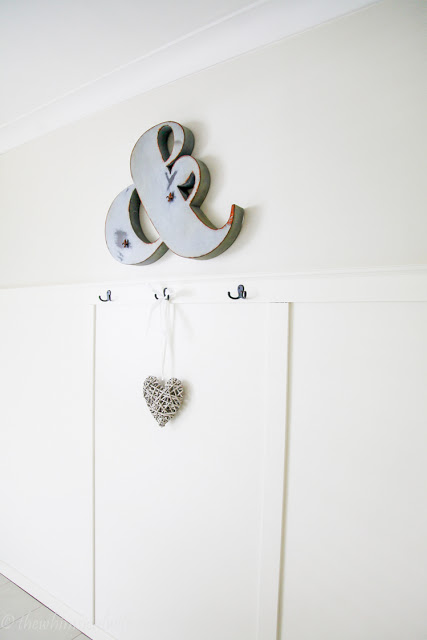
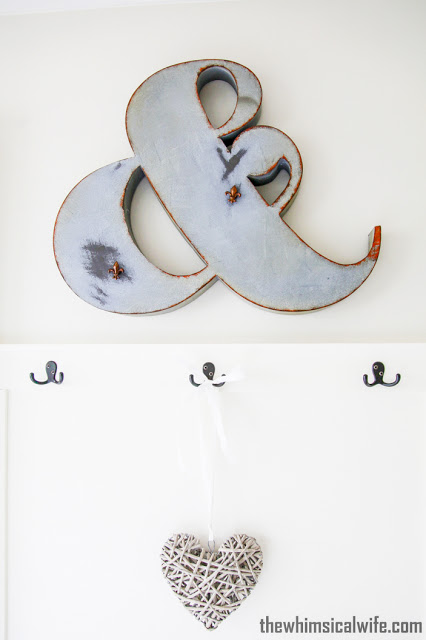
I picked up the ampersand sign (gosh I love this piece) and the blue bird print (above) and the rattan love heart from my all time favourite shop -
, located here in Toowoomba.
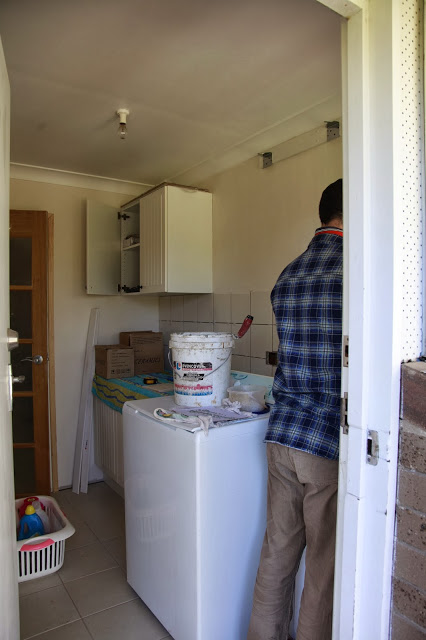
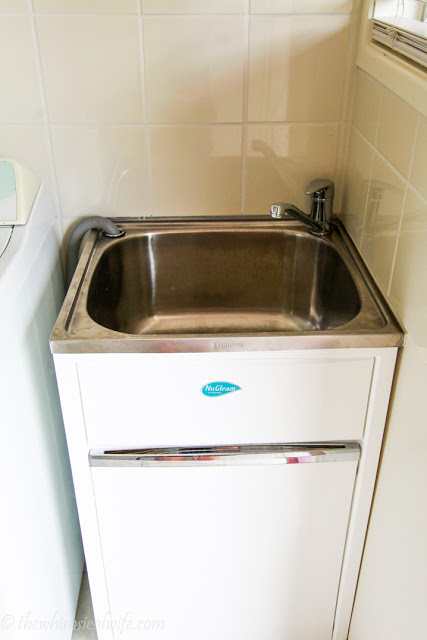
Another place we saved some money on was the laundry tub. I managed to pick this up on Gumtree for $100 brand new still in the box. I think these retail around $250 or so. Bargain! We picked it up on our trip down to Ikea for the cabinetry. So no extra trips were needed.
I'll give you a quick tour of the cupboards. I love these Ikea cupboards and would actually consider using them if I ever did another kitchen up! I have used the wall cupboards for all my detergents, cleaners and sprays so that it is out of J.D's reach. I don't store anything under the laundry tub or under the kitchen sink apart from dish washing detergent. I feel safe having these things up high as he is such a inquisitive little boy and loves to get into anything he can. These baskets make it super easy for me to pull out any product I need. They are all segregated in the areas they will be needed - bathroom, kitchen, miscellaneous etc.

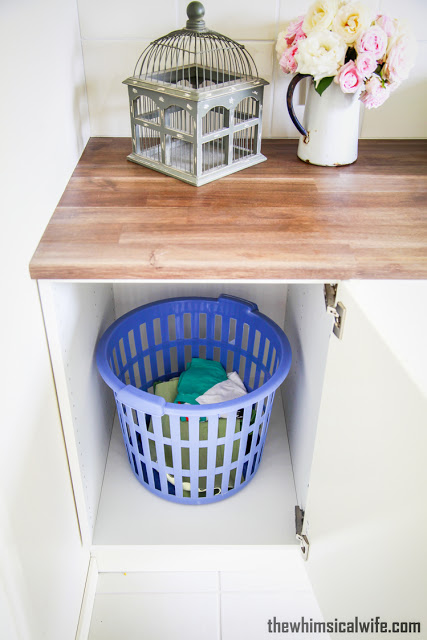
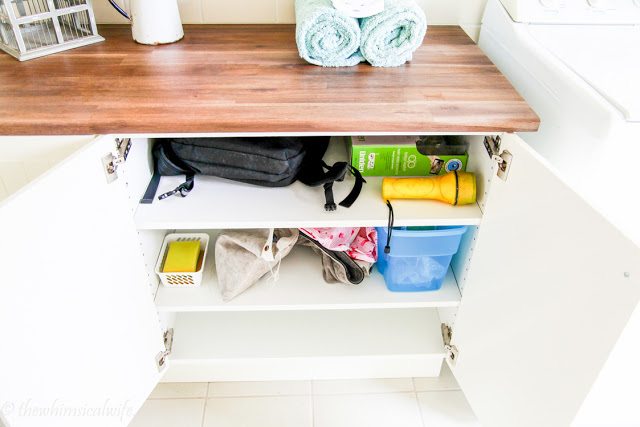
For the single base cupboard I designated this to be the dirty clothes cupboard. We didn't add the shelves into this one and popped a basket in there to hold our dirty clothes. Great place to hide your dirty laundry! Eh?
The other cupboard I have just put stuff that I am not sure to do with at the moment. This place isn't really properly organised yet but I want to buy a few more baskets to put in here for future use.
So there you have it! I finally got to show you the finished result! I love my new laundry! Doing the washing is so much more fun! I wish the ironing would be just as much!