


I was tantalising all my followers on Facebook with a picture of these Peanut Butter Truffles a few weeks ago. If you're a follower you would of had a sneak preview of the recipe already and hopefully enjoyed the pure blissfulness of biting into one of these. Heaven. Well it is for me anyway. I am a true peanut butter fiend through and through and can't get enough of the stuff. Smooth of course never crunchy! It's my kryponite. Ever since I was diagnosed with a dairy allergy I ate (by the spoonfuls some times) peanut butter instead of chocolate. If I felt down out came the spoon and into the peanut butter it went. In recent years we have swapped our brands of peanut butter from the stuff chocked full of extra nasties such as sugar, vegetable oils and salt to the natural, organic variety that is just 100% peanut butter. Is does take some time to get use to the natural peanut butter if you are use to eating the other varieties. It is not sweetened and salted to make it taste better it's just gooey, ground peanuts but after awhile your taste buds will adjust.
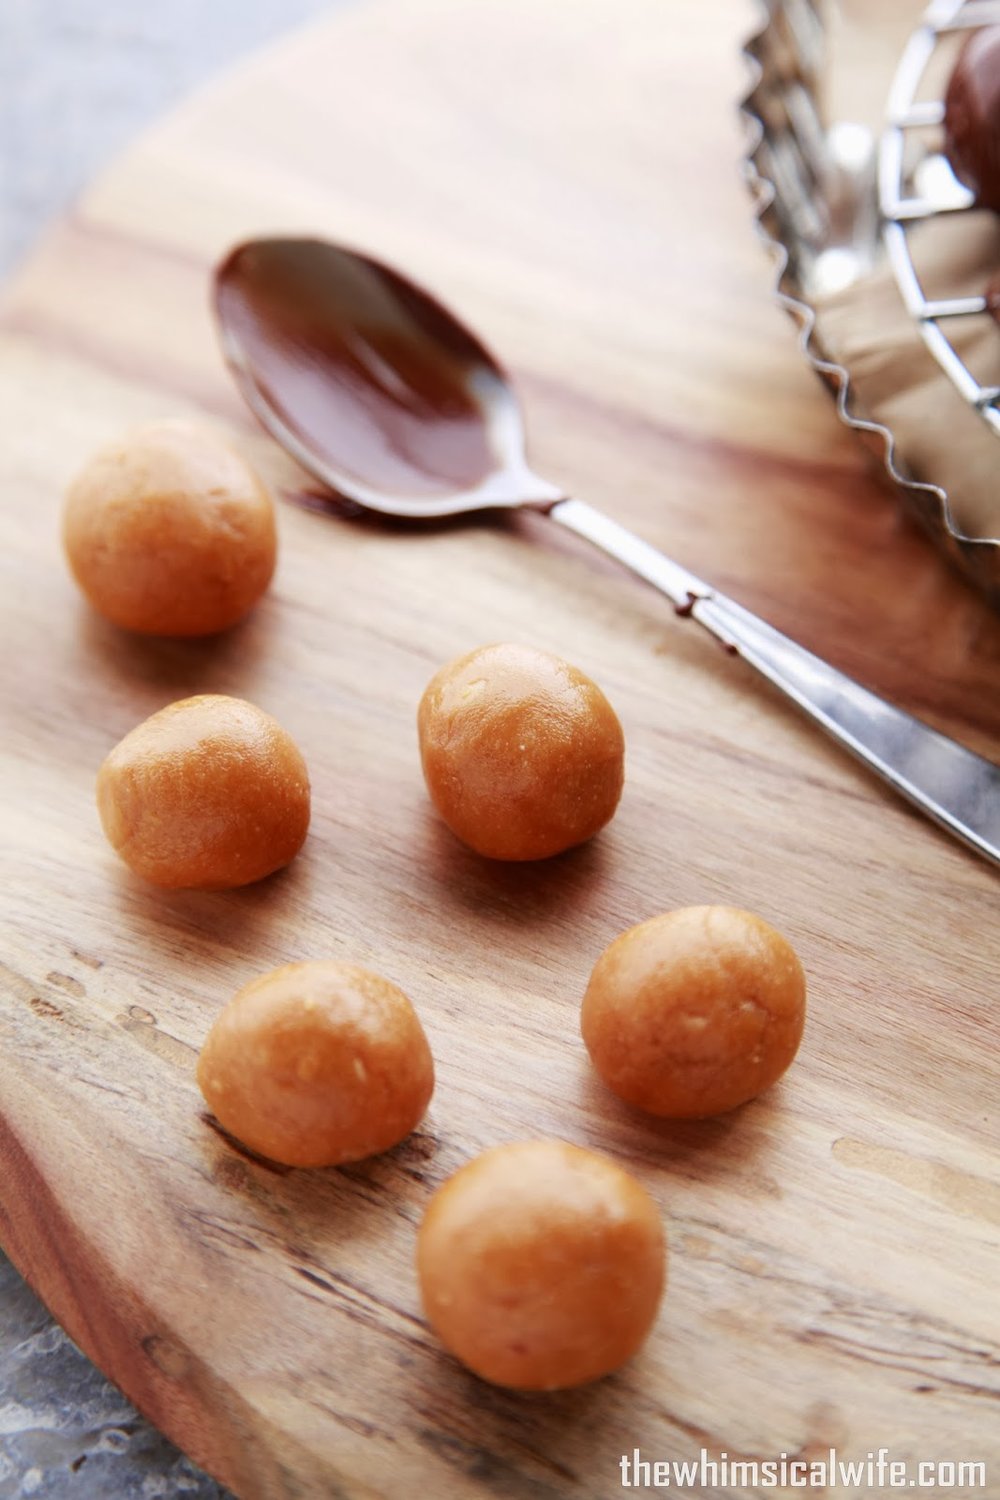
You wouldn't believe it but this recipe came from making my son a peanut butter sandwich for lunch. As I was slathering the peanut butter onto the bread and I nibbled a corner of the bread a craving came crashing down on me for a sweet peanut butter truffle coated in glistening (dairy free) dark chocolate. The urge for these came strong and fast and I listened. As soon as I got the boy his sandwich I started pulling out ingredients that would make a healthy but delicious version of a truffle. Obviously peanut butter was going to be the star of the center of these balls. The addition of coconut flour and rice malt syrup made for a sweet and chewy ball. After rolling them into bite size pieces I put them in the fridge on a lined baking tray to chill and firm up.
Then the fun begins. Chocolate, glorious chocolate. I used a dairy free version (found here) however if you have no allergy problems a good quality dark chocolate will work just as well. Rolling these little peanut butter morsels was a delight. I got to lick my fingers a lot! Oops did I just say that?

After coating the peanut butter truffles with liquid gold remove them with a fork and place back onto a lined baking tray to be set in the fridge again. My first batch I just plopped onto a wire rack and well that was a sight to behold when I tried to get the truffles off. Let's just say they left their bottoms behind in between the wire. So a lined baking tray is a must. To give them a professional look drizzle a little more chocolate over the top of the truffle with a fork to give a nice finish. It's all in the little details. Isn't there something special about glistening chocolate. It gets my saliva glands going into overload.

I gave my mum one of these the other day. Her words or lack there of said it all! "Ooomph. Mmmm. Ohhhhh". Eyes widen in appreciation. Yep they're good.

Peanut Butter Truffles
Prep Time: 15 min
Cook Time: nil
Makes: 28 sml balls
Ingredients
- 6 Tbsp smooth natural peanut butter
- 4 Tbsp rice malt syrup (or honey)
- 4 Tbsp coconut flour
- 1/4 tsp salt
- 1 tsp vanilla essence
- 2/3 cup dairy free dark chocolate (I use sweet williams) or normal is fine if you have no dairy allergy.
Instructions
Line a medium sized baking tray or plate with baking paper.
In a small bowl place the peanut butter, rice malt syrup, coconut flour, salt and vanilla essence. Mix together to form a smooth, stiff dough. Roll the mixture into teaspoon full sized balls and place onto a lined baking tray and place into the fridge for 30 minutes to firm up.
Melt the chocolate in a bowl over boiling water in saucepan on the stove or in the microwave in a microwave safe bowl.
Remove the truffles from the fridge and place one at a time into the melted chocolate. Roll around to coat completely and remove with a fork and place back onto the lined baking tray. Repeat with all the remaining truffles.
With the remaining truffles dip the fork into the melted chocolate and drizzle back and forth over the top to create drizzle marks on top of the truffles.
Place back into the fridge for a further 20 minutes or so until set.
Remove and serve immediately.
Keep in an air tight container in the fridge.
Powered by Recipage


I did a quick search in my recipes archive on peanut butter and I do have a bit of a obsession with peanut butter......
Yes I have a problem! :-)


Food & Drink blogs