

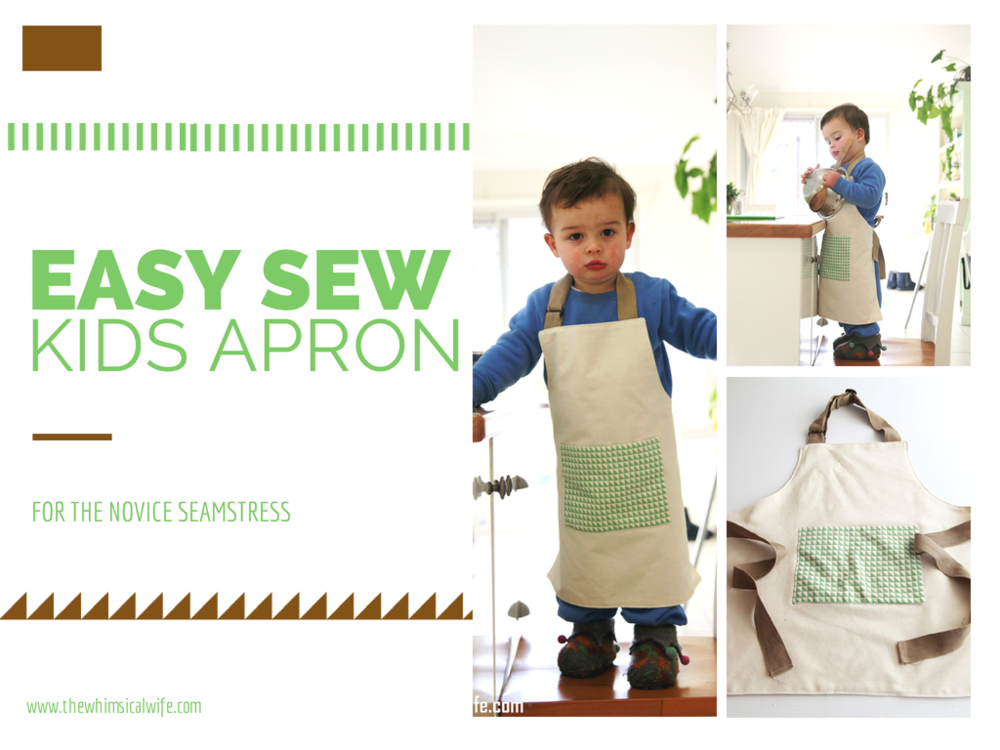
My little guy has become my little cooking side kick. All it took was one session of helping mummy prepare some vegetables for dinner and he was hooked. So any time now I'm standing at the kitchen bench trying to prep something he will pull one of the kitchen chairs over to where I am working, clamber up and stand beside me ready to help. Sometimes the help is more of a hindrance but I humour him and give him little jobs to do that won't interfere with what I am really trying to do. He loves putting chopped things into a bowl I have set aside for him or putting the scraps into the scrap bucket. Sometimes he gets mixed up and puts the items meant for the bowl into the scrap bucket. He tried out the peeler the other day and that kept him quiet for a few minutes and even got the hang of it a bit after a little while. I think I have a little Master chef in the making. I think his favourite job is helping mum stir the bowl of something sweet that I am baking. I see little fingers reaching for the batter quite often. It makes my heart swell that we can have these precious moments together and I can share my love of cooking with my son and he has an interest in it. This may not always last but I will enjoy the time that we are spending together.
During all of this helping fun I noticed he would come away with a mess on his clothes especially if we were baking something and he would wipe his hands on his clothes if he got something sticky on his fingers. I looked at purchasing a kids apron for him but after realising how expensive they were I decided to go ahead and make one myself.... without a pattern. This project only took me an afternoon to whip up and isn't to complex to complete for the novice sewer. There are probably proper patterns out there to for kids apron but I figured it can't be all that hard to draft a simple apron pattern from a piece of my local newspaper. Easy peasy and cheap.
I skipped off to the shops and purchased some fabric for the project. I wanted to go for an organic looking apron so I chose an unbleached calico as the base of the apron and funky green geometric print for the pocket on the front. I also picked up some thick cotton ribbing for the back and neck ties. I cheated and pulled off a adjusting mechanism from an old apron that enables the ribbing to be adjusted around the neck. I know these can be purchased from Spotlight or your local craft store. I followed how it was put together on the old apron. and reattached it J.D's apron. Anyway I am getting ahead of myself here let's jump into the tutorial on how to create you own toddler apron.
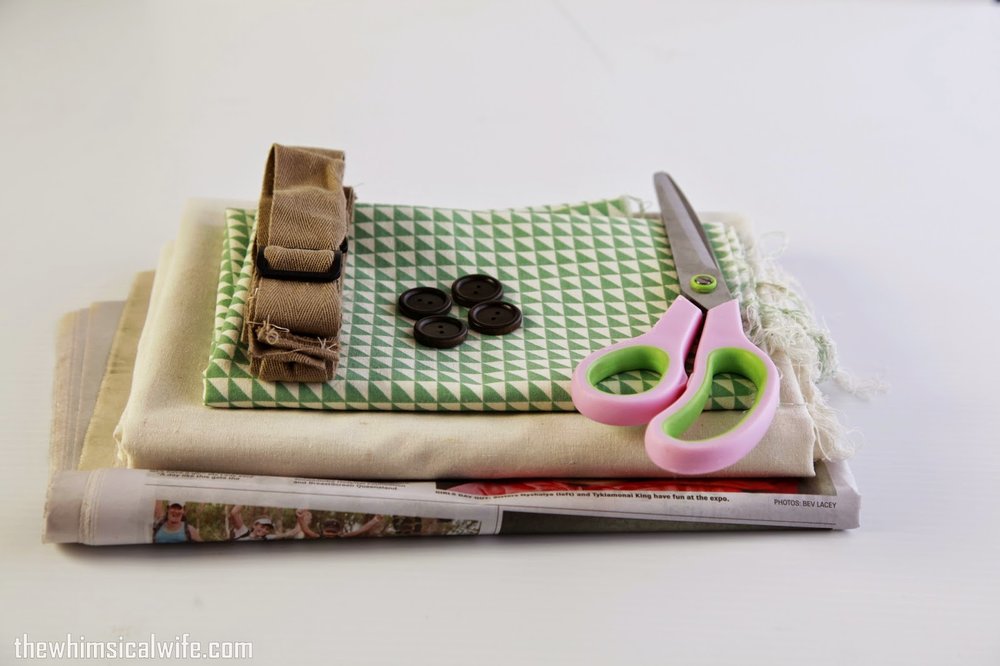
- Sewing Machine
- Thread
- Tape Measure
- Newspaper
- Pen
- Pins
- Scissors
- Base Fabric for the apron (I ordered over 1m and had heaps left over - albeit the fabric was 210cm wide)
- Printed Fabric for the pocket (around 30cm worth)
- Ribbing for the neck and back ties
- Buttons or any other embellishments you want to add (which I forgot to attach in the end)
Measure Apron Length - Measure from about your child's collarbone to a fair way below the knee (if you want them to grow into it). Add on about 2 cm for a seam allowance.
Measure Apron Width: I loosely wrapped the tape measure around my child's waist and took an approx estimation on where I want the apron to finish at the back. Add on 2cm for a seam allowance.
Measure Width For Apron Top: Measure from just outside each underarm. Add 2cm for seam allowance and then divide in half.
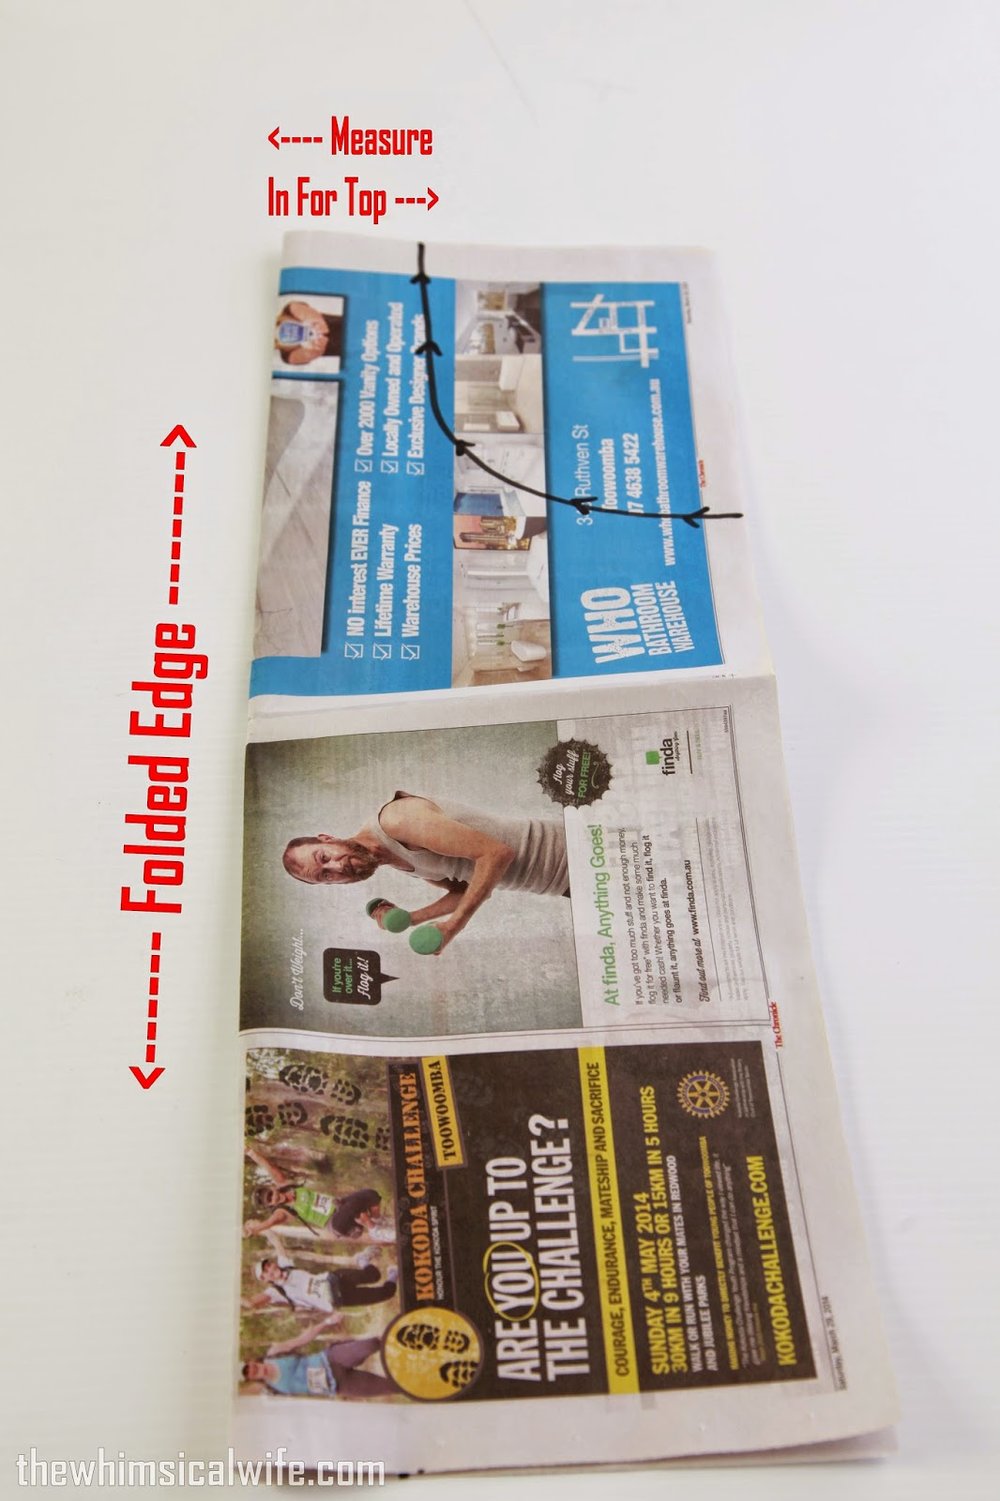
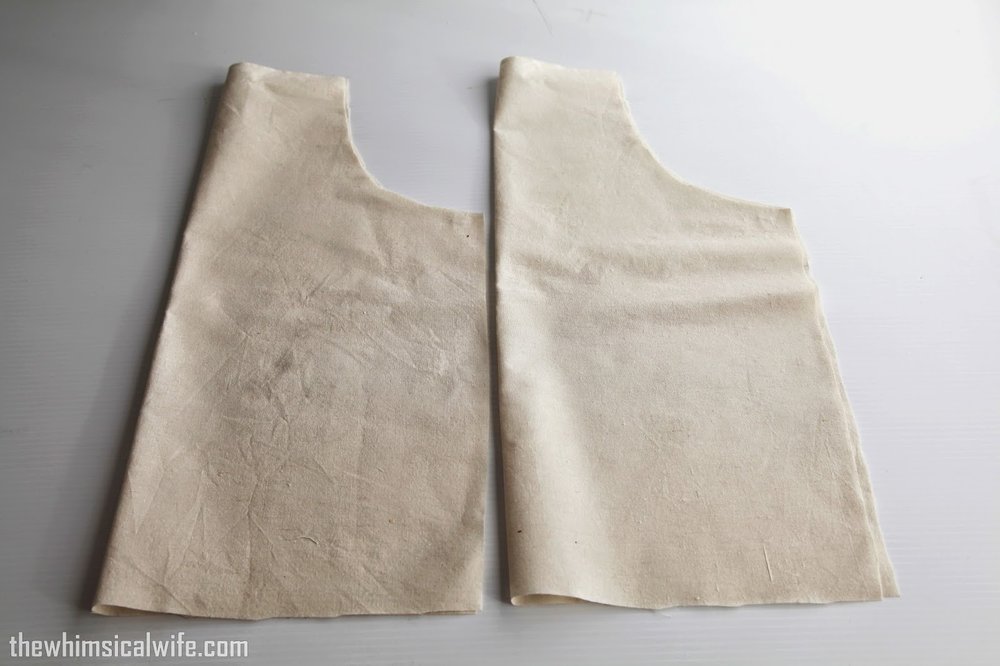
Transfer the Apron Length & Apron Width measurements to a piece of newspaper and cut a rectangle out using the width and length measurements you just acquired.
Step 2:
Fold the piece of paper in half lengthwise.
Measure in from the folded edge using the Apron Top Measurement (*remember it needed to be divided in half)
Sketch a rough semi circle shape starting from the top measurement down to the long edge.
* Do not do this on the folded edge side* (see picture above).

Step 3:
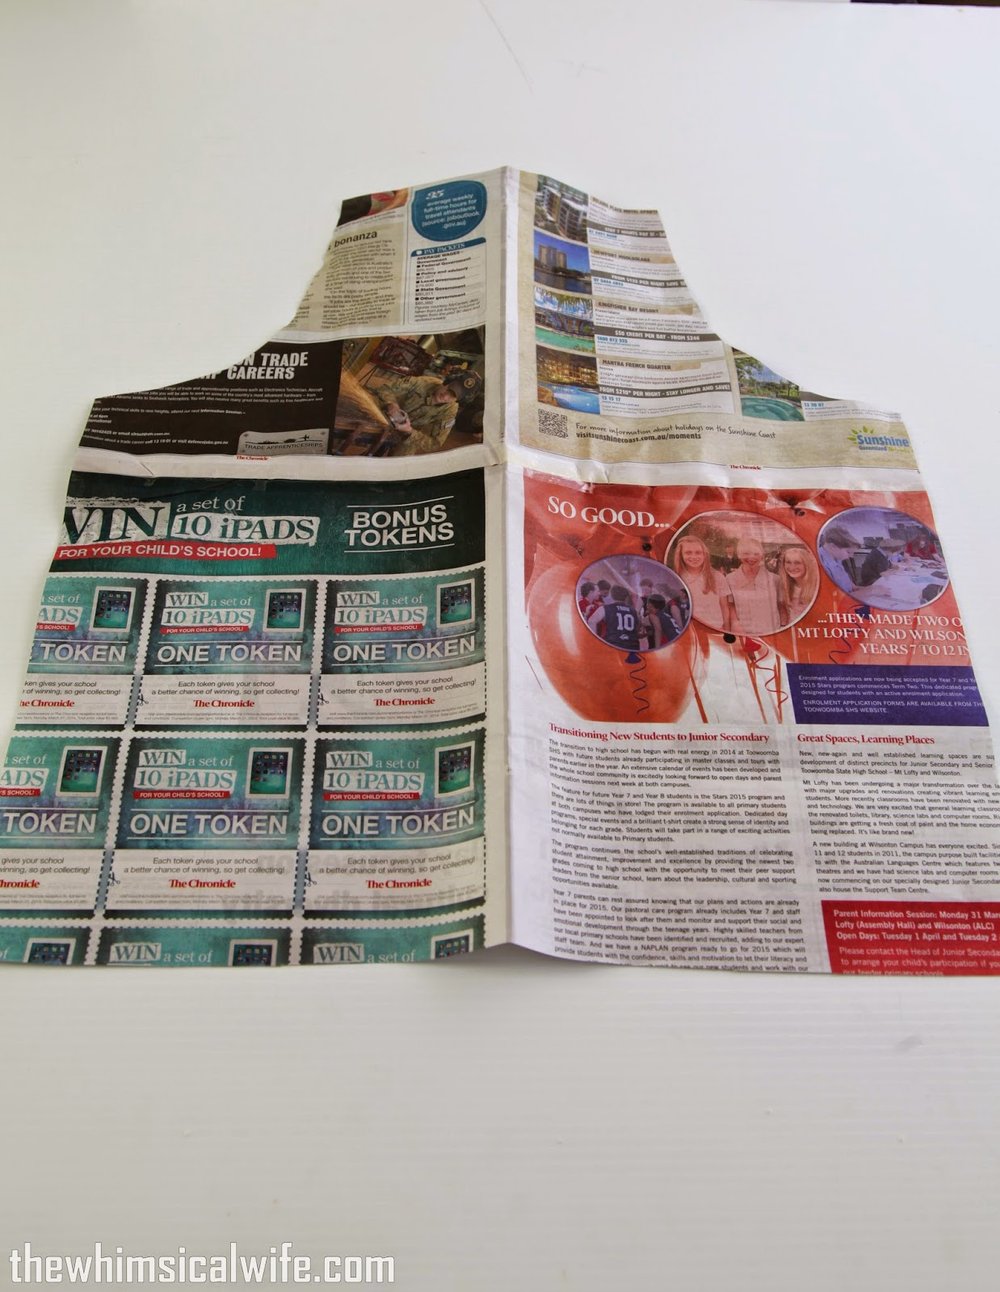
Cut the semi circle out and fold out the pattern. Check the pattern against the child to see that the fit is good and see if you need to make any changes.
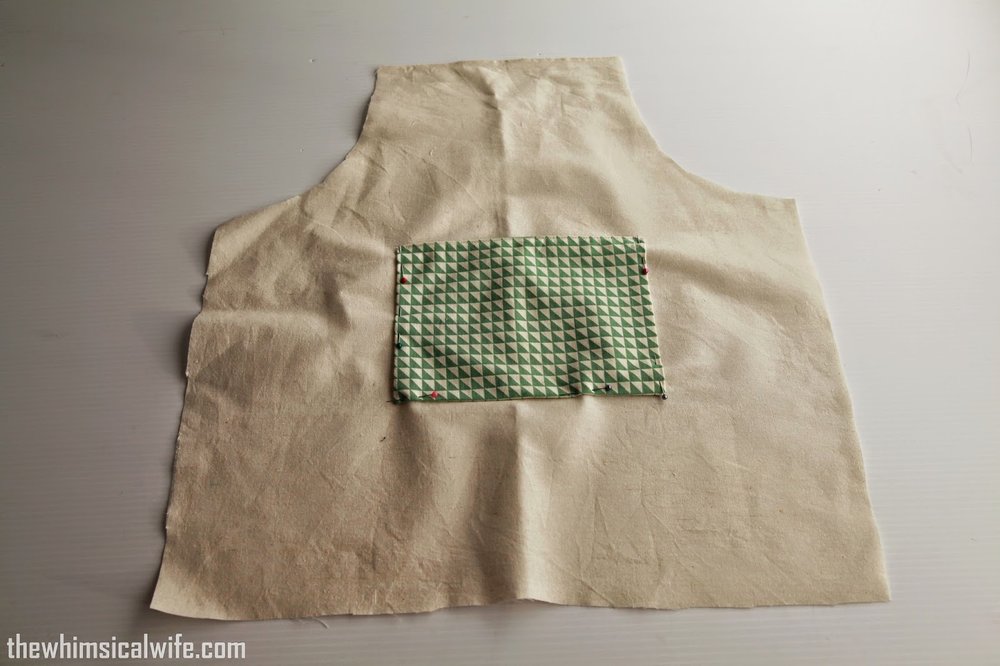
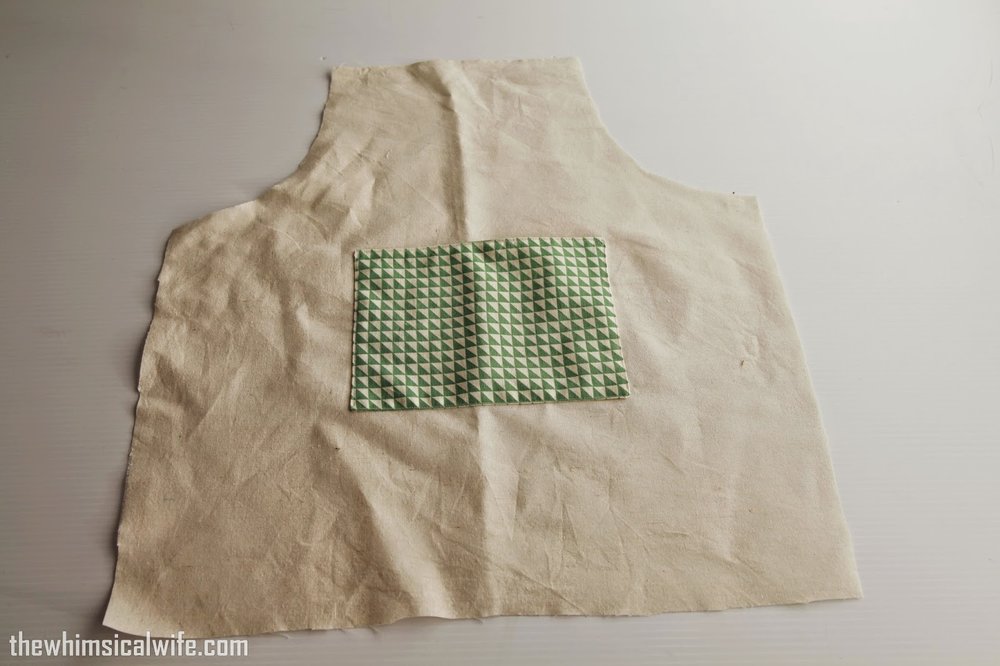
Pin the apron pattern onto your base fabric and cut TWO pieces out.
Step 4:
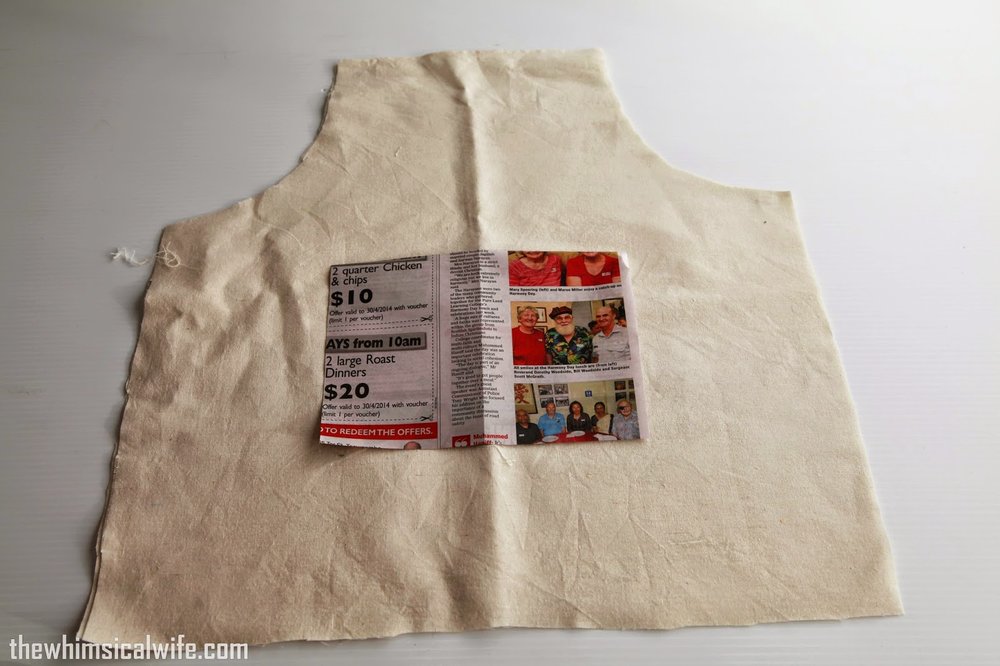
Cut a small rectangle out of some more newspaper in proportion to the apron. This will be the pattern for the pocket. Remember to allow for a seam allowance.
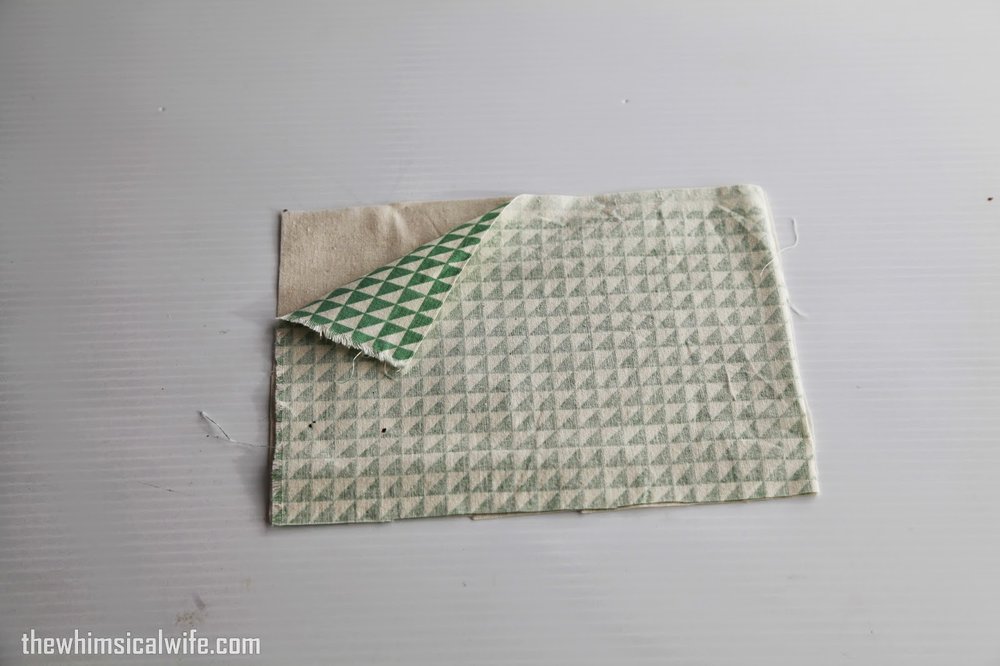
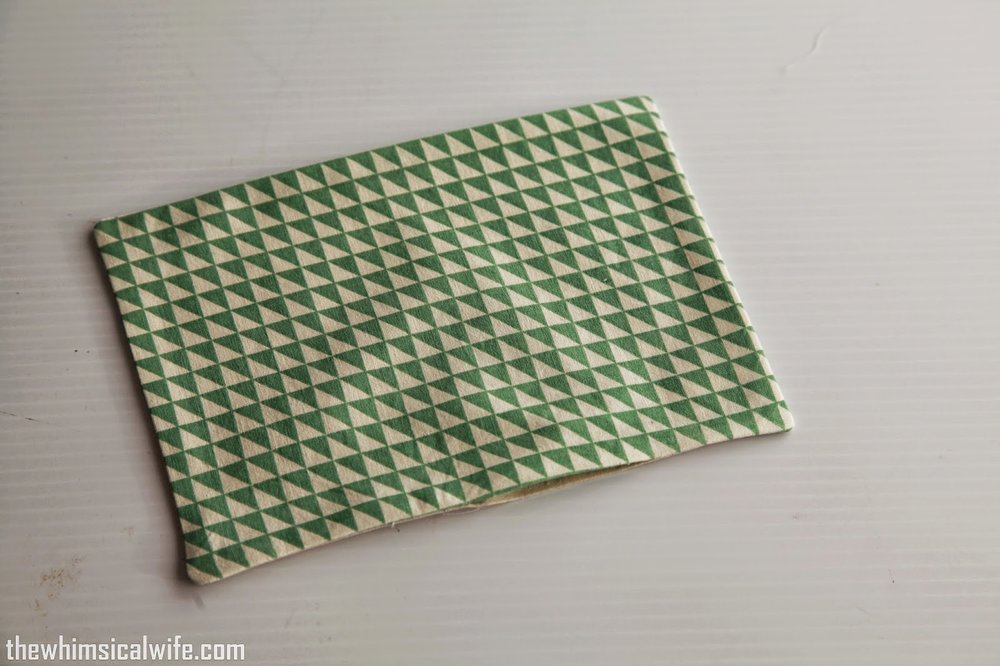
Cut out ONE pocket piece from your base fabric and ONE pocket piece from your printed fabric.

Step 5:
Pin the pocket pieces right sides together.
Leave a 5cm gap along one of the long edges. This will allow you to turn the pocket the right way out.
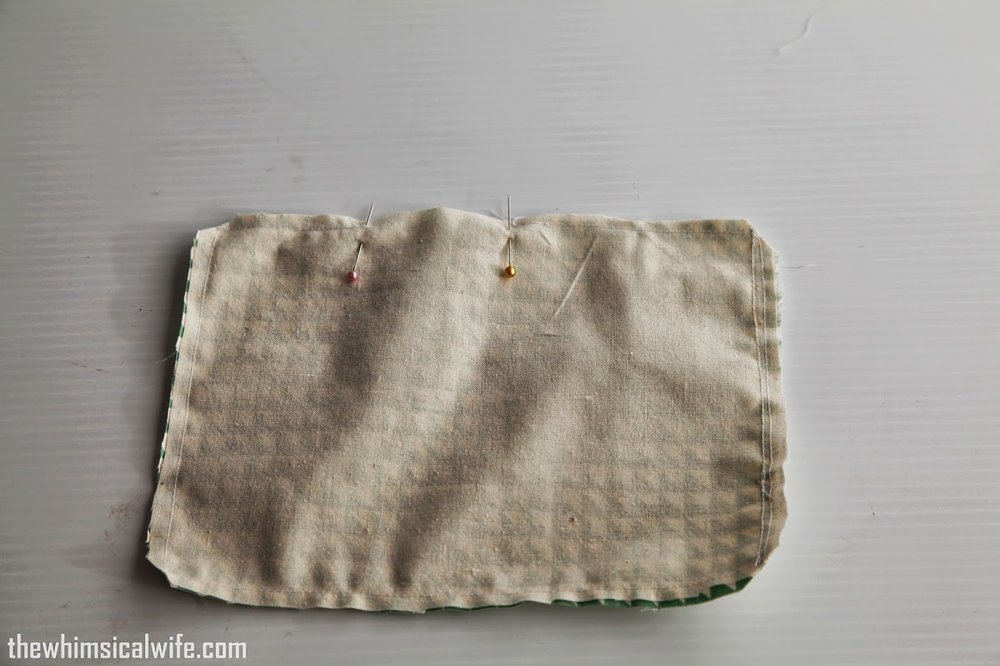
Sew around the pocket. Snip the corners.
Turn the pocket the right way through the opening.
Push the corners out with the end of a pen to get sharp finish.
Iron the pocket flat.
Step 6:
Run a thin top stitch along the edge with the small opening. This will close it up.
Pin the pocket to the front of one of the apron pieces. Make sure the top stitched edge is placed so that it becomes the opening into the pocket. (see picture below)
Top stitch around the pinned edges of the pocket.

Measure out the ribbing for the waist pieces and the neck pieces. (*I used the adjustable pieces from an old apron for the neck pieces. If you don't have these, two pieces of ribbing either side to tie around the neck would suffice)
Pin to the front of the apron.
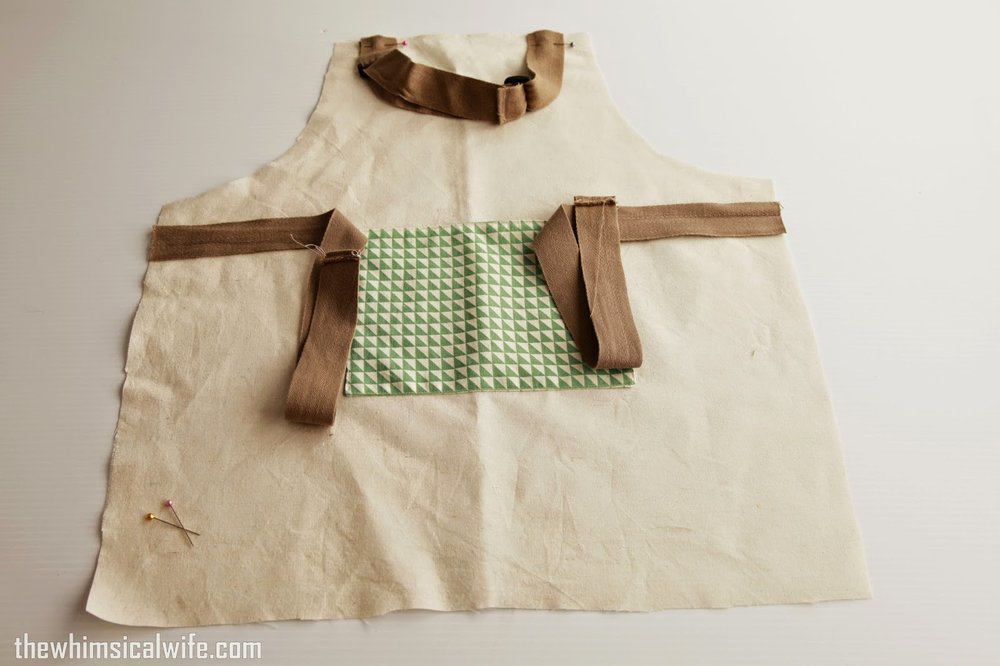
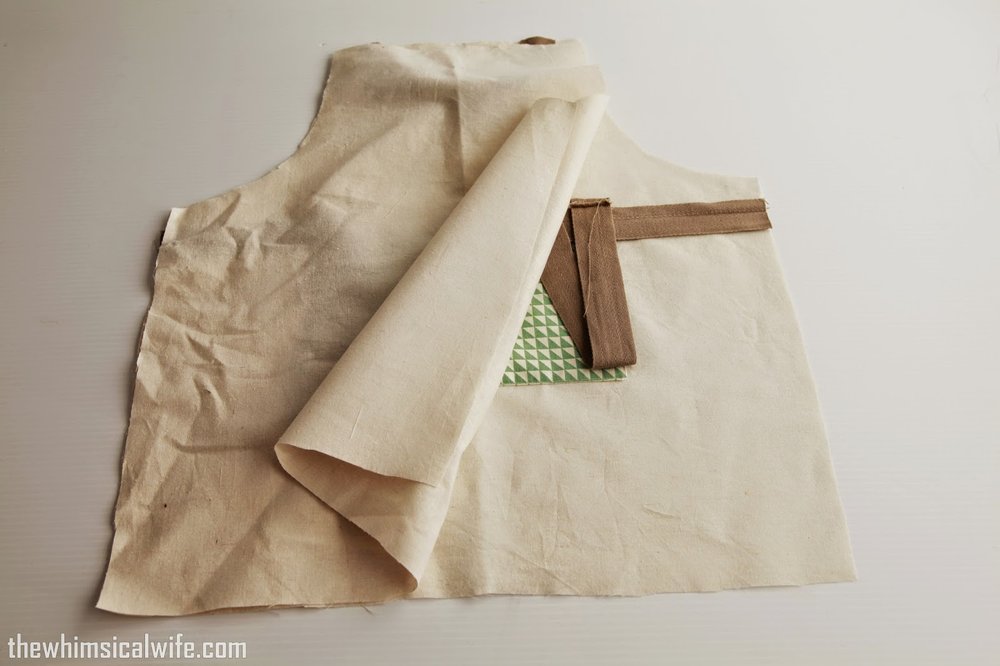
Place the second apron piece over the top encasing all the pieces in between.
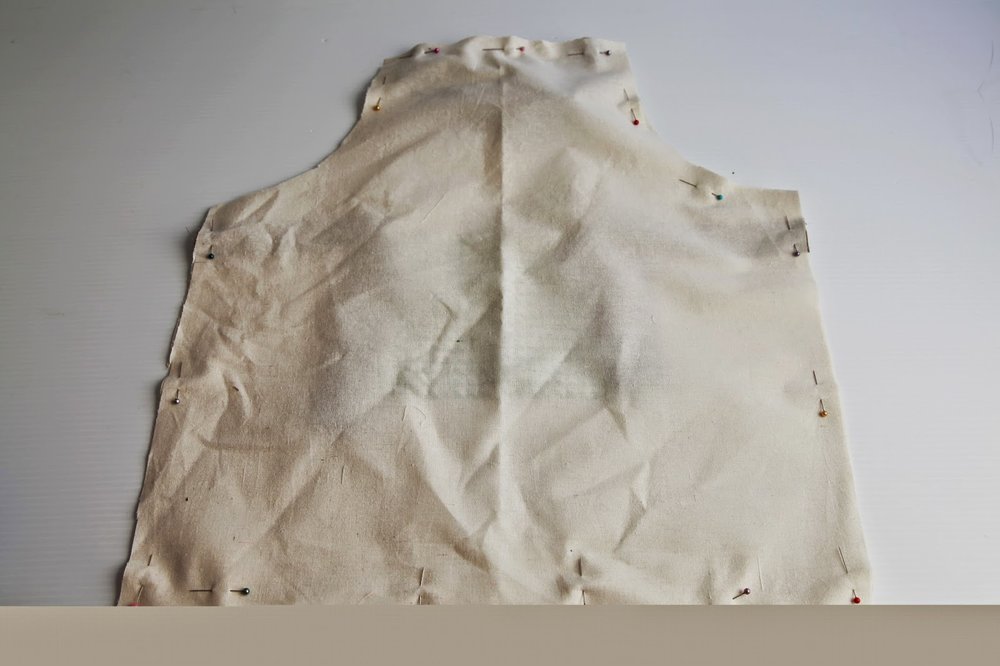
Pin together. Leave a 10 cm opening at the bottom of the apron to turn the right side out.
Sew all the way around.
Step 9:
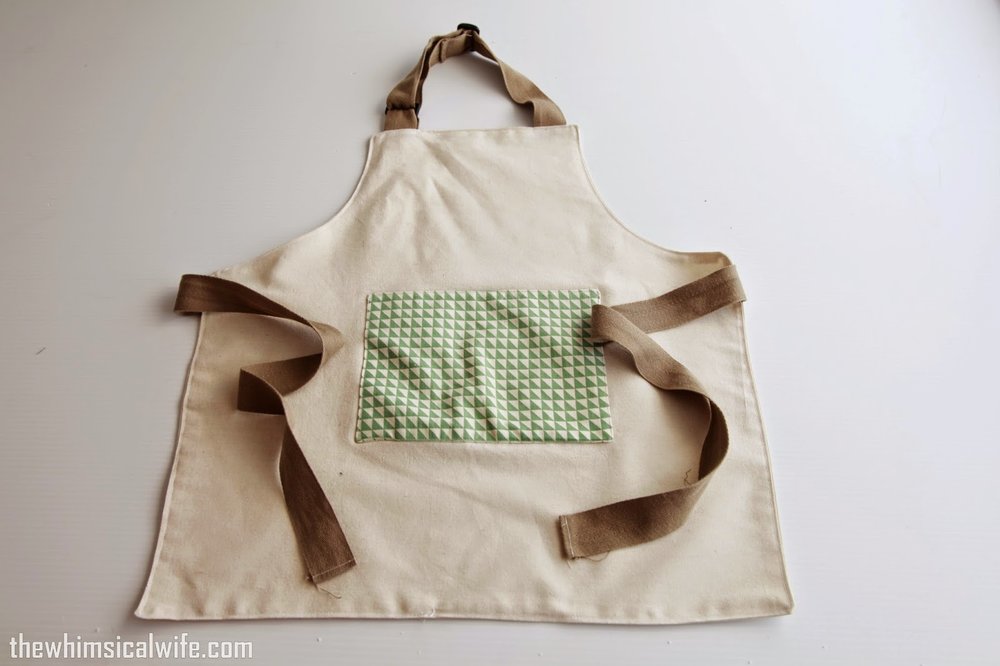
Turn the right side out through the opening at the base.
Iron out flat and top stitch around the entire apron enclosing the opening at the base.
Voila YOUR DONE!!!
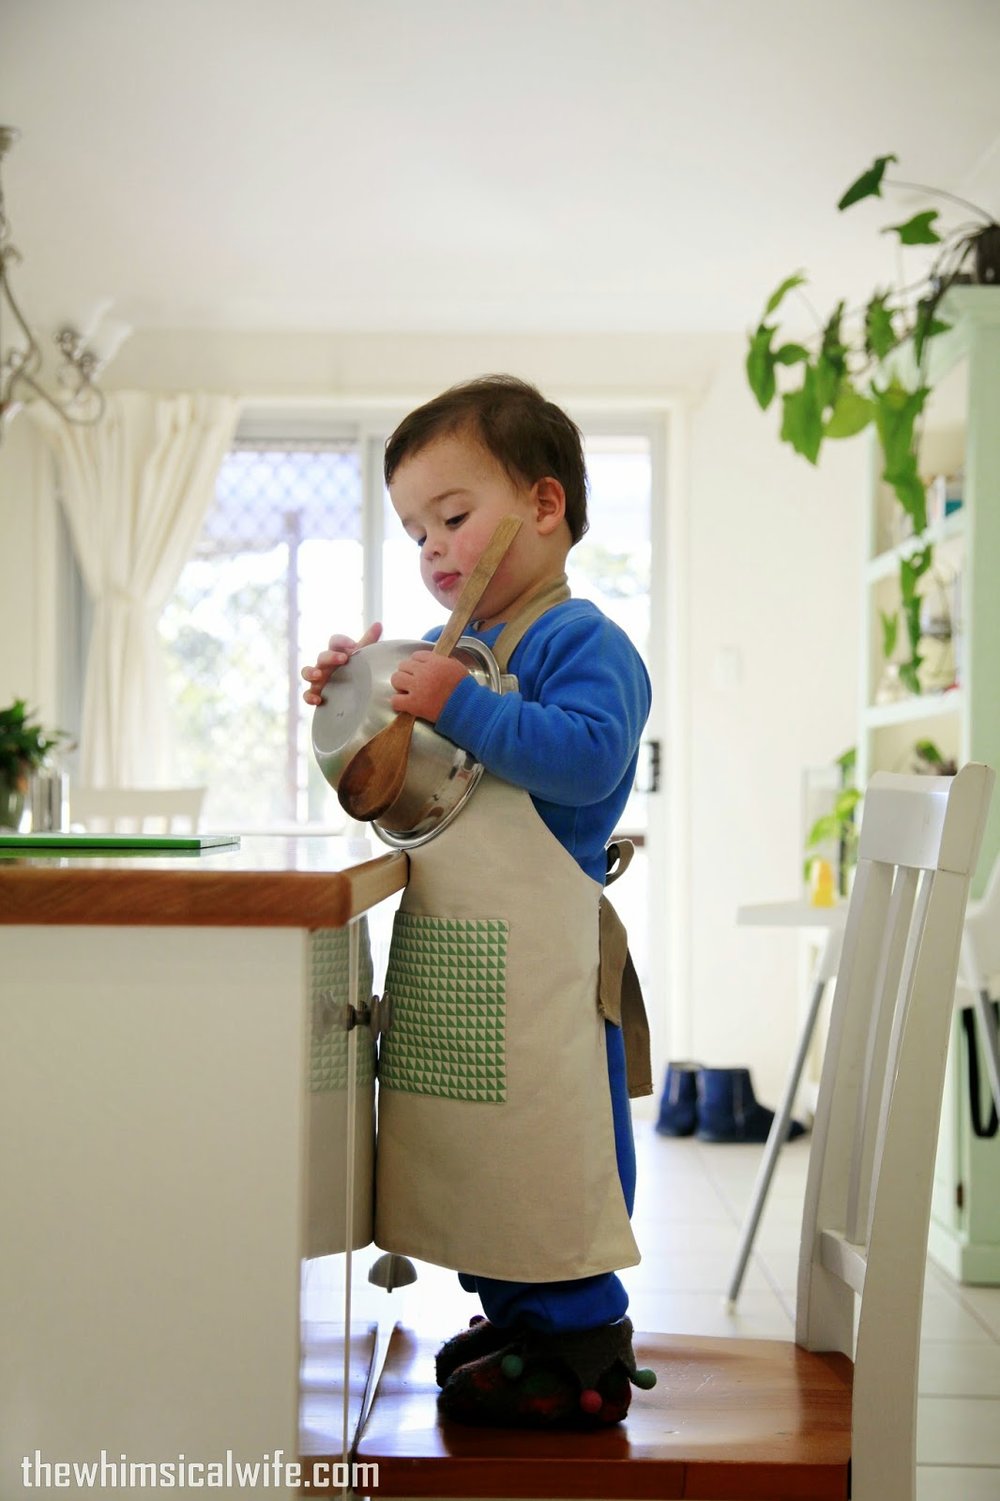
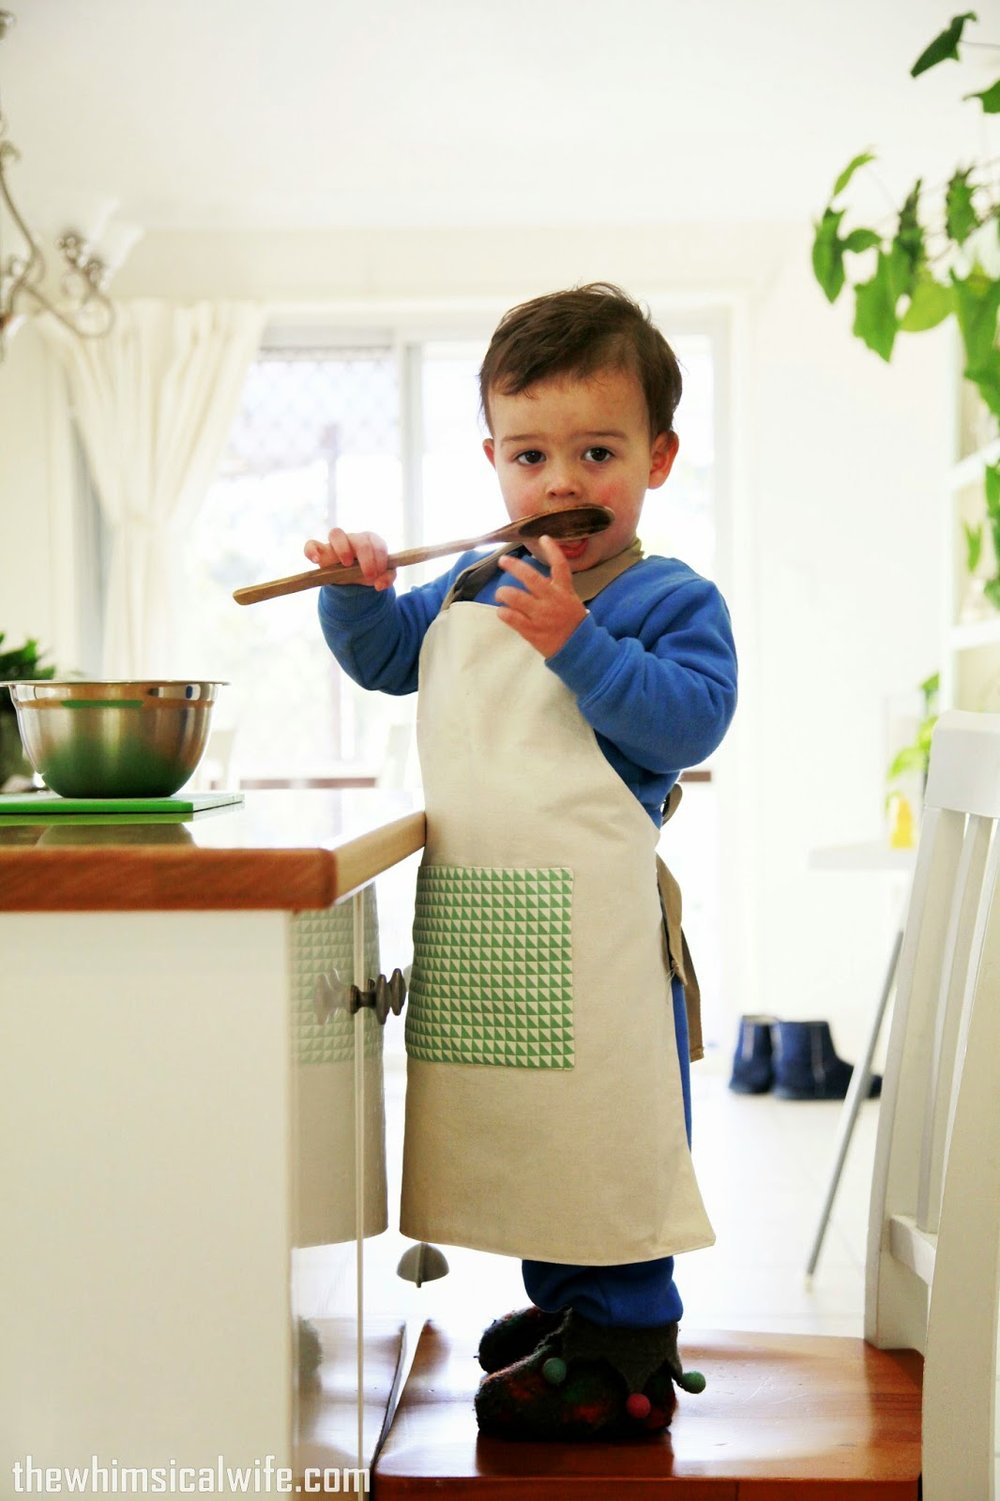
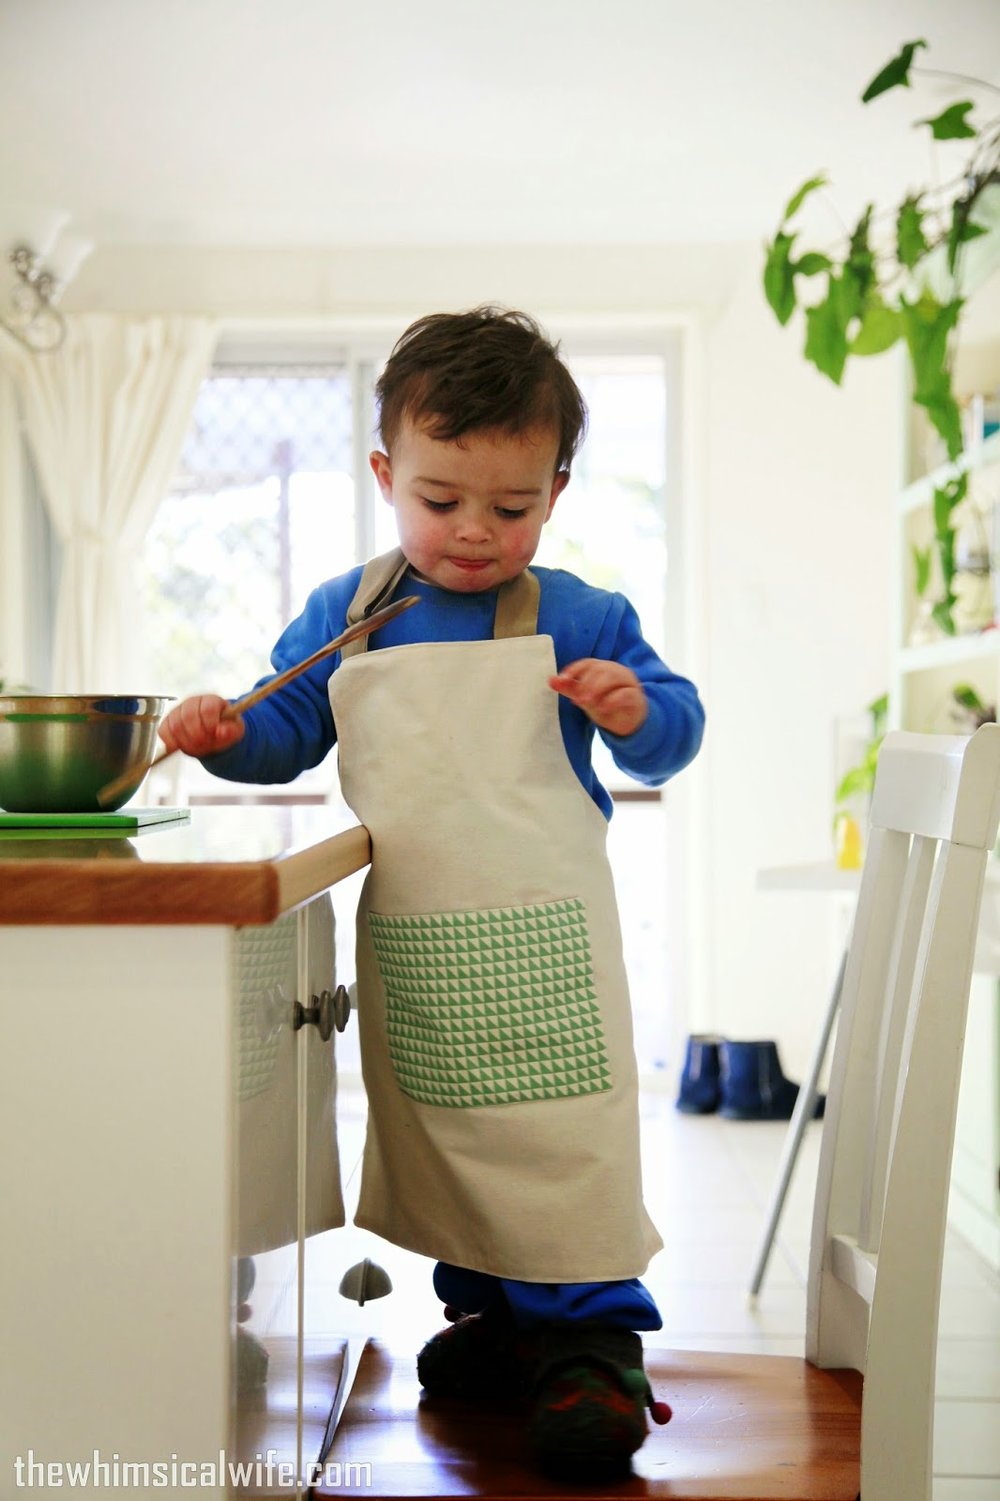
J.D and I tried out the new apron the other day in our afternoon ritual of prepping vegetables for dinner. He was a little unsure about what it was all about but once I showed him he could put all his utensils (wooden spoon etc) in the pocket at the front he was sold. How cute does he look. My heart melted watching him "cook" in his little apron. I made it big enough that he will be able to grow into it in the coming years. I can't wait for the many cooking sessions this little guy and I will have. Happy sewing everyone.


Food & Drink blogs