

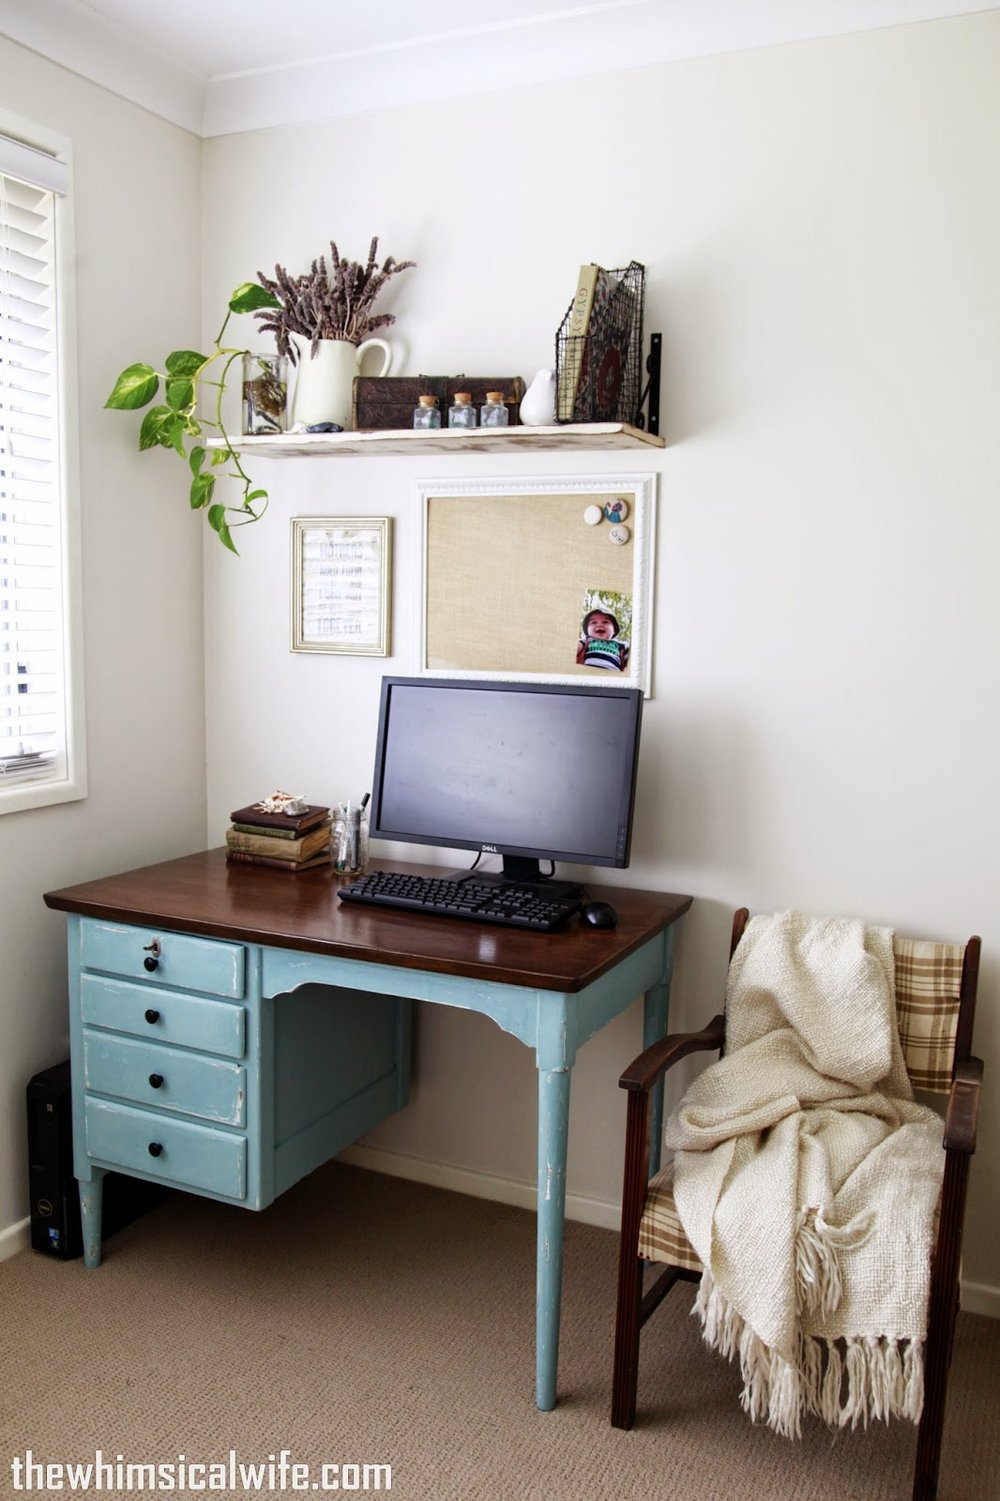
So over the past few weeks I have been slowly revealing parts of my new office/photography studio that I have been slowly doing up. I started with the rustic shelf above the desk and showed you how to make your own wood stain using vinegar. I then teased you a little bit more with the desk below the shelf and showed it's transformation from ugly faux orange stained piece to a delightful little number. So I thought I should now show you the whole room in it's entirety. Well the pretty corner of it anyway. As you can see in the picture below this is what the office was filled up with before. This thumping big office desk took up most of the space in this tiny room. It was the first thing that had to go when I knew I would be needing this room to be part of my photography studio and office space. So I popped it onto a local facebook buy/swap/sell site and managed to offload it for $50. Yes I made money in doing this space up actually. I had so much junk stuffed in the cupboards of this room that after cleaning it out and popping the things I didn't want onto my local facebook buy/swap/sell site I managed to make another $70 or so. Score.


The picture above is what the office originally looked like before we moved in.... it was in a sad and sorry state. You can see our house renovation tour here.

Anyway back to the room.... Here is a break down of what I spent on things to do the space up:
- $15.00 - Desk
- $10.00 - Paint - Sample Pot
- $12.00 - Polyurethane Finish
- $15.00 - Wire Magazine Holder
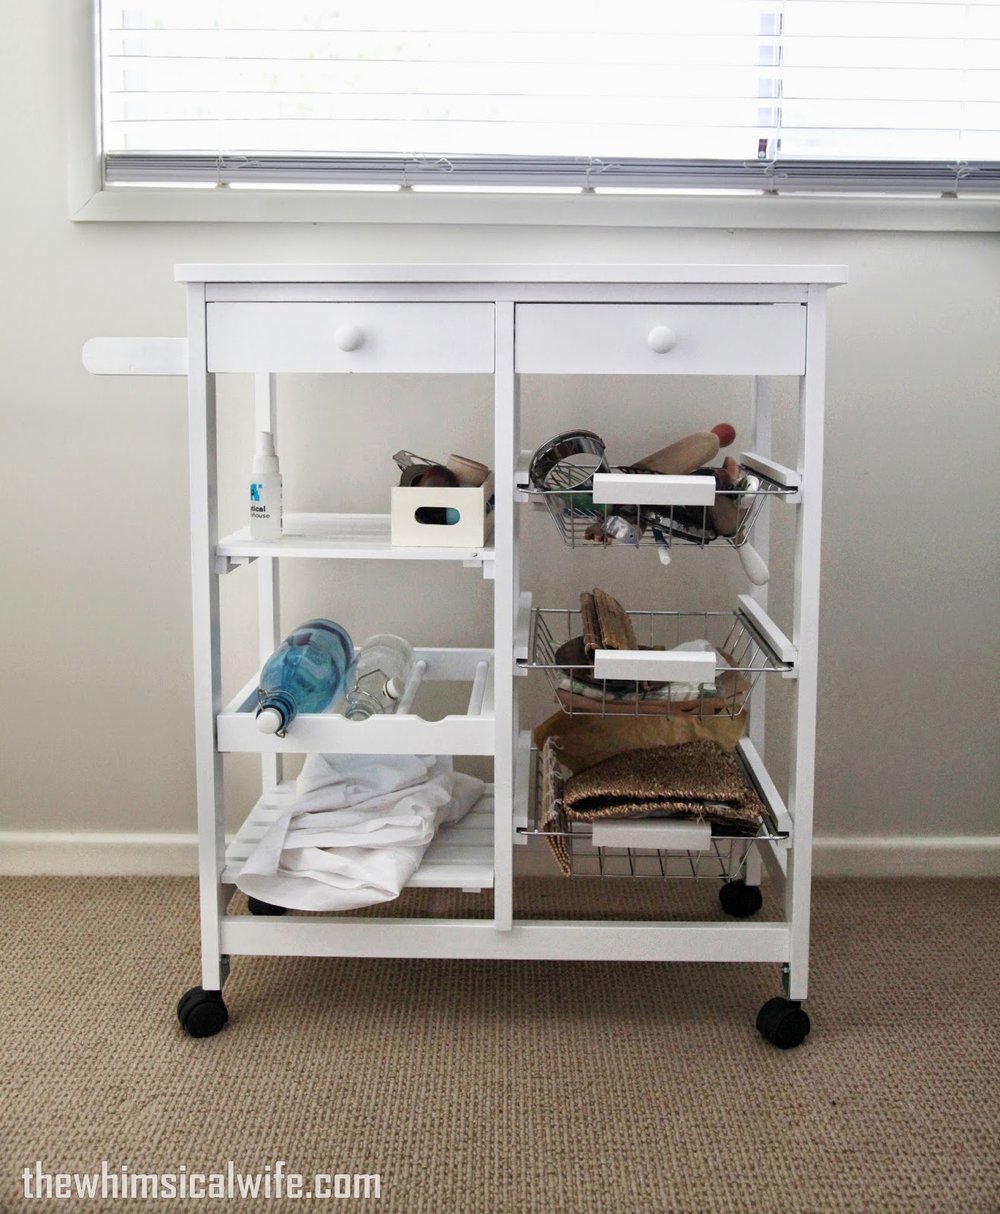
- $40.00 - Kitchen Trolley Bench
- $92.00 TOTAL
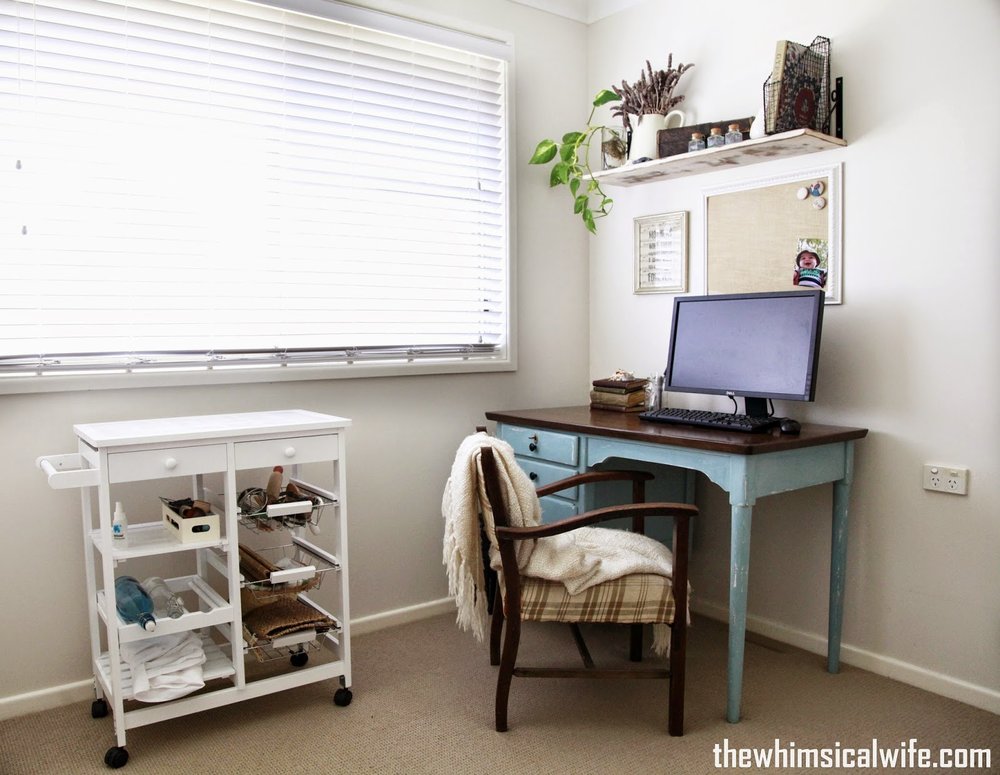
All the other bits and bobs in the room I already had lying around hidden in cupboards and drawers.Yeah I know I am a bit of a hoarder. The old chair pictured was given to me by a friend and now I finally have a place to put it. I had so much fun pulling all the bits out and playing around with them and styling them around the room. It made my little decorating heart sigh in contentment.

I created the print below the shelf myself. No need to spend a fortune on a store bought one. I found a quote that I really liked and created a word document with it in it using a rustic font. I had a book of old piano sheet music and simply pulled out a page of the book and printed onto the sheet music. I only have a simple ink jet printer so there is no need for fancy equipment. I had a old gold frame lying around and popped it in that. Voila easy, budget friendly print!
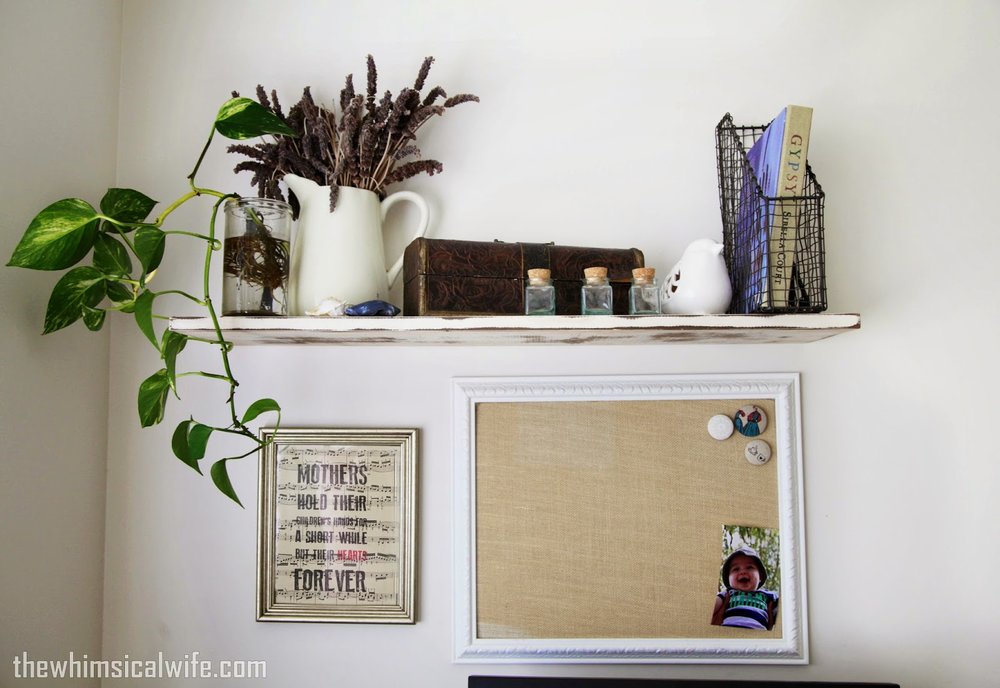
Also no need for fancy potted plants either. We just put a cutting of a plant in an old mason jar filled with water and actually forgot about it for a while. When I remembered to look at it again it was nearly dried out but had grown out heaps from the original cutting. So I thought I would leave it in there to grow until it won't fit in the jar anymore. I will keep an eye on the water levels though. I love how it trails down the side of the shelf. I am not sure what type of plant it is... any body know? I can't say all plants will love being dumped in a glass of water so you might need to use one similar to the one pictured.

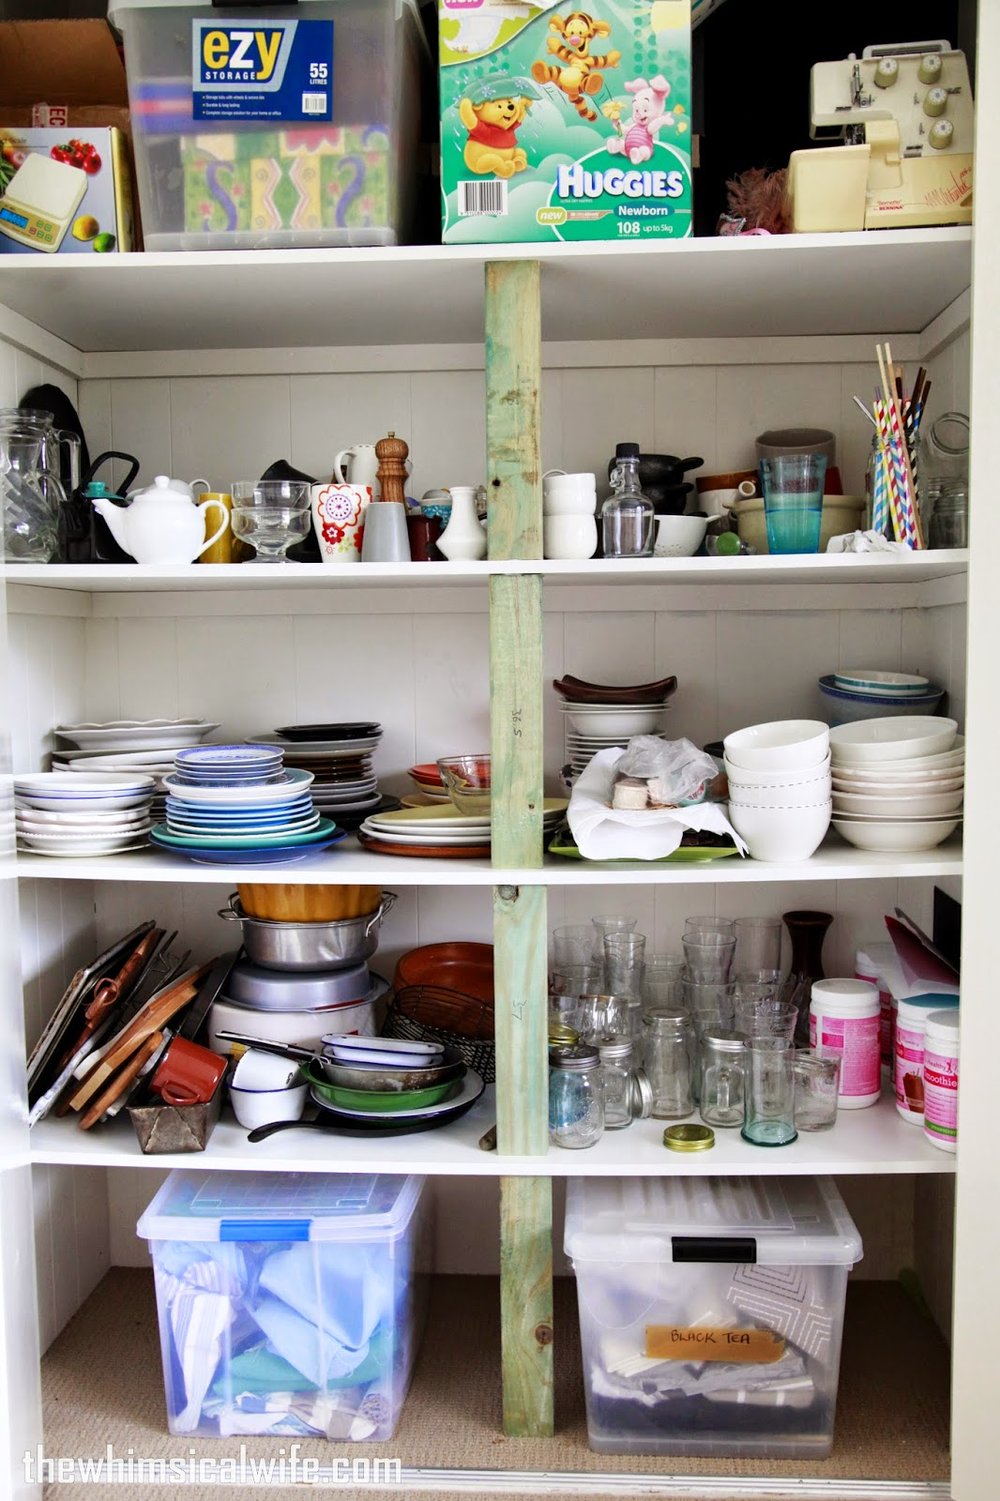
I will show you the messy side of the office. Just a peek but the cupboard below is my new food photography props cupboard. Oh the space is wonderful... mind you I have nearly filled it up with my current props so I will have to go easy on any new purchases. Hubby placed pieces of wood between the shelves to stabilise them under the weight of all that crockery. I didn't want to wake in the middle of the night to a terrifying crash of breaking glasses and plates. Eeek that would be disastrous.
I had to show you my new little kitchen trolley I picked up from Aldi recently for a bargain price of $40. I was using our ironing board to photograph all my food on and knew it was time to upgrade to something a little bit smaller and maybe a little bit more stylish. Plus I was sick of having to remove my food photography set up from the top to iron a shirt. This little trolley not only allows me more prop storage (yay) but it has wheels which helps me easily move around the trolley to catch the best light. I keep all my bits and bobs that I need quick access to in such as knives, forks and spoons. I have already given it a fair work out finishing off my last freelance job this past month. It worked beautifully and am happy with the purchase. I have now finished all my freelance jobs this past fortnight so I am on my self imposed maternity leave until this baby is ready to come in late October. I won't be getting bored sitting around like a lady of leisure though.... I have a long list written out on a piece of A4 paper of all the things I want to get done before this baby is born. No rest for this pregnant mumma.... maybe just a little nap every known and again (like every second day).

If you love this be sure to pin it! :-)


Food & Drink blogs