

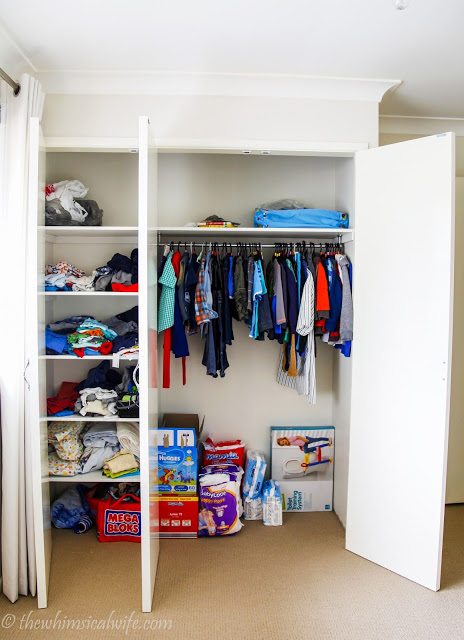
I had finished this room a few months ago but the arrival of somebody special put my plans to reveal this room on the back burner. I am so glad I can share it with you today and am really pleased with how this room turned out. You can see in the picture below what the room looked like before. It use to be our guest bedroom which was then turned into my photographic studio. When we fell pregnant with Little Miss I knew we would have to switch J.D from the nursery and make this room his. It was a bit of a process to do as the room had no built in cupboards. So hubby was put to work to install some into this room before Little Miss`s arrival.


I had more progress photo's of the cupboard building but I can't seem to find where I put them at the moment. So the picture below is the shell of the cupboard. It was just a blank wall to start with but my amazing DIY hubby transformed it into a built in cupboard. This man is amazing! He has done some many things around the house which has saved loads of money. I may not thank him enough for all the wonderful things he gets up to but he's a keeper! He started by framing out the cupboard skeleton and then covered it in plasterboard. Cornice and skirting were then added and then the corners of the plasterboard were plastered. Hubby hated doing this bit. Poor guy spent a few hours making sure there were no lumps and bumps on the finished product.

Shelving and hanging space were then created in the interior of the space and then the final touches of the edging, wall posts and doors were added to finish it off. Off course the whole thing was painted too. When I explain it like that it seems like a simple job. It was not! However hubby finished it off in time to move J.D into his new room and got him settled before I gave birth. We used the same handles and door design as the other rooms in the house to keep the flow going.

How good does it look! Great job Hubs! You're my hero!

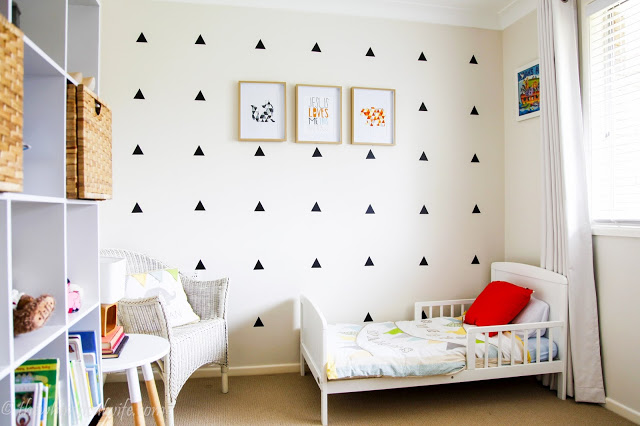
Anyway let me give you a tour of the room. I had so much fun brain storming and creating this room. My Boy's Room Pinterest Board was chockers full of inspiration and ideas that I wanted to put into this bedroom. I could have gone wild but had to hold myself and stay within a budget. I made sure I reused most of the elements from his nursery to save on money and not waste what I had already created. I reused the tissue balls I made for on top of the bookcase, the bunting, elephant pillow and his quilt cover.

I re-used the cube book case that used to store food photography props and bought some cane baskets that were on sale at Bunnings to use as storage. These hide his shoes, toys and miscellaneous objects that I don't want on display. I picked up the cute half painted side table from K-mart and the lamp from Masters. There will be a full run down of where I got most things at the bottom of this post. You can see how I created the crackle initials in this post.


I think you would call the look I was going for in this room was a slight Scandinavian feel. I pulled the features that I liked most about this type of design out and used it in this room such as the neutral palette of whites and pops of black from the wall decals. I added warmth with the use of the wooden legs on the side table, pine baskets and wooden photo frames. The subtle pops of colour with the geometric prints, cushions and accessories in the bookcase add a real sense of fun to the room. That was the most important as this was going to be a little boy's room and it needed to have a some playfulness! Because trust me the little boy that sleeps here is full of it!
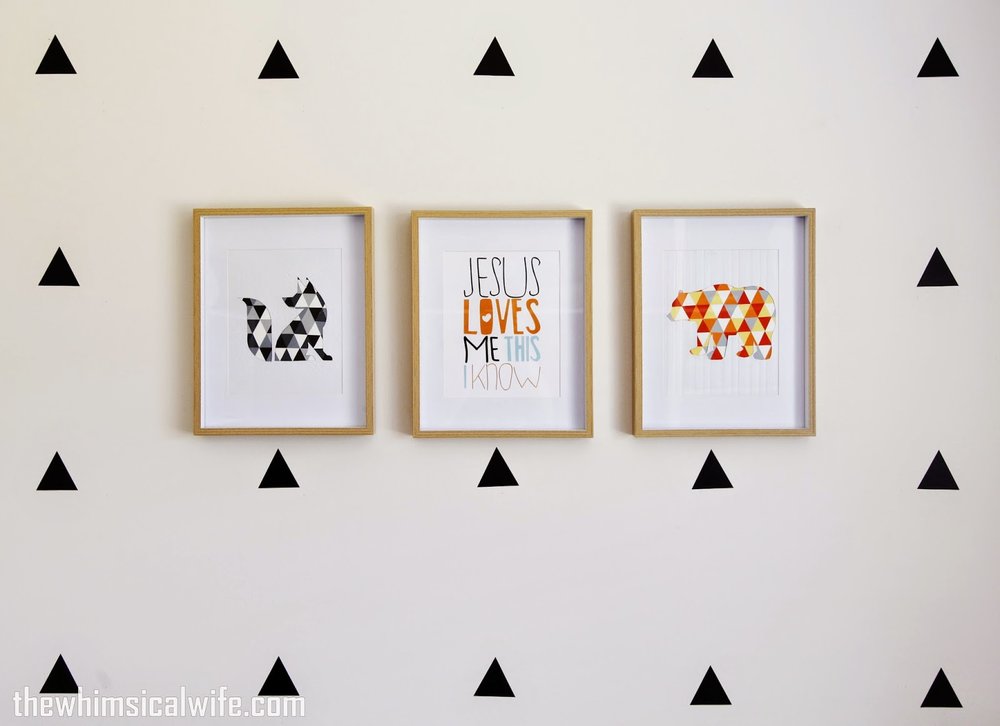


geometric prints/ tutorial here
Jesus loves me wall art/ by the wall space
black triangle wall decal 7cm/ wall effect
dipped white side table/ kmart
wooden table lamp/ masters (similar)
woven storage baskets/ kmart (similar)
burnt orange cushion/ kmart
wooden photo frames/ target (similar)
white cube storage unit/ kmart (similar)
Now I can't wait to start decorating Little Miss's room. I have my inspiration board started on Pinterest. I have picked a colour scheme of pink and gold and have bought some material to start making a cot quilt with. That's as far as I have got. Things are taking a little longer to do with two kids and I haven't had the energy to start anything on her room as yet. All in good time. I might get a chance while hubby is on holidays over the Christmas break and get started on painting a side table and maybe cutting out the pattern for the quilt I have in mind. Anyway I wish you all a wonderful and Merry Christmas and a blessed and Happy New Year. I probably won't get a chance to post again until the new year so au revoir and see you next year!