


Bathroom Makeover For Under $5000 - Part 2 - Reveal


So it is time to show you the full reveal of our newly made over bathroom. I showed you inlast weeks post the process in which we went through to renovate this space. Our initial time frame was 2 weeks but with a little miscommunication with the shower screen installer I think the whole project pushed out to be around 3-4 weeks. Thankfully we have a second shower which we were able to use while we waited for the shower screen to be installed. Our initial budget to renovate the bathroom was around $3700 but we decided to splurge a little on the fixtures and fittings such as the tap ware, bathroom accessories and the vanity unit which pushed the budget to be under $5000. I'm still happy we spent the little bit extra on the accessories as it finished off the bathroom nicely.
To remind you this was our project brief for the bathroom:
- Get a new shower screen
- New feature tiles around the bathtub and shower
- Fix the cracked tiles in the shower
- Re-grout the floor
- Re-chalk the entire bathroom
- Replace the toilet, vanity unit, towel rails & mirror
- Replace the tap ware and accessories
- New wall colour
- Add an interesting feature/art work
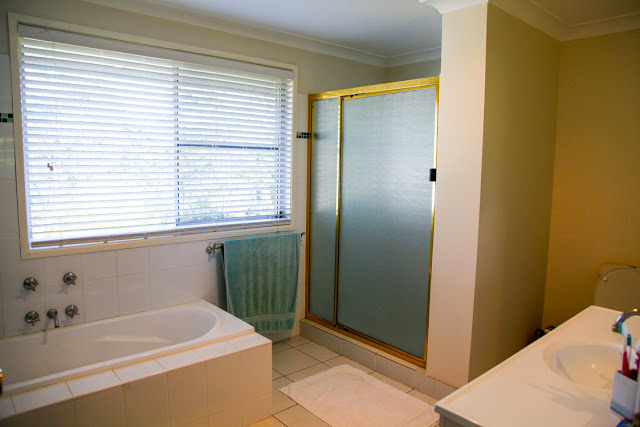
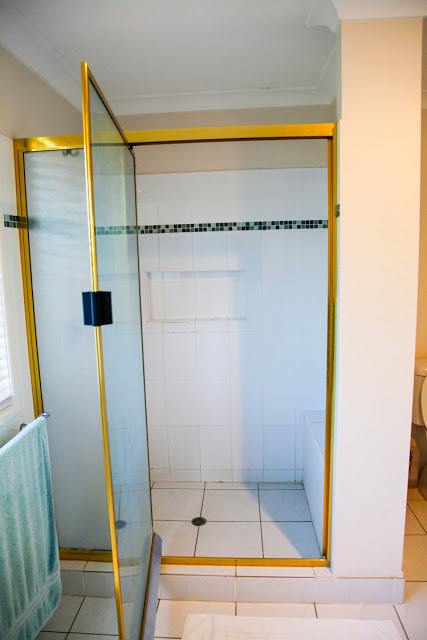
So let me take you on a little tour of our sparkling new bathroom and some before and after shots. First stop the shower. This is what the shower area looked like before. Charming right? While it was still functional it really needed a little updating. Goodbye gold shower screen. I was glad to see that go.
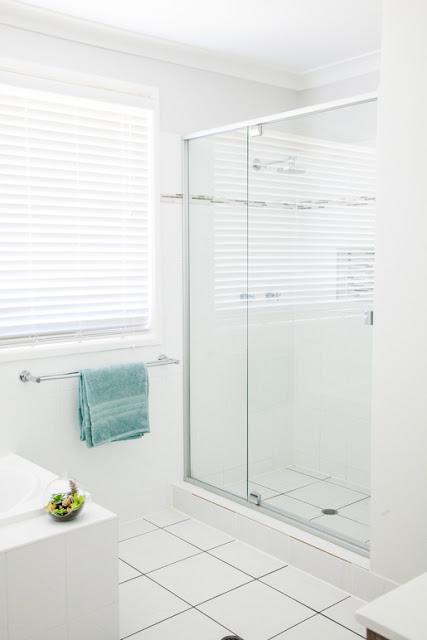
Now that's much better. We got a local window and door specialist to install the semi-frame less shower screen for us. We chose a matte silver edging to tie in seamlessly with the whole bathroom. It doesn't stick out like a sore thumb now like the gold screen did. New tap ware and shower head finished the whole space off nicely.


(adsbygoogle = window.adsbygoogle || []).push({});
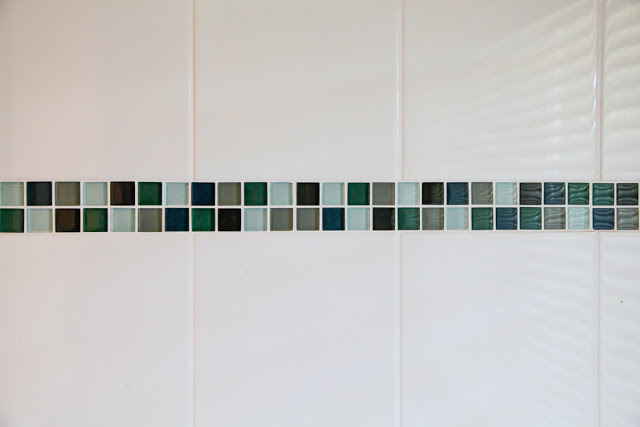
The new feature tile around the top of the shower and in the shower recess really adds a nice modern edge. I am still in love with those tiles. Although they weren't the cheapest tiles they were definitely worth the investment. You can find full details on all the products we used in the bathroom at the bottom of this post.

Let's move onto the bath side of the bathroom. As I mentioned in last week's post we opted to keep the wall and floor tiles and the bath tub as they were still in good condition. We used this as the basis of our bathroom colour palette as the tiles were very neutral (white/white-grey marble) and would work with most colour schemes. For the bath tub area we replaced the feature tile around the top of the tub, replaced the tap ware and towel rails, re-grouted the tiles on the bath edge and replaced the silicon around the edge of the bath. This refreshed the whole space and made it look good as new again.


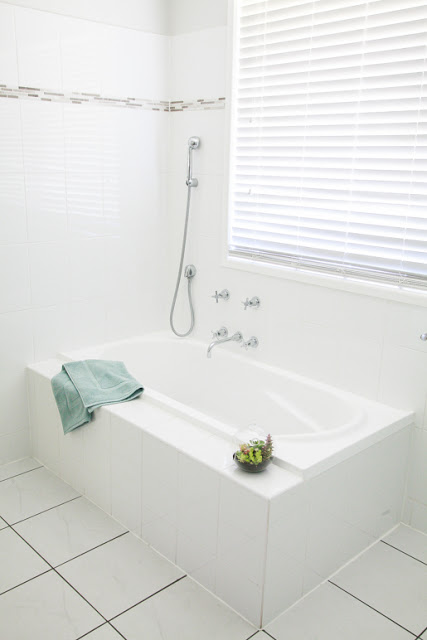

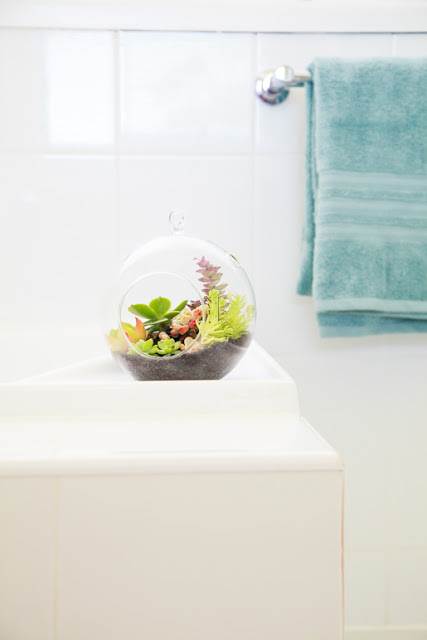
The final touch to the bathtub was the addition of this succulent terrarium that I made myself. Cute huh. I will show you soon how to make on of these for yourself in the coming weeks. Keep your eyes peeled for the full tutorial. For practical purposes this now lives on the vanity counter top as the mixture of little wet hands and inquisitive fingers is a recipe for disaster for something like this. Nothing is sacred with little kids around!
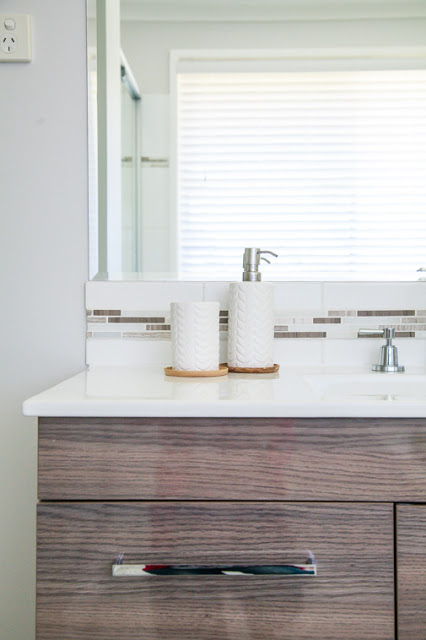
Let's move onto the bathroom vanity. This area has seen the most change out of the whole bathroom. We removed the old gold edged mirror and vanity unit and replaced it with something a little fresher looking. While the vanity didn't look very outdated it was in need of some updating to match in with our bathroom overhaul. We didn't throw this out but listed it on Gumtree along with the mirror for sale. Remember some one else's trash is another persons treasure. We sold the unit and mirror together for $100 a week later and used this money to inject back into the bathroom.

Bevan installed the vanity unit, re-tiled above the vanity and installed a new mirror from Bunnings to finish off the look. Full vanity unit details is at the end of this post. We made sure the mirror finished flush with the vanity unit and to be as large as possible with no framing on the mirror. This increased the perception of space in the bathroom and made the already large bathroom feel even more spacious. That's a sneaky little trick I'll let you in on.

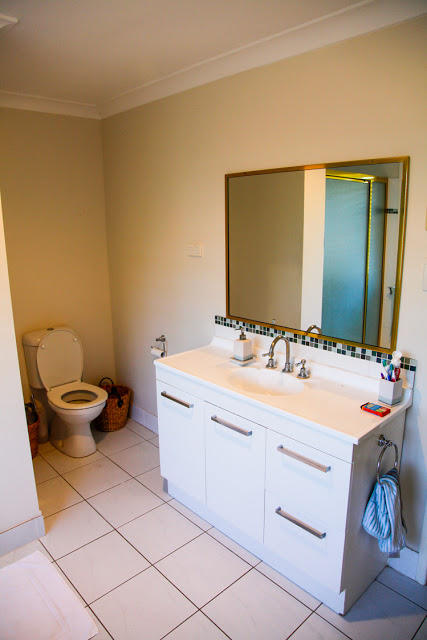
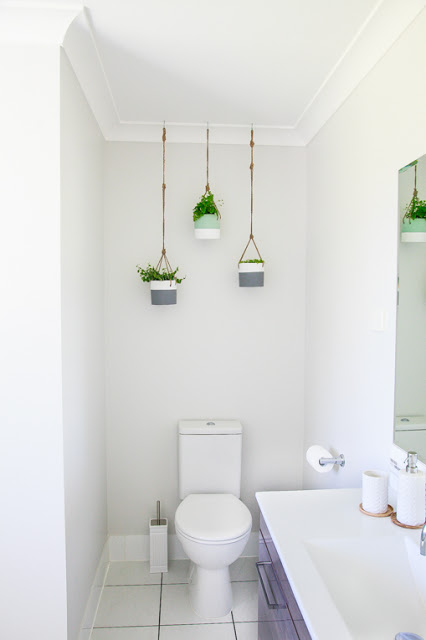
Last but no least the business side of the bathroom the toilet and it's empty cavern. This area is tucked into the corner of the bathroom and can be quite dark when cloudy. By changing the wall colour to a lighter and brighter shade {Dulux Casper White} this helped brighten the space up. We also replaced the toilet and cistern with a new model. The wall behind the toilet was quite bland and open and I knew this is where we would add our last wish for the bathroom here - add an interesting feature/art work. We rolled around ideas of a canvas print then a framed picture than
came to the rescue with an idea of adding some hanging plants to this space. You know me and indoor plants, I couldn't resist.
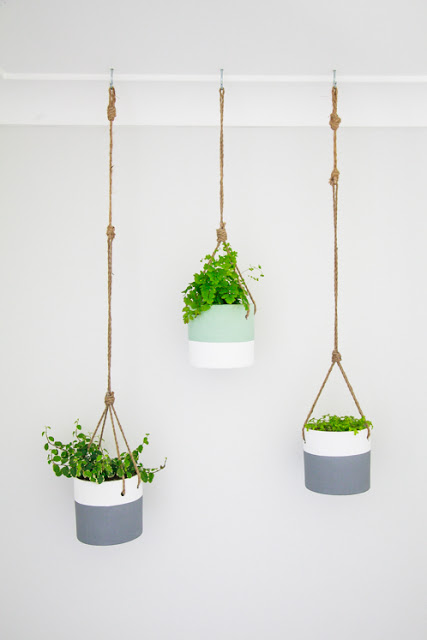
I scouted high and low for some hanging pots that would be suitable for this space. I found some gorgeous ones online but with the price tag of $50-80 a pot I knew I had to find a cheaper solution. We actually stumbled across these hanging planters at our local Bunnings in the indoor pot section for $15 each. I have tried to find something similar online for you but I am yet to find it. I am not sure if all Bunnings stores stock these as a permanent line but if you find some snap them up. I'll go into further details in another post how we installed these pots and what plants we used in them but didn't the installation turn out well? It filled the space nicely.
So that concludes the tour of our shiny new bathroom. for now but I will be sharing the project details of the succulent terrarium and the hanging pots in the next few weeks. If you have any questions about our bathroom project please don't hesitate to post a comment below or
.
Bathroom Details:
Wall Colour:
Feature Tile:
Athens Blend Mosaic - Sticks CN01
Vanity Unit:
Indianna Vanity 1200mm in Divine Oak with Alpha Ceramic Top by Timberline
Bathroom Mirror:
Highgrove 1200 x 900 Bevel Edged Mirror from Bunnings
Shower Screen:
Semi Frameless Shower Screen by Bradnams
Tapware & Towel Rails:
Hanging Pots: The Garden Co - Hanging Planters

