Floor Makeover: Installing Australiana Blackbutt Wooden Flooring
I never thought 2016 would be such a hectic year thus far, and we are only exiting the first half of the year. This year we've had our house rendered, painted the entire roof and ripped up our entire tiled floor and laid timber flooring in its place. Not to mention finding out we've got another baby on the way (that was the biggest surprise of all). We had a list of jobs as long as our arm to complete but when we set our minds to getting a job done; we don't hold back on putting it into action.

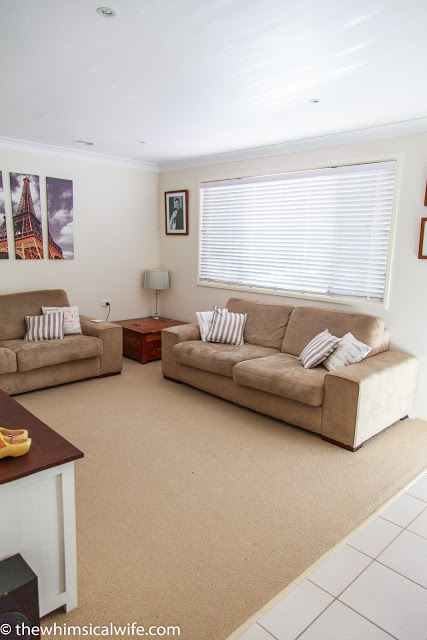
Putting timber flooring down has been a long term plan of ours since we first bought the house six years ago. We live in a high set house and find that tiled flooring isn't the best flooring option in this situation especially in winter. The floor tended to be very very cold so much so that in winter you couldn't walk barefoot on the tiles without having icicles forming off your toes. An opportunity arose to work with Boral and install their
Australiana Grade Blackbutt Flooring
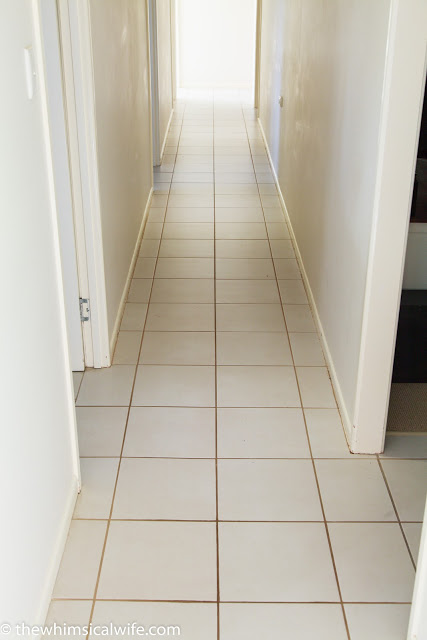
, and we knew it was time to get this project underway. The tiled flooring extended from the family room into the kitchen and dining area, partially in the lounge room and up the entire hallway. There were about 80 square metres in total to be covered by the timber flooring including the carpeted area in the lounge room which we decided to remove.
This was going to be one of the largest projects we have ever undertaken in our renovation journey and little did we know how full-on it would be. It is not a project to be taken lightly and a lot of time was put in researching and preparing for the timber flooring installation. We would recommend you use a professional for the flooring installation unless you are an experienced renovator and have the skill in undertaking a project such as this. There are
requirements in laying the timber floor
that needs to be strictly adhered by for a professional finish.
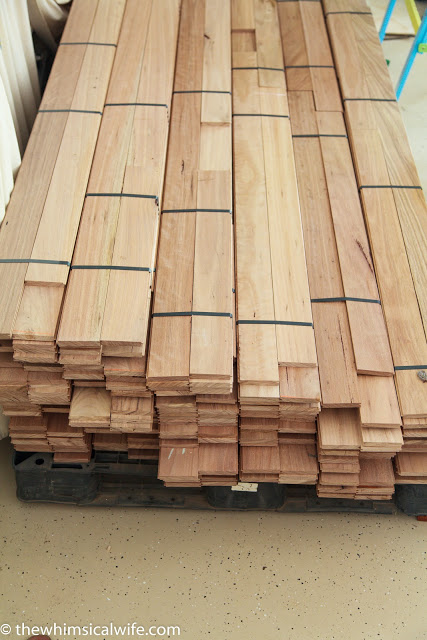
We awaited the delivery of our Australiana Blackbutt Timber flooring from Boral with keen anticipation. When the timber arrived on site, we put straight into the garage to keep dry and allow for initial
. We also made sure the timber was packed straight and level to avoid any buckling or bowing of the boards. Final site acclimatisation was completed by bringing the timber into the house once the sub flooring was prepared.
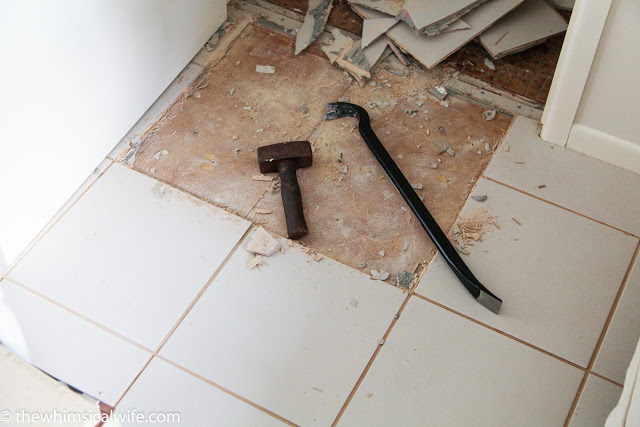
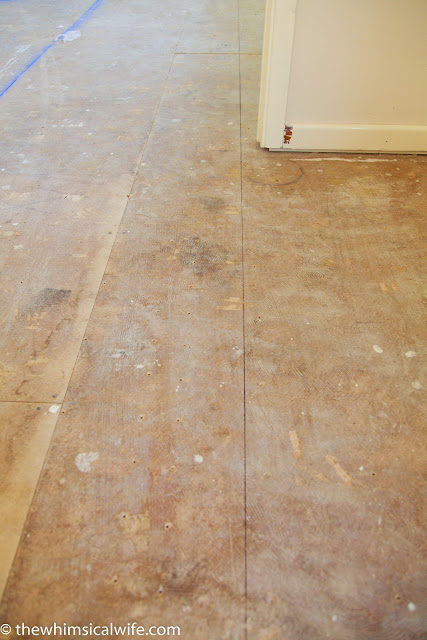
Preparing the sub flooring was a mammoth task in itself. The first job was to remove the existing tiles and underlay to prepare the sub-floor, in our case particle board for laying the timber on. The entire 80 square metres of tile had to be lifted by hand using a wrecking bar and heavy set hammer due to the particle sub-floor, but if you had tile over a concrete subfloor, you would use a jackhammer. It took Bevan about four days in total and a lot of blood sweat and tears to remove the entire tiled area.
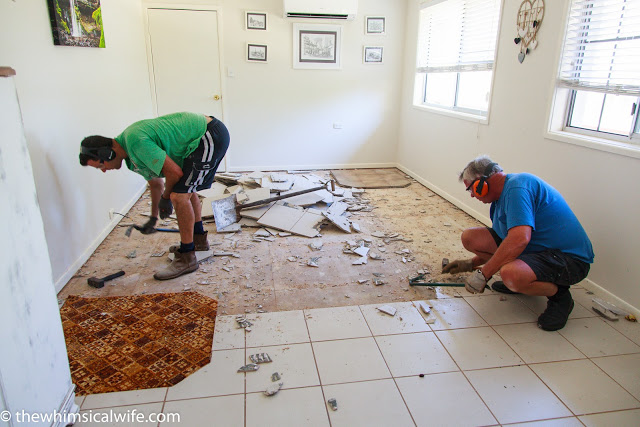
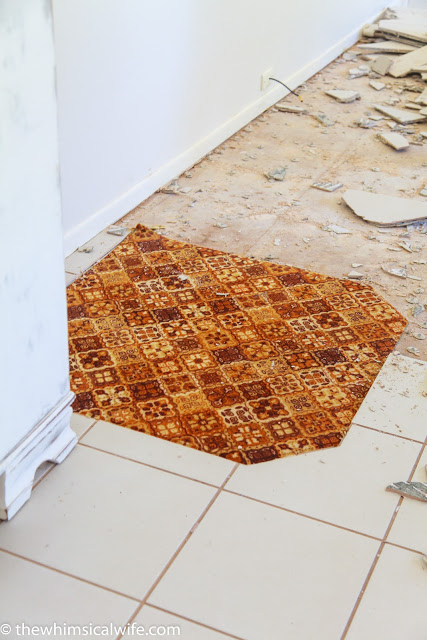
We removed the fireplace and hearth in the process of removing the tiles to be replaced once the blackbutt flooring had been installed. When we removed the hearth, we found a relic from the past with the original carpet hidden underneath!
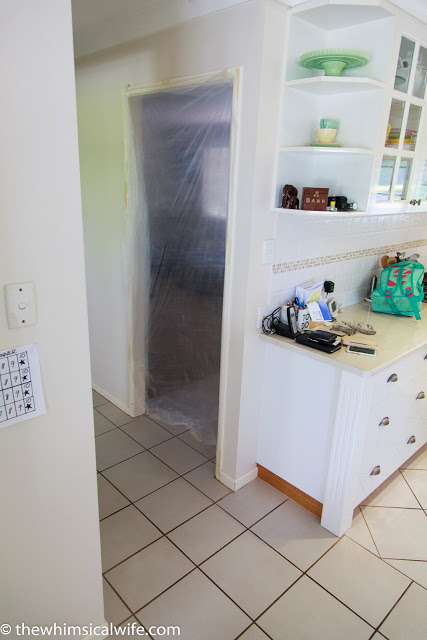
We did each room in sections making sure we taped off the rooms with plastic drop cloths to try and contain some of the dust and grime that was floating around the house. This worked well especially in the family room and lounge room areas.

I lived in this mess with two kids while hubby slaved away smashing up tiles for days on end. We hid in the garage with the laptop play ABC kids and me reading a book (and trying to stave off morning sickness) while listening to the never ending pounding of metal on tile.
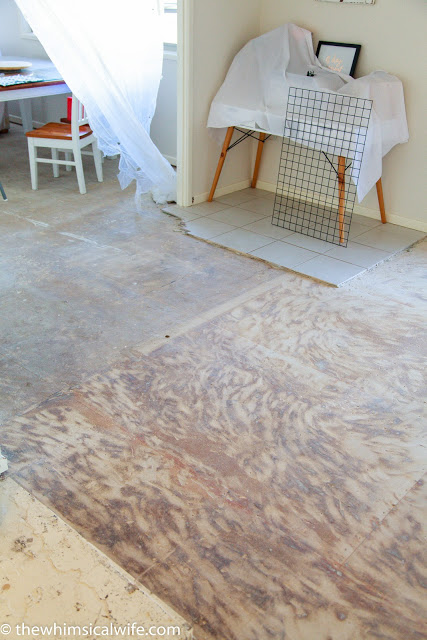
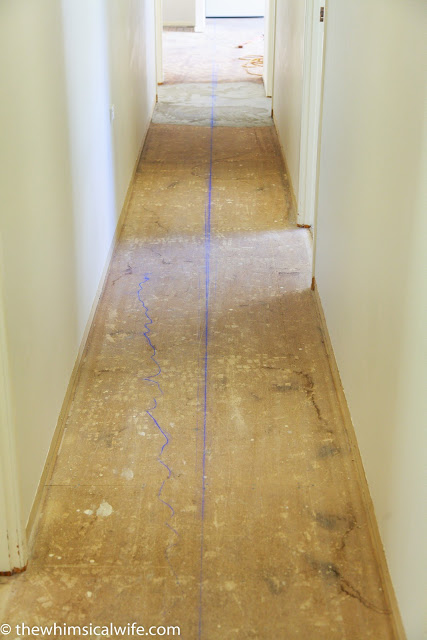
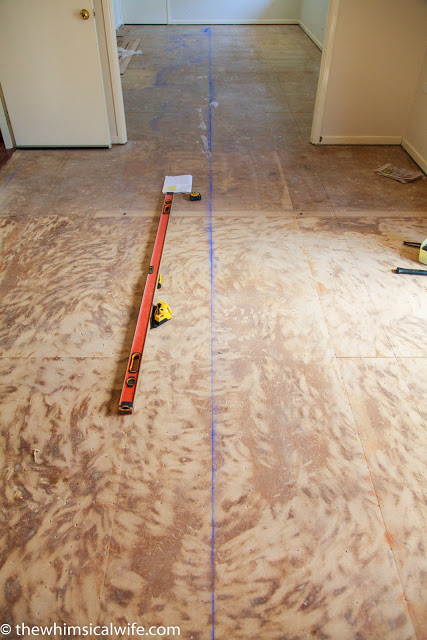
Once all the tiles had been removed, and sub-floor was prepared, it was time to set out a chalk line to start the first row of floorboards off. As most house walls are not square, you need to set yourself a chalk line to start from. As we had a long hallway running down into our dining and rumpus room, it was imperative to get this right.

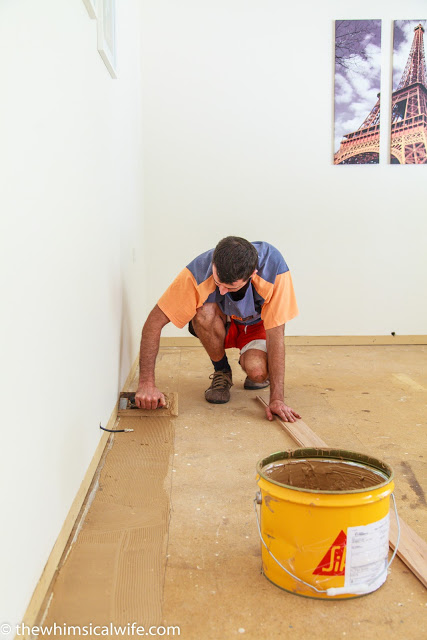
Once we had a line to start from we lay the first row of boards, using the longest and straightest boards and allowed this to set overnight. We used
Sika Bond T55 timber floor adhesive.
The Sika Bond floor adhesive needs to be spread using the 5mm v notch trowel to make a bed for the floor boards to be laid on thus removing the need to have nails on the tops of boards. From here we lay the rest of the flooring using the nail gun when required to make the boards straight by secret nailing them. The process we used was to lay four boards widths at a time, and secret nail the outer board to make sure they all fitted tightly together and the rows remained straight.

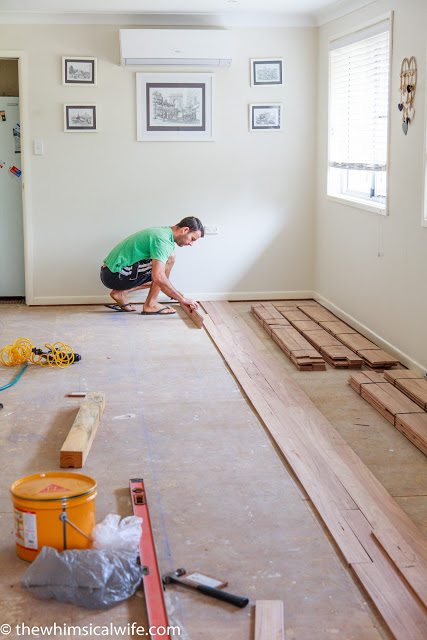
The process then was to glue, lay, nail and repeat many times over until each room was complete. Bevan started in the family room making his way into the dining and kitchen up the hallway and finishing up in the lounge room. The whole process of laying the timber flooring took about 6-7 days in total. Once the floor was complete we booked in a professional floor sander to come in and complete the final finishing of the floor. After the sander left us with a beautifully smooth sanded floor it was time to add the finishing touch by sealing the floor. We chose to use
Intergrain Ultra Floor in Satin
as the finish for our floor. We were after a nice matte look and the satin finish gave us just that.
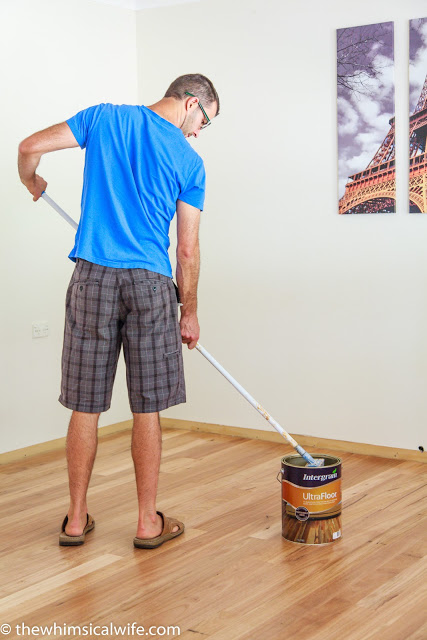
Bevan gave the floor four coats in total leaving four hours between the first and second coat. The floor was given a light buff after the second coat had dried for 24 hours to cut back any wood grain that had been raised in the process of adding the first coats of sealer. Our professional sander kindly did this for us in the cost of getting the floors sanded. This resulted in a really smooth finish after the last two final coats were applied. We then had to wait a further 24 hours for the floor to fully harden before returning back to the house. So yes that means you need to find a place to stay for a couple of nights during this process.
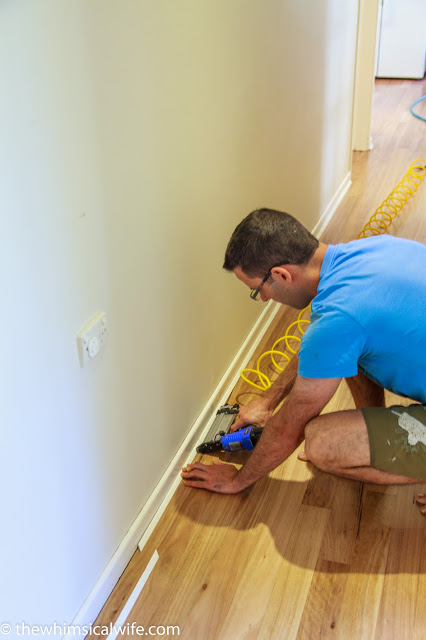
Bevan then nailed 12 x 12mm Tri-Quad trim -
& in
(in the kitchen) against the skirting to cover the gaps and give a nice finish. A final coat of paint to cover the nail heads on the painted trim and a clear coat of varnish was applied.
It is also recommended not to move any furniture into the house until the third day of the floors drying time. This allows for the floor to harden fully and will help reduce any mishaps and ruining your new floor with bumps and dents. Use soft blankets under any heavy furniture when moving and try and lift things rather than dragging along the floor. I would also recommend sticking felt pieces to all pieces of furniture that will be sitting on the floor such as side tables, lounges, cupboards, tables and chairs and other pieces of furniture. This just safeguards against any unnecessary scratches or rubbing on the floor.
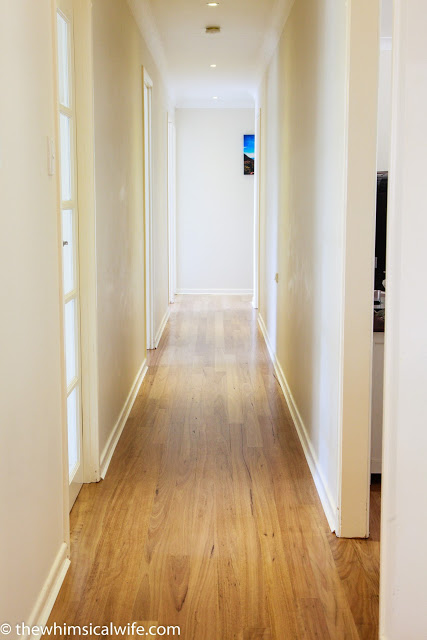

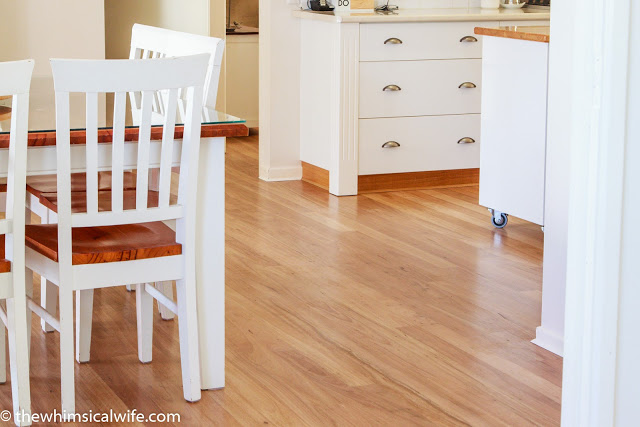
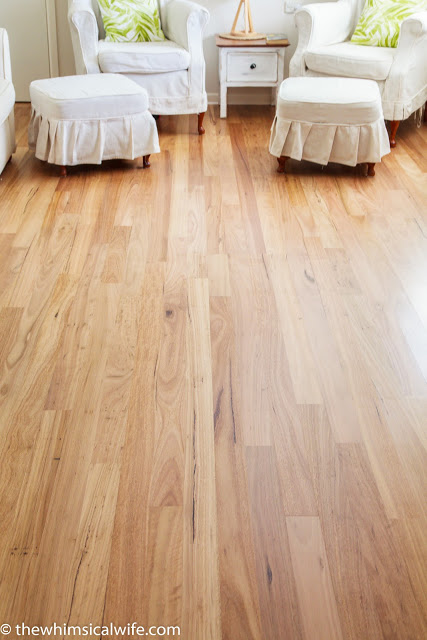
How amazing did the floors turn out? My husband is a superstar for finishing such a large project without losing his sanity (I lost mine a long time ago)! We are really happy with the how the floors turned out. While most people go for the shiny high gloss finish we are really happy with the satin finish we used on these floors. It's exactly what we wanted. I adore the warm tonings of the
and are really happy with the choice of timber that we used. The house looks completely different and even feels different. Warmer, happier, cosier if you will? The floor temperature is definitely warmer than tiles and we have already seen this with the onset of winter.

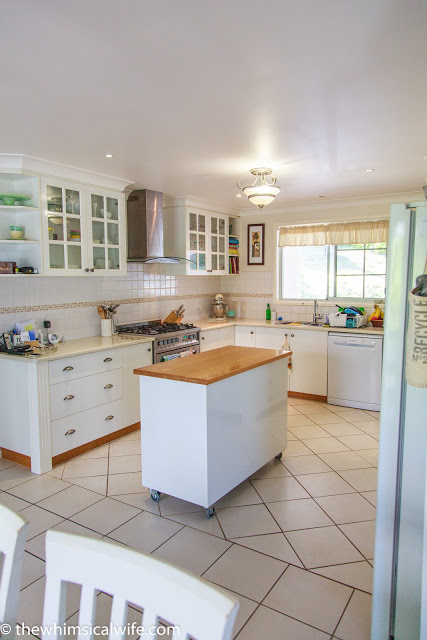
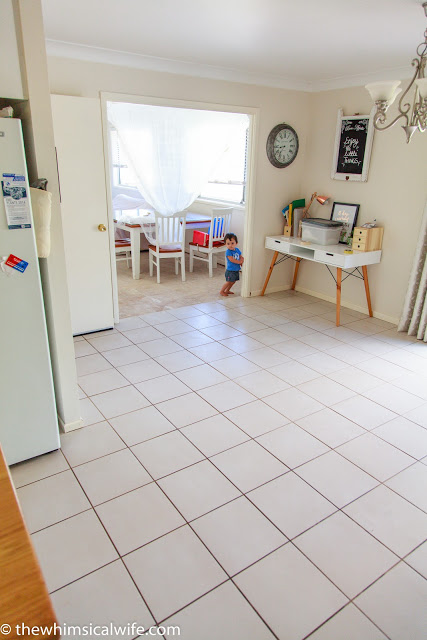
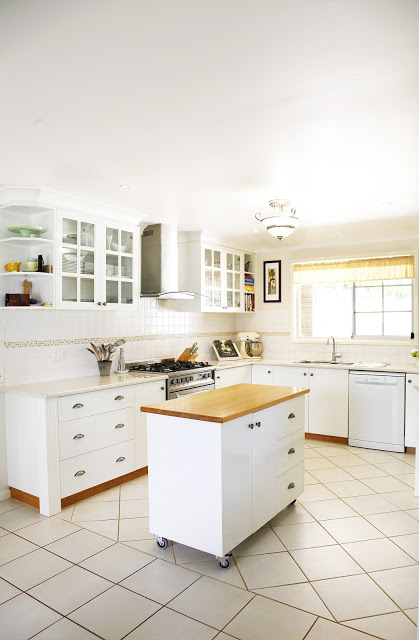
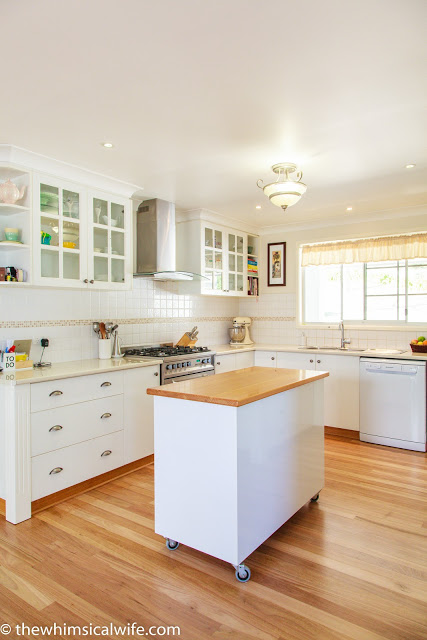
Just to remind you this is what the kitchen looked like before.
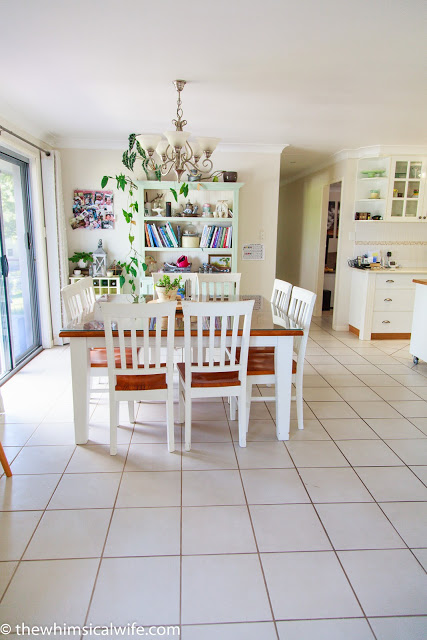
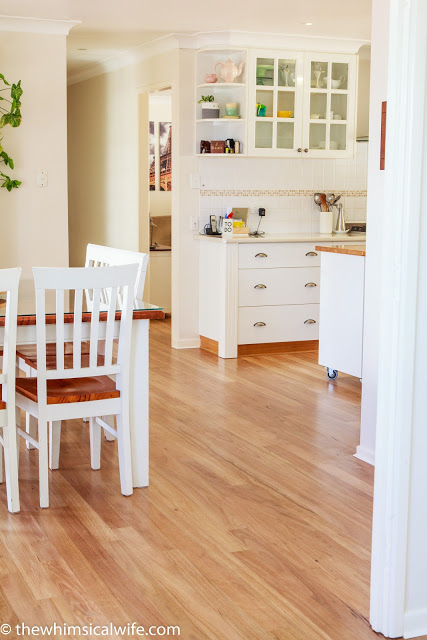
And this is what it looks like now? What a transformation don't you think? I just love the warmth that the timber brings. The kitchen was already my favourite room in the house and it is even more so now.

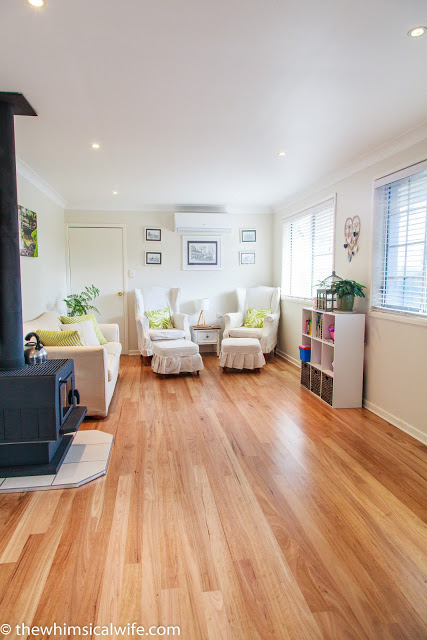
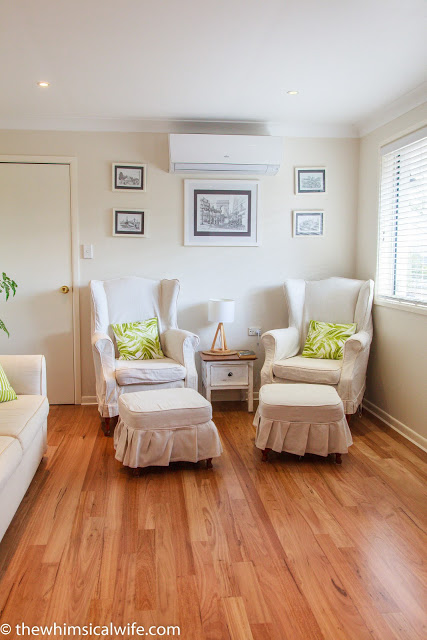
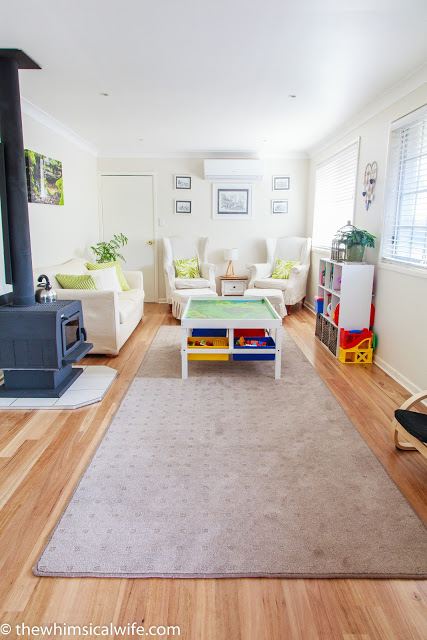
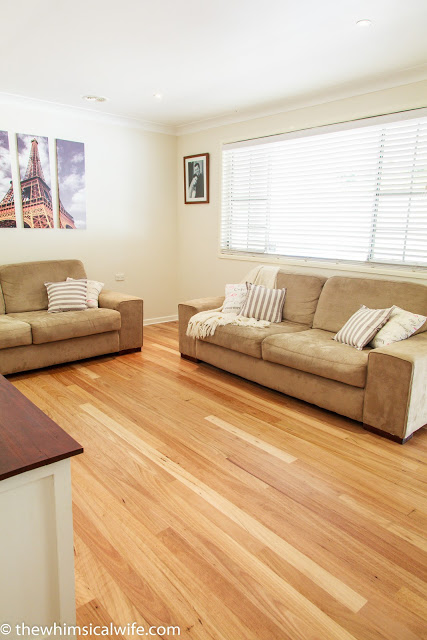
For practicality purposes, this is how our family usually looks below. It's our kid's play room and our sitting room. We got a piece of custom sized carpet cut for the shape of the room and edged to be used as a mat. It creates a soft surface for the kids to play on and also protects the floor when the kids start playing rough - which is more often than not these days. We did this also in the lounge room in front of the lounges to create a nice soft surface to rest the feet.
Also as you can see we replaced the hearth and painted the fireplace before re-installing it on top of the timber floor. That project is to come if you are interested in doing up an old fireplace yourself!