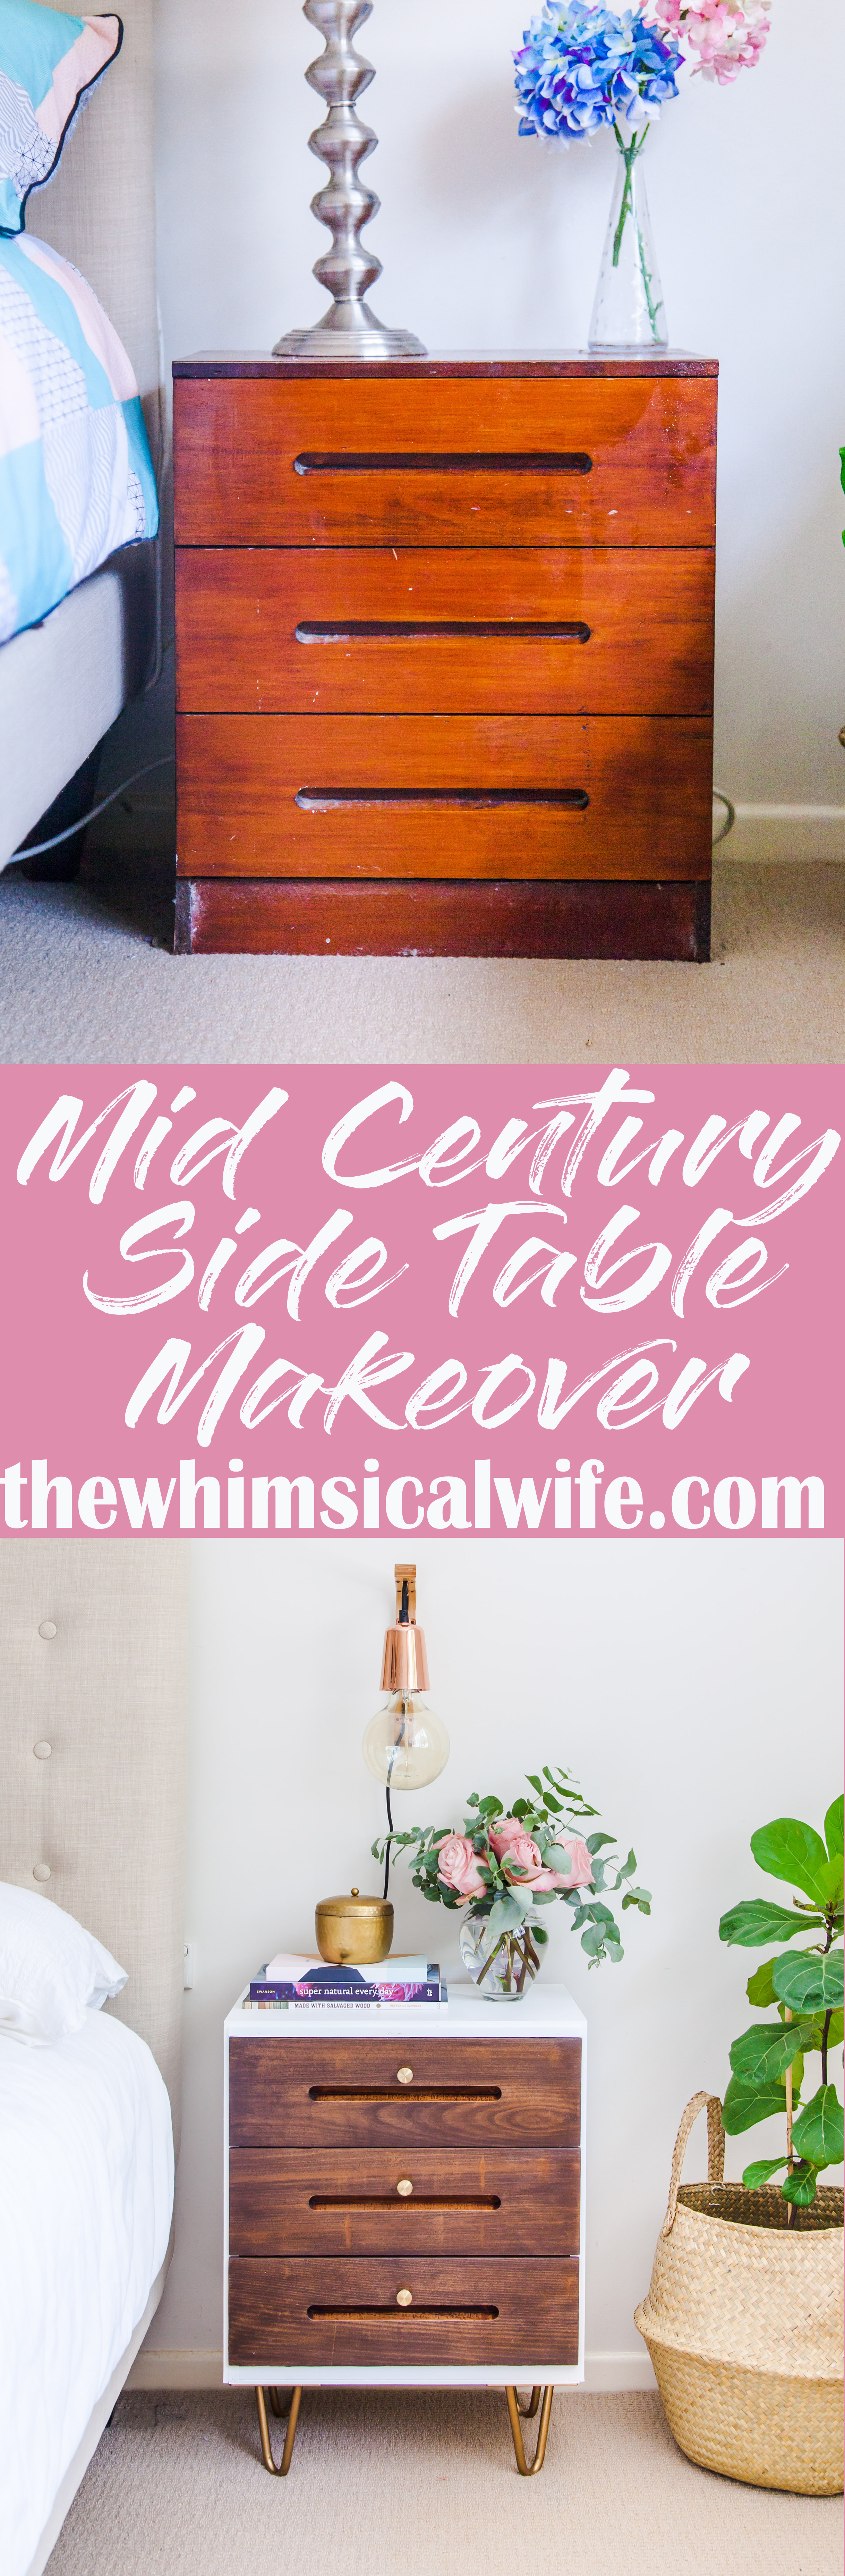
Mid Century Modern Side Table Makeover
I am so in love with the Mid Century Modern trend that has hit the interior design world in the past year or two. There is something about the clean lines, the combination of textures and fabrics and for me the warmth and cosiness that Mid Century Modern brings. For me, it is warmer and more welcoming than the Scandi style that is so prevalent at the moment where cool tones of greys, woods and the sparseness of styling which is the character of this style. I have been waiting for inspiration to hit me for these bedside tables that I had in our main bedroom. Would you believe I have had them for over 10 years and was still waiting for the right "style" to transform them into? Until I landed on Mid Century Modern. I knew it was the perfect style to make these very ordinary bedside tables into.

It took some serious vision to see what they could be but thankfully my husband trusted me with what I wanted to turn these into. I explained the basics of what I wanted to do and may have even drawn a diagram or two. The bones were there it just needed a little nip and tuck to make it into something amazing. So do you want to learn how to transform your own sad and sorry side tables into something trendy? That's a yes? Then let's get onto it.
Materials:
- 6mm MDF Board {See Cutting List}
- Wood Glue
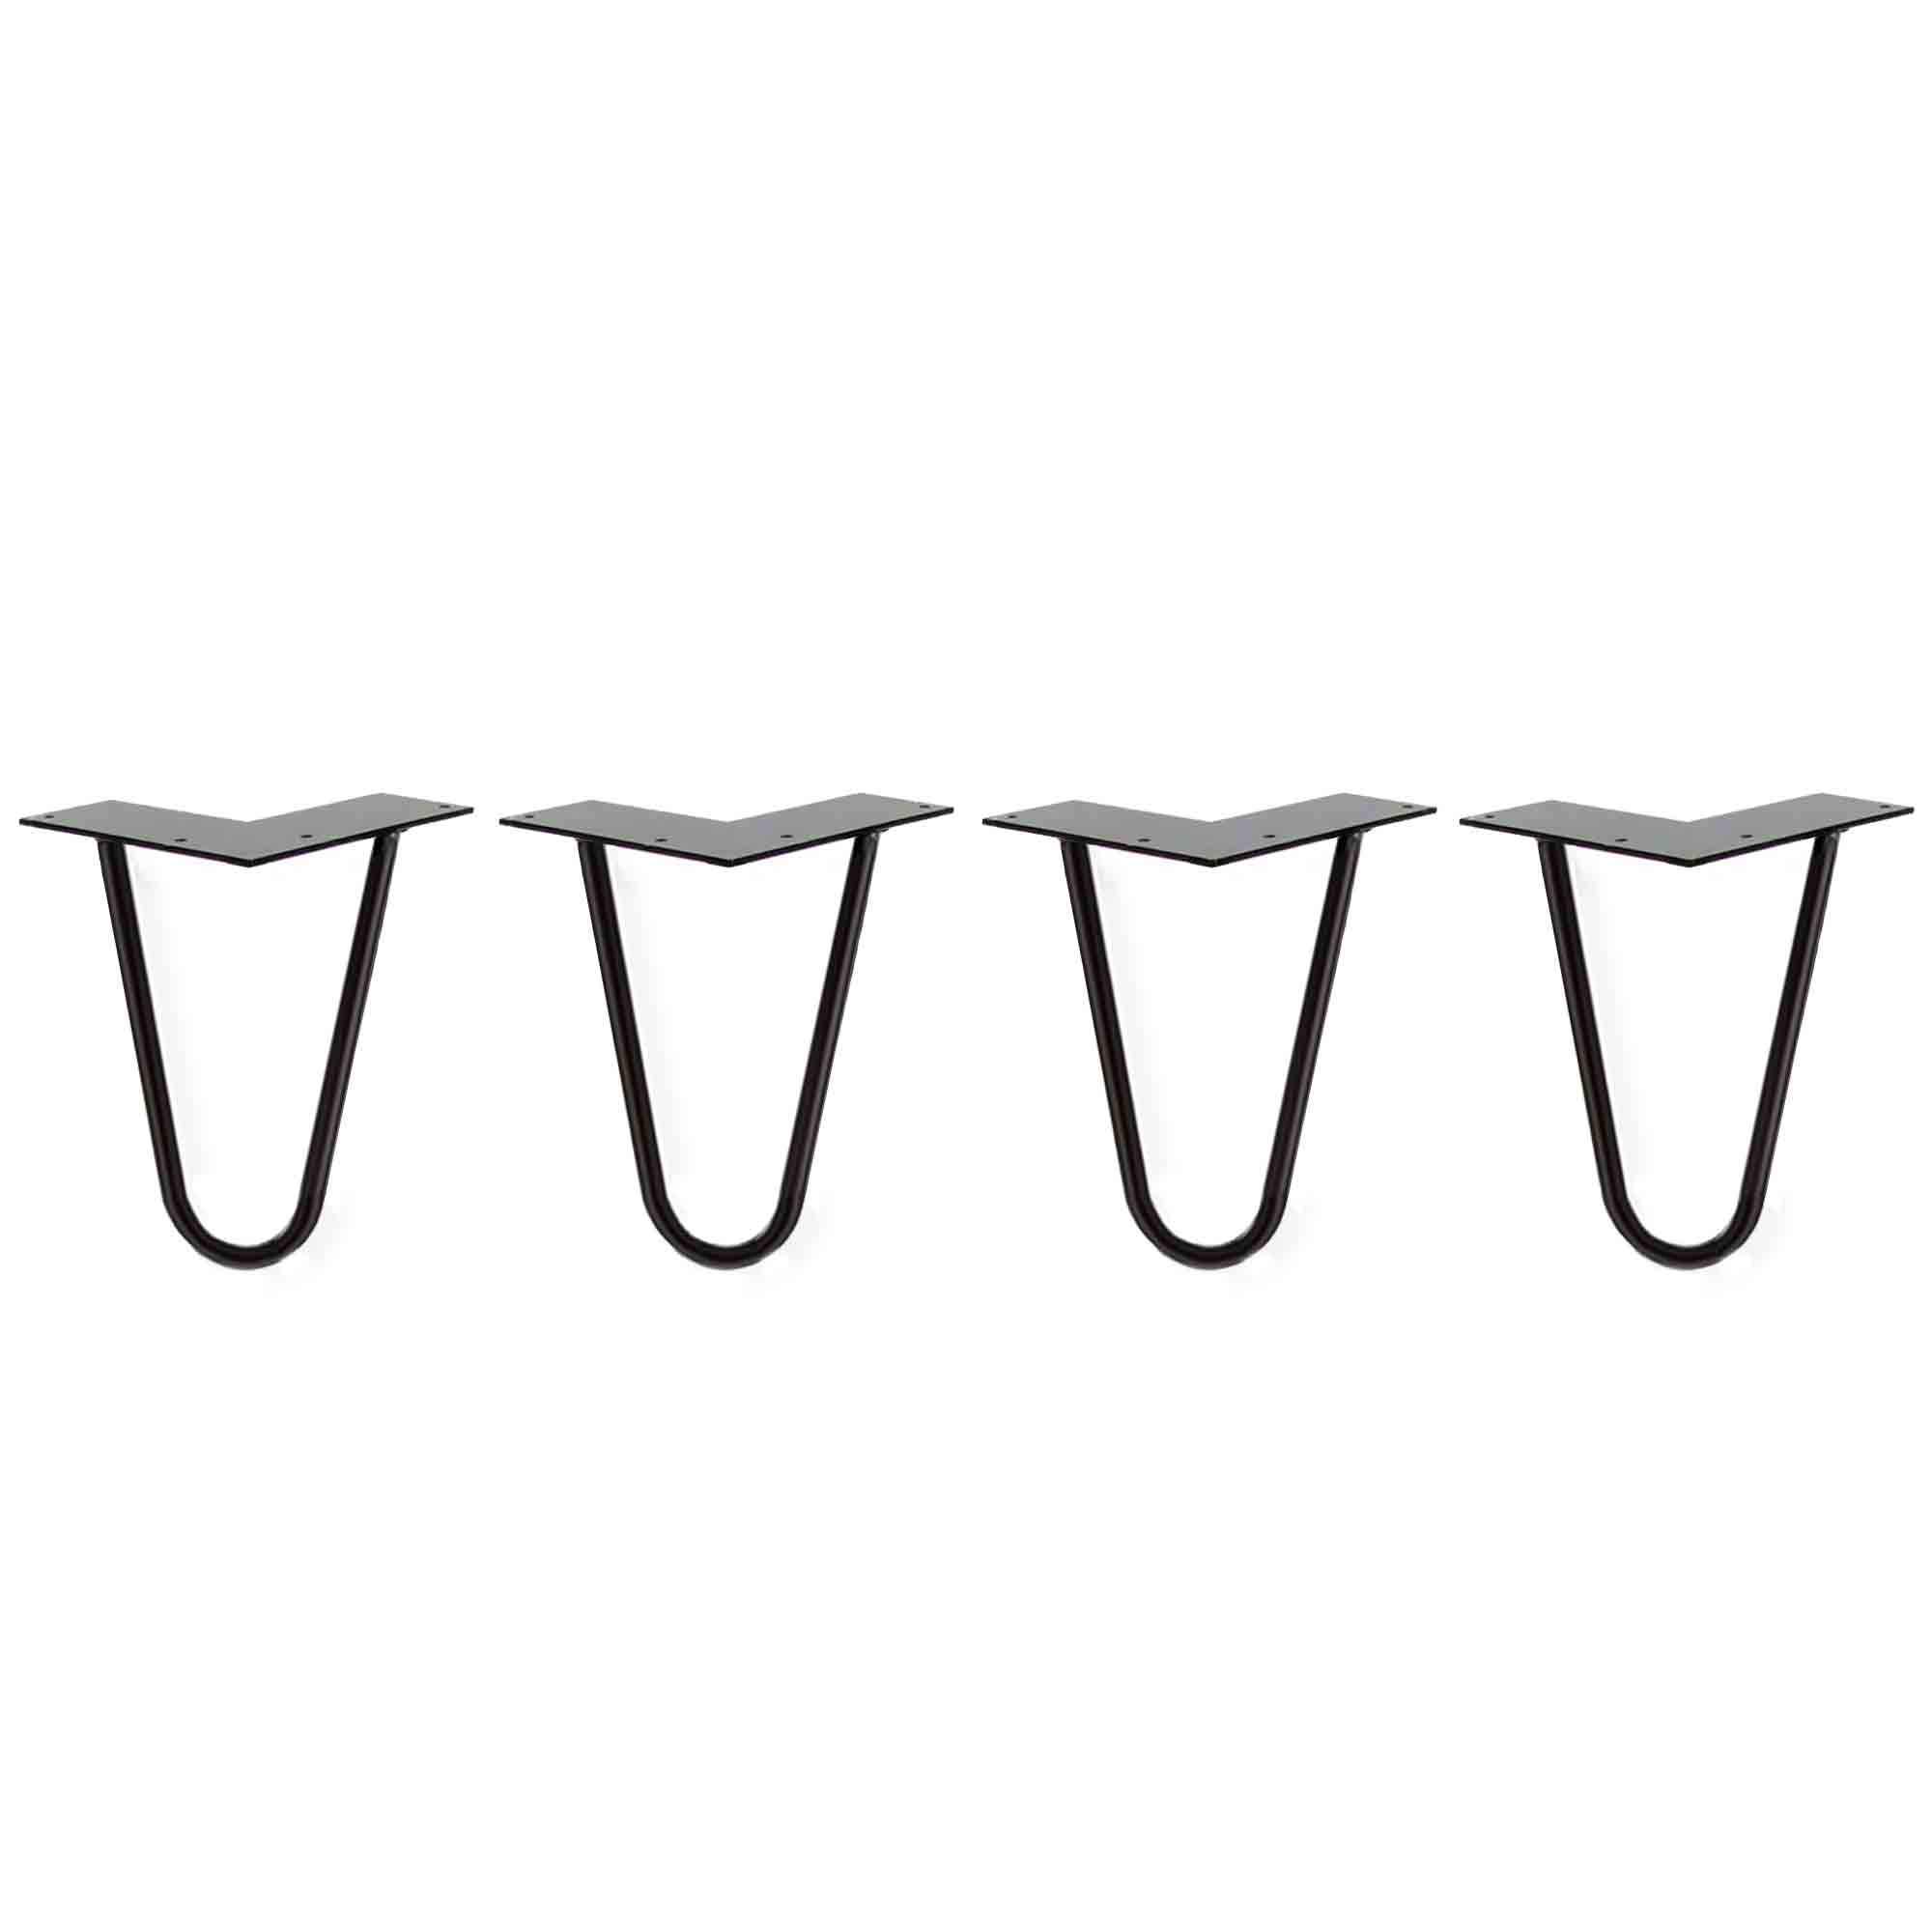
- 8 x 6-inch black hairpin legs
- 1 x pack -35mm galvanised wafer head Type 17 screw {Attach- Hair Pin Legs}
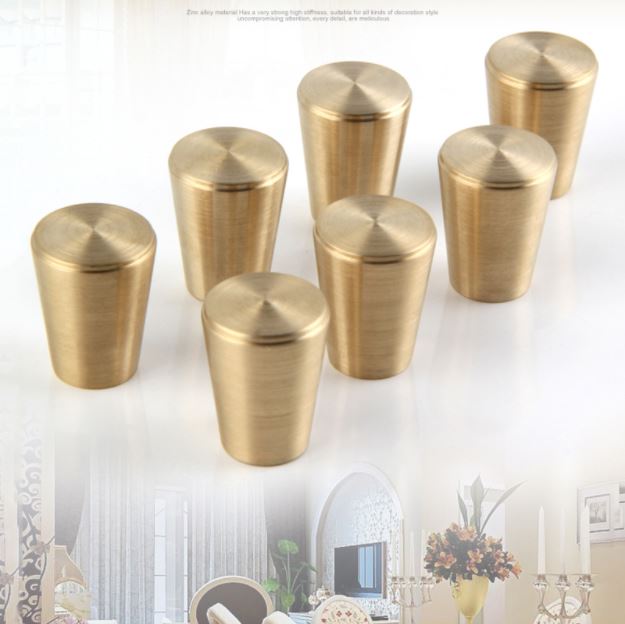
- 6 x 19mm Brass Knob
- Wood Putty
- Dulux - Vivid White Acrylic Paint
- Foam Roller
- Dulux Dura Max Spray - Semi-Gloss Clear Coat
- Gold Spray Paint
- Cabot’s Interior Stain Water Based – Brazilian Roast
- Cladding:
- Top - 470mm x 295mm x 2
- Left & Right Sides - 460mm x 295mm x 4
- Bottom - 470mm x 295mm x 2
- 1 x pack -1.25mm bullet head nails {For Cladding}
Tools:
- Circular Saw
- Hammer
- Orbital Sander – 120 grit orbital sanding disks
- Drill

1. Cutting: Have the pieces of MDF cladding pre-cut to your desired size at your local Bunnings. Trust me this is the way to go if you don't have the power tools to do it. Be sure to have your measurements with you when you do this. Measure and cut the base off the side tables using a circular saw so that it is even and has no extra section at the bottom. This is important with creating a Mid Century Modern design.


2. Attach Cladding: Match the cladding pieces to the specific sides it needs to be attached too. Make sure that it fits precisely. Drill pilot holes into the MDF board that are slightly smaller than the nail head so that the MDF doesn’t split. Place the side pieces on first by adding some wood glue to both the bedside table and the MDF board and press into place. Secure the board in place with the nails making sure they are flush. Repeat with the opposite side then attach the top and base pieces in the same manner.


3. Prep & Paint Bedside Tables: Apply the wood putty with the paint scraper over the nail heads showing on each side of the bedside table. Let this dry until hard and sand back using an orbital sander and 120 grit sandpaper. Apply three coats of Dulux Vivid White paint with the foam roller. Letting it dry between each coat. Once dry apply two coats of the Dulux Dura Max Semi-Gloss Clear spray over the cladding to protect it.


4. Refinish Drawers: Sand back the drawer fronts to bare wood using an orbital sander and 120 grit sandpaper. Hand sand the inserts in the front of the drawers. Apply a coat of Cabot’s Water-Based Interior Stain – Brazilian Roast and let it sit for 5-10 minutes before wiping off with a damp cloth. Let this dry before giving a light sand with 240 grit sandpaper and applying a second coat leaving for a further 10-15 minutes or until the desired colour. Remove with a rag and let the stain dry completely. Once dry apply two coats of the Dulux Dura Max Semi-Gloss Clear spray over the drawer fronts to protect it.


5. Refinish Hair Pin Legs: Apply two coats of gold spray paint to the hairpin legs. Making sure it has dried between each coat.

6. Finishing: Turn the cabinets over and fix the hairpin legs into place with the galvanised wafer head screws. Measure and mark the placement of the drawer knobs and drill a hole and attach into place. Use an old candle to rub on the bottom of all the drawers and the runners inside the bedside table. The wax will help the drawers open and close easier. Put the drawers into place.


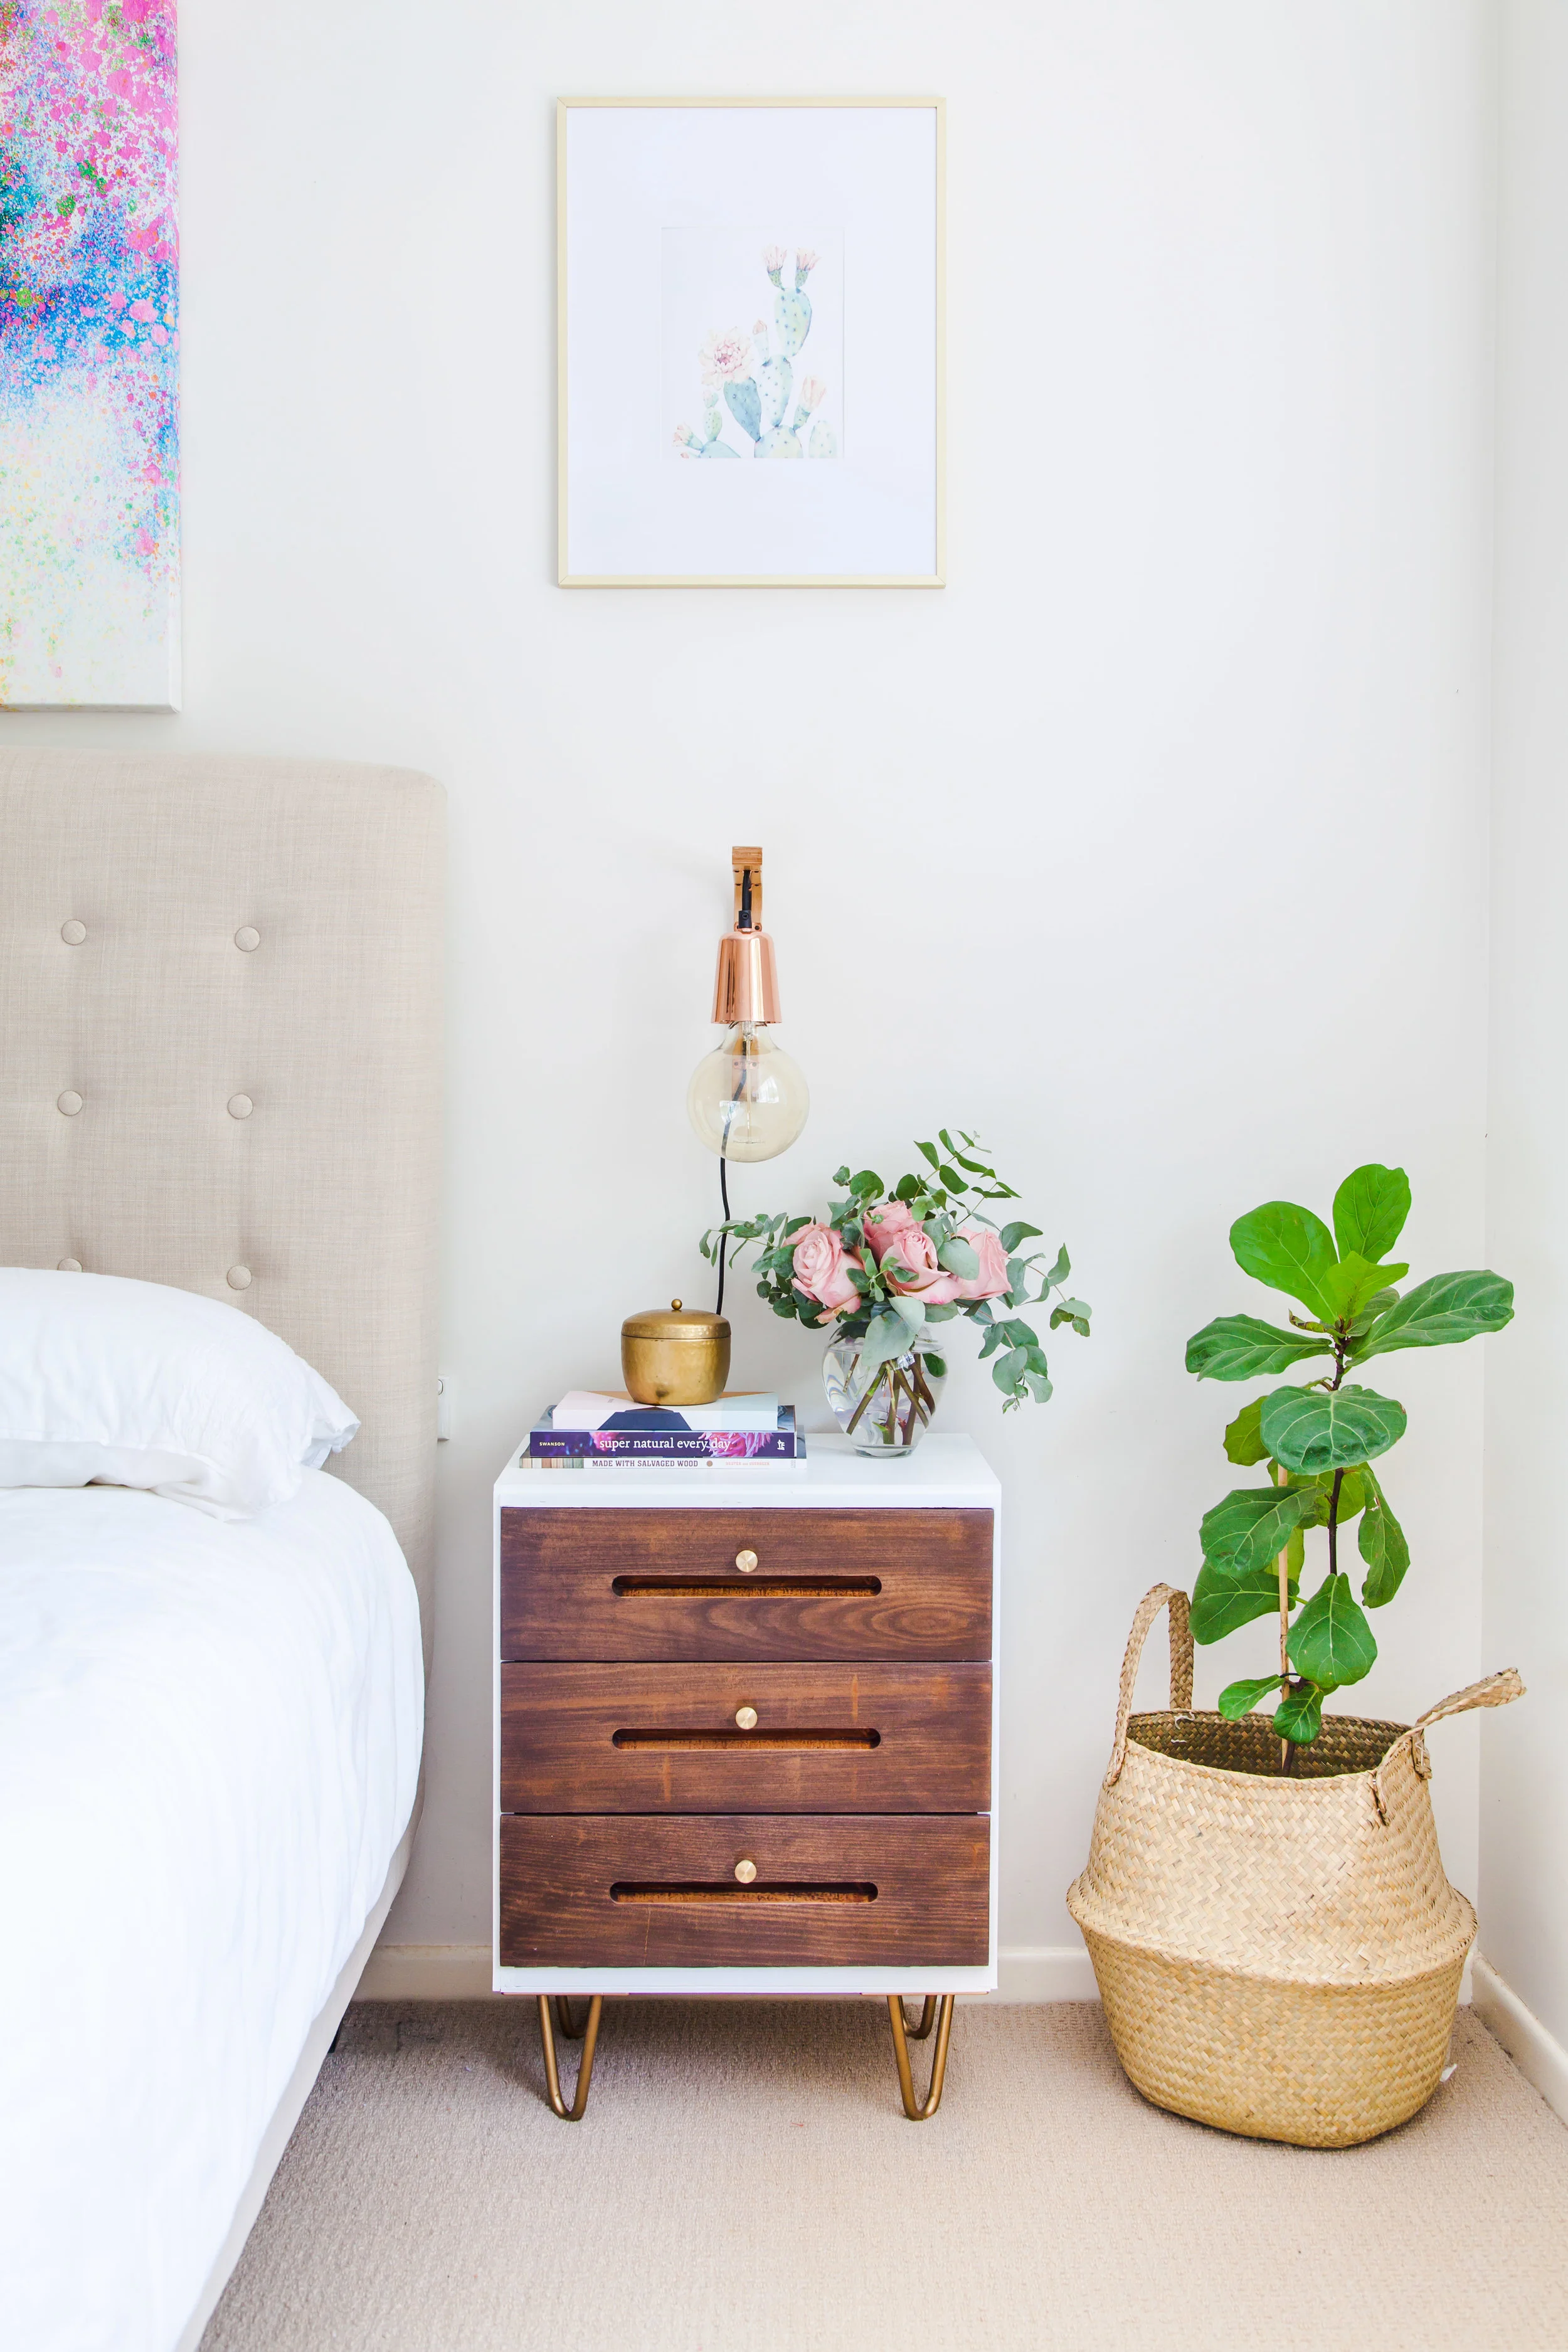
If you are interested where I got the knobs and legs from for this piece then make sure you check out my detailed product list at the end of this post. Just click on the image and it will take you to the website where I got it from. Also next week I will be sharing with you how to create your own Wooden Bracket Light like I have above my side table here. It's a super easy DIY project and I will share the details with you on how to create one next week on the blog.
So once they were put together and the finishing touches were added I couldn't wait to put them in our room and style them. It was so good to finally have something to be proud of in our bedroom because I was less than impressed with what it was before.


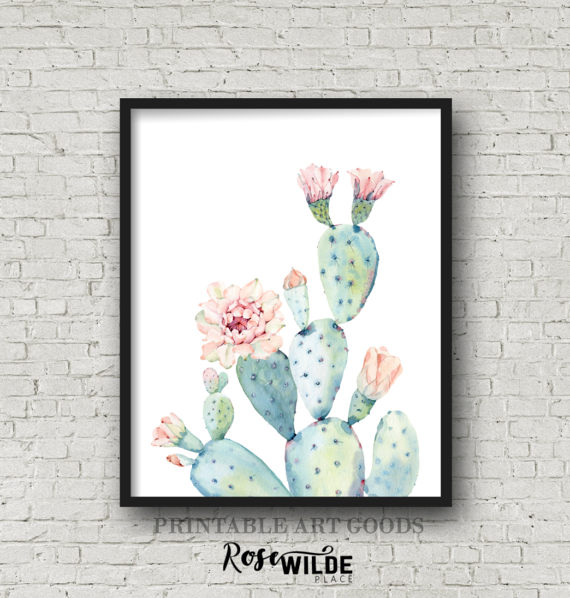
I couldn't help finish off the styling with some beautiful flowers. These roses were gorgeous and combined with the eucalyptus foliage made a fabulous statement for the room. I'll also add the details of the wall art that I have in our room because I love it dearly you can see it in the product roundup below. I really hope I've inspired you to look at your furniture in a different like. Yes, it might look ugly at the moment but mostly there is hope for most pieces to be turned into something magazine worthy. Make sure you tag me in your furniture transformations over in Instagram or Facebook.

Products Used: