


So I finally have got around to finishing this post series of the rustic brick path that we completed. I have been a bit pre-occupied but I got round to taking some final photo's of the path to post!
You can view Part 1 of the Herb Garden & Rustic Path post here.
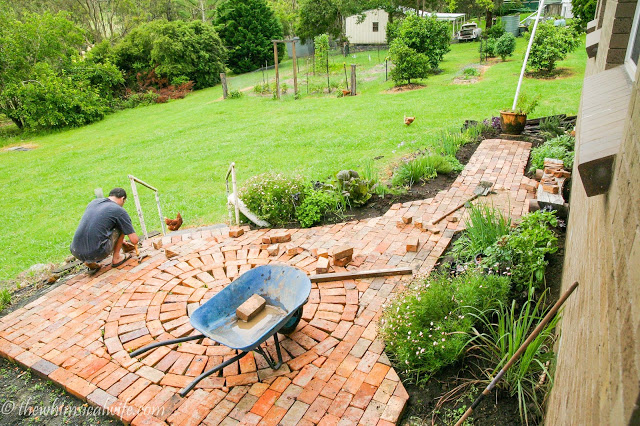
We left off in the last post after just finishing the circular design in the brick path. After finishing the circle design Bevan started laying the bricks at the start of the path making his way to the end. We reached a stage where we run out of bricks so it was about half completed. Thankfully we were able to find some more in time to finish it.
It was a pretty labour intensive job carting the bricks up to the path before laying them out. My hubby is a very hard worker and did most of this himself. I may of helped unload a few loads of bricks but he did the majority of the work.


It was not only hard but pretty dirty as well. Bevan cut the edge pieces of the path with a electric tile cutter which was a dirty job in itself as you can see below.

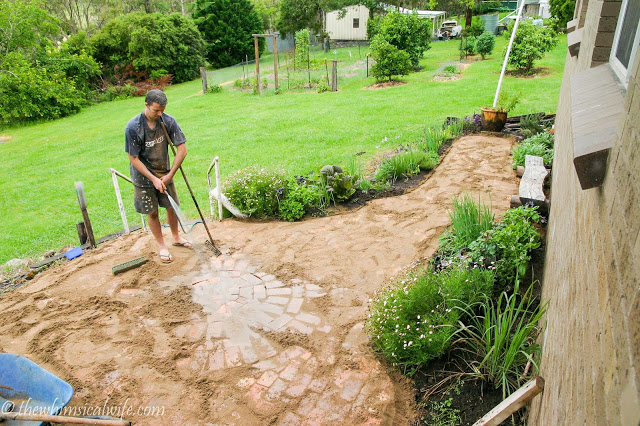
Once the edges of the path were complete it was time to lay sand over the top of the path to fill in the crevices between the bricks. We used a large bristled broom to sweep the sand back and forth over the top of the bricks to allow the sand to fill in between all the nooks and crannies of the bricks. After the sand was nice and snug in between the bricks we gently swept off the excess sand and gave the whole path a light spray with the hose to wet it down even further.
Now that it is finished we love to sit out here once the sun has gone down and enjoy our dinner in the twilight as it's very refreshing after a hot day or take advantage of the morning cool and enjoy a nice cuppa!
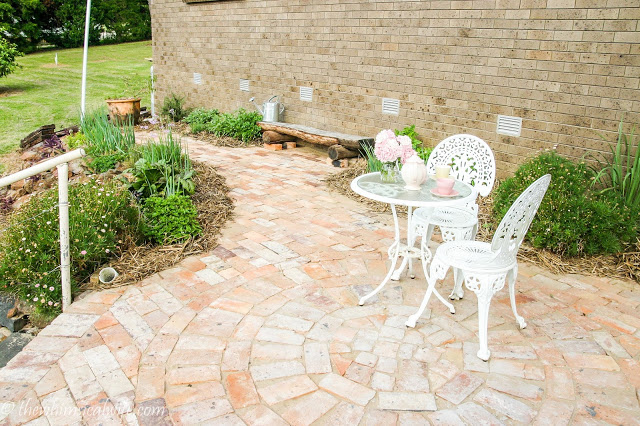


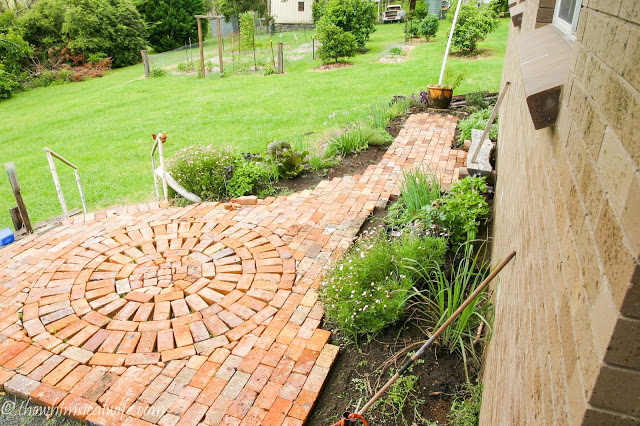
My favourite part of the rustic brick path is the circle design that we chose to do as it really adds a nice point of interest in this area! We finished the inside of the circle pattern with brick off cuts to create a bit of a rustic and less formal feel and to use up the leftover pieces we had.
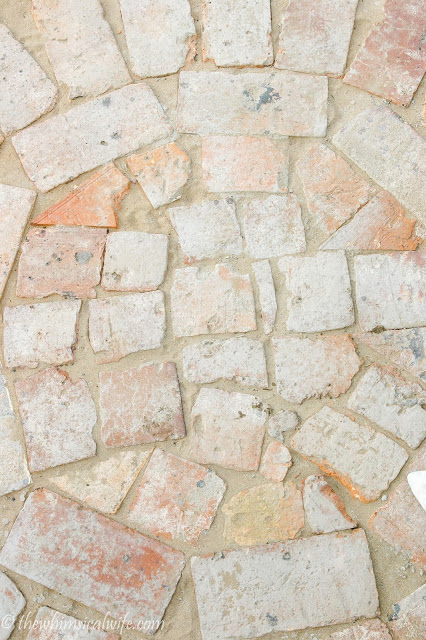

We also kept some of the bricks in the path face up with the brick factory stamp on it. It was a touch I am glad we did as it shows a bit of history to the path.

A good place to chill is on the cute rustic wooden bench seat my husband created out of an old tree using a chainsaw (his favourite toy) and a few stumps offcuts as legs. It makes a great place to sit back and relax and enjoy the garden!


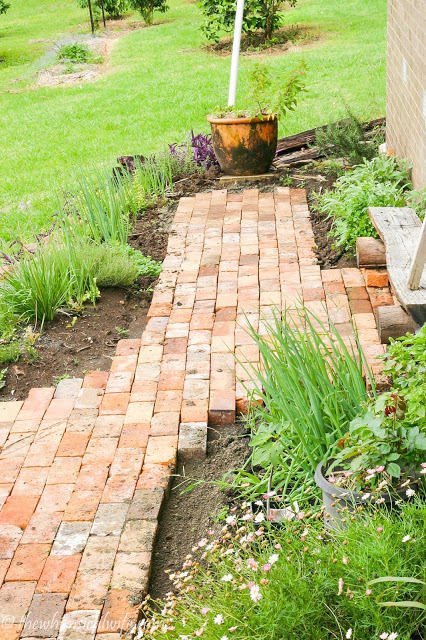
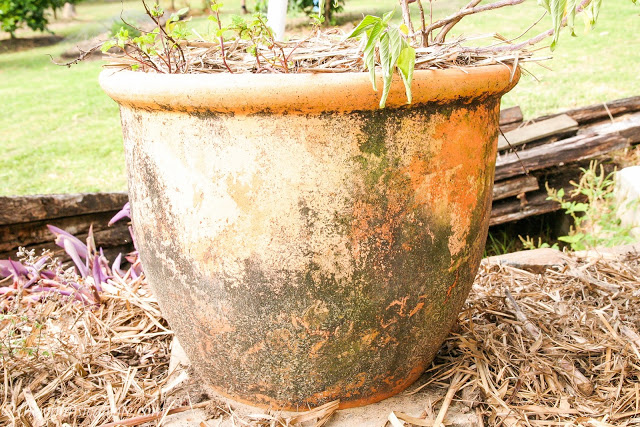
The herb pot that we placed at the end of the path was so that there was something to walk to at the end. It was an old terracotta pot that we found laying around in the yard. I wanted it to have the old mossy look to it that it has now (it did not have that to start with). After a bit of research it was found that by brushing plain yogurt onto the pot and leaving it in a dark place for a few weeks, the mouldy, mossy look that we wanted was achieved!

Our herbs have really taken off now that the warmer weather has hit. I love all the herbs we have chosen and try to use them regularly in everyday cooking..
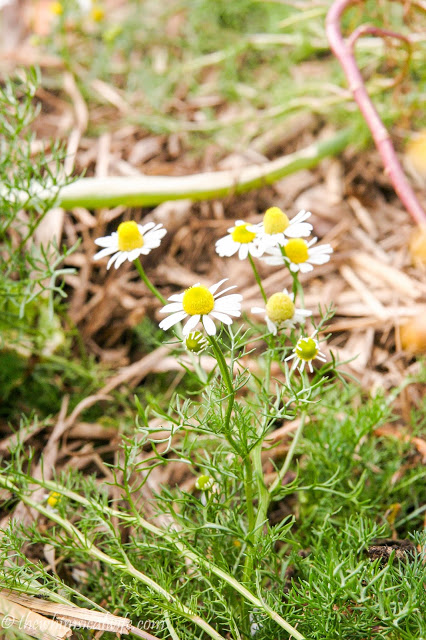
We planted: basil, Thai basil, mustard greens, shallots, thyme, oregano, marjoram, chamomile, garlic chives, sage, tarragon, rosemary, parsley, mint, peppermint, pineapple sage, lemon verbena.
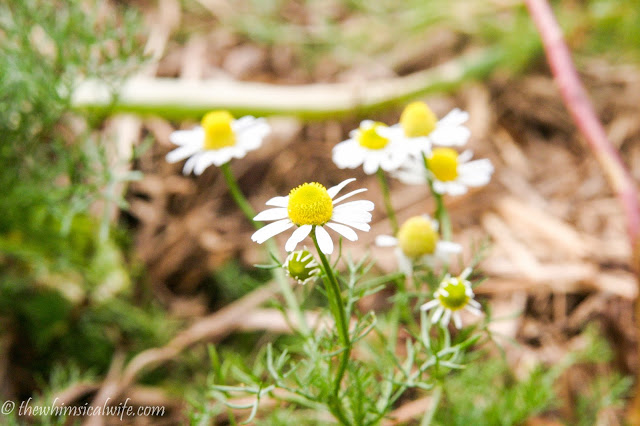
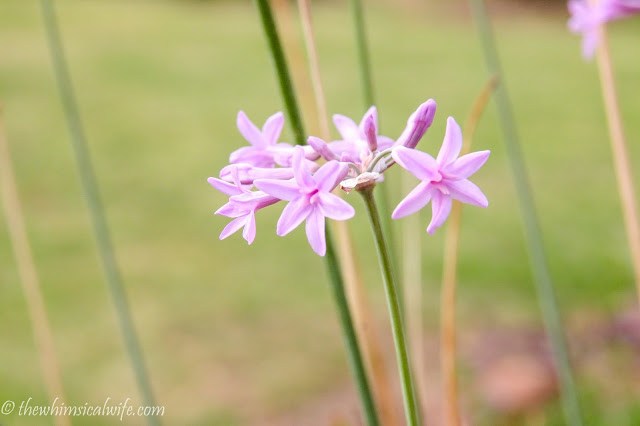
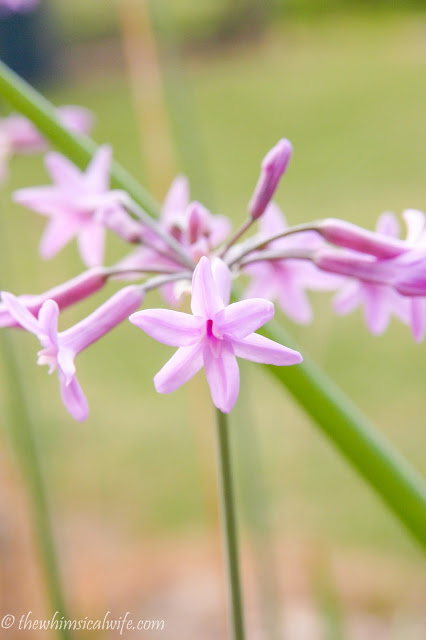
Each herb seems to have it's own unique flower such as the Garlic Chives and the Chamomile just to name a few. I love it when they all bloom... nearly feels like a flower garden!

Looking back towards the house shows our next big project.... a deck!!
So the renovations continue!