


Doing Up A Country Kitchen Hutch
My heart skipped a beat when I saw this hutch sitting all forlorn in the corner of the OP shop. It was dusty, full of cobwebs and in need of a bit of TLC. I just loved the curved wood on the top section of the hutch and I knew I had to buy it there and then - just after haggling a little to get the price down!
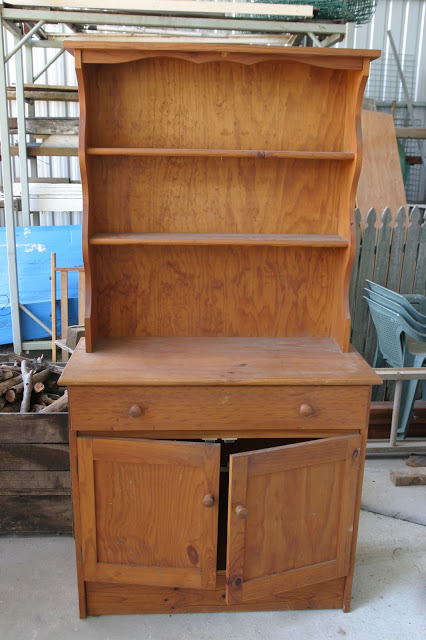
It was in great condition, which is always a must when buying pieces to do up. Three things I check when buying a piece of furniture to do up are:
* What is it made out of - any laminated/veneered furniture gets bypassed as it difficult to paint on.
* What is the condition of the piece in - i.e Is there any rotting wood, pieces need replacing or badly stained etc. I generally buy pieces that do not require a lot repair work.
*What needs replacing - i.e. handles or door knobs. These can be expensive and it is good to have any idea of this when bargaining as you want to factor this cost in when doing it up.
If you have something similar to this piece of furniture sitting at home and you really want to do something with it why not do it up. Get in there and have a go. Do a bit of research to get some inspiration on how you want it done up and have some fun with it. A project like this would normally take me a day or two to complete (with no distractions) however with a baby in the house it may take me a week or two to complete it as I am generally ducking down to the shed in between sleep times to get a bit further along on each piece I have waiting there.
There are 3 main stages in doing a piece of furniture up :
Preparation
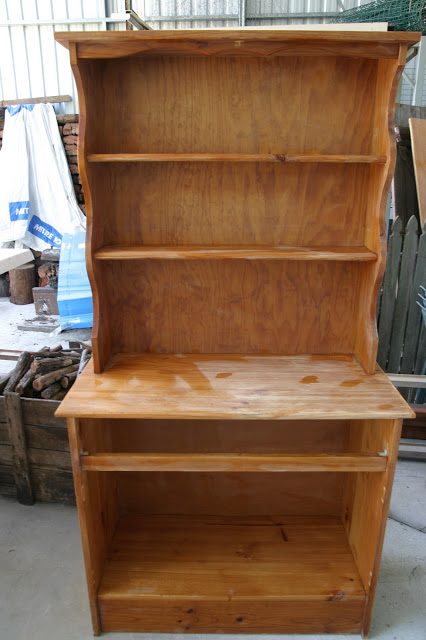
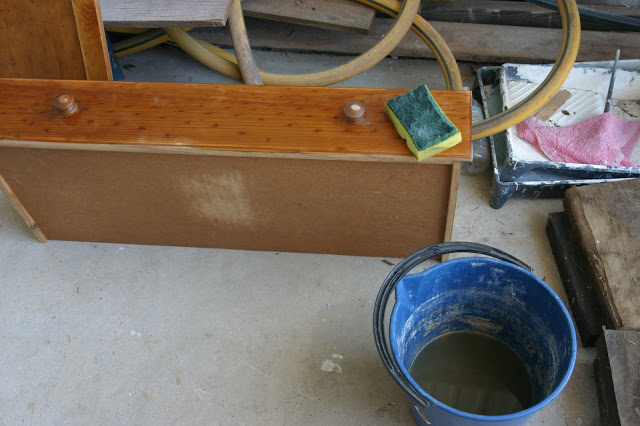
: This involves doing any repairs and initial cleaning of the piece to get it in tip top condition before continuing on with any further prep work. Removing any hardware or doors to help in the sanding process it also helpful. Once that is complete sanding is then required to prep the piece for painting. Sanding is one of the most important steps in the whole renovation process. It is the foundation of your paint and you want to make sure you have removed anything that will interfere with a good paint job.
Painting/Staining:
If you are staining certain sections of the piece I would recommend doing it first before painting. With this hutch I stained the top counter first and then taped it up with newspaper to protect it from any paint.
A undercoat of some sort is applied to cover up any thing that you don't want showing through to the final coat. I recommend using
undercoat as this blocks any stains that would normally seep through normal undercoat. The main colour is then painted onto the piece, which is the most fun bit seeing the piece come alive with the colour you have chosen. I normally apply two coats of the final colour to give it a good coverage.
Finishing:
This is when you tweak and fuss over the furniture to add the finishes touches to make it shine. Depending on the finish I am going for I sometimes create the rustic shabby look by sanding here on there on the piece to "rough" it up a little. I will also apply a clear furniture wax onto the painted section of the piece and a dark furniture wax onto a stained timber top - like I did for this hutch. This helps protect the piece and give it a lovely finish. I then add back on anything that I removed such as doors, knobs or handles to complete the job.
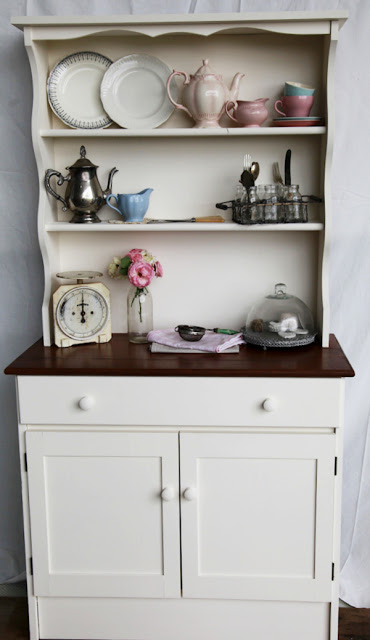
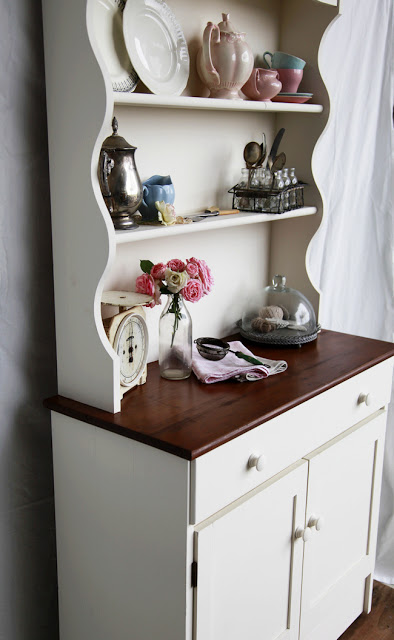
After a few hours worth of work you will do the final rub on your piece and stand back and admire your work! Job well done! I went out of my normal Dulux "natural" white look and chose a paint colour called "clotted cream" (half strength) to paint this piece with. It gave it the warmth that I was looking for as sometimes a plain white can look a little stark. I think it has become my new favourite colour.
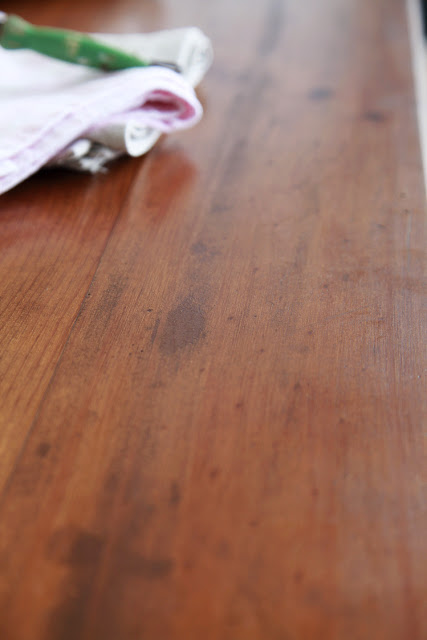

The stain I used for the counter top was Cabot's waterbased stain called "Manuka Honey". I did about 3 coats of the stain to give it a rich, deep colour and finished with a dark furniture wax to give it a lovely glossy sheen. My favourite part to the reno was doing the stained countertop. I just love seeing a old tatty countertop come to life with a sand, stain and good polish with wax. I hope to do a post on how to stain a piece of furniture in the up and coming weeks. I am currently working on a lovely hall table which I will be doing the same wood top, painted base look on.
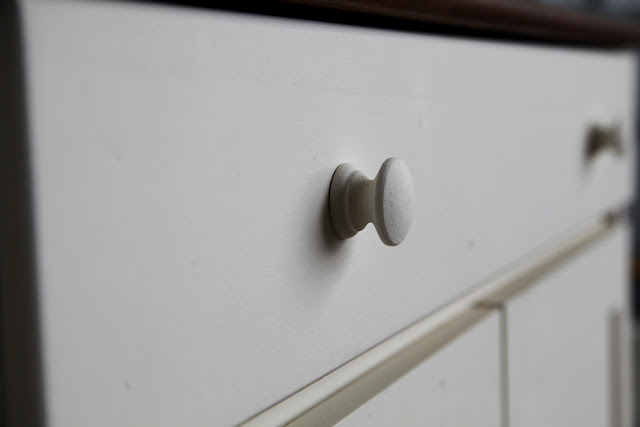
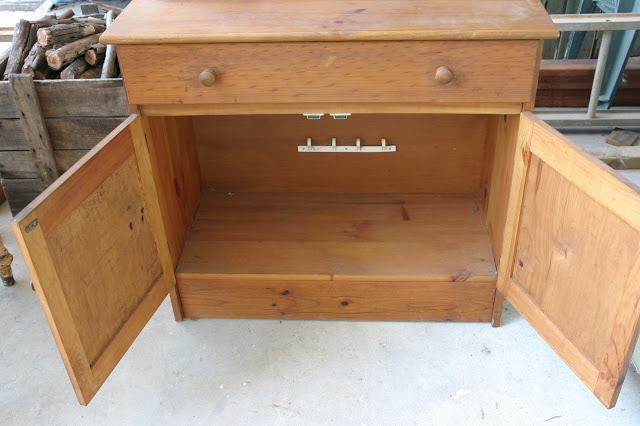
I didn't end up removing or changing any of the knobs on the piece as they were in great condition and I couldn't think of adding anything different to make it look better. I did have to replace a magnetic catch on the opening doors but thankfully it only cost around $3-$4 to replace.
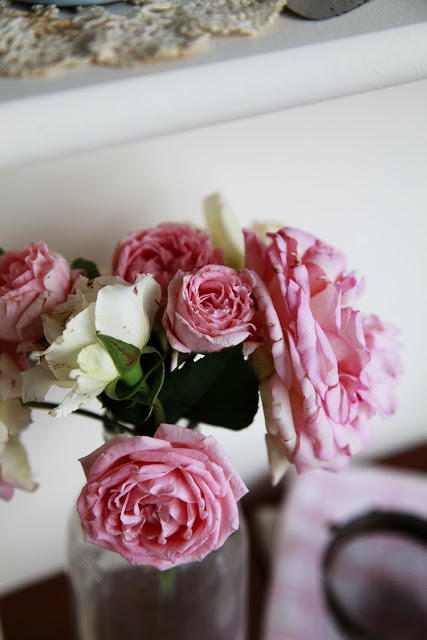
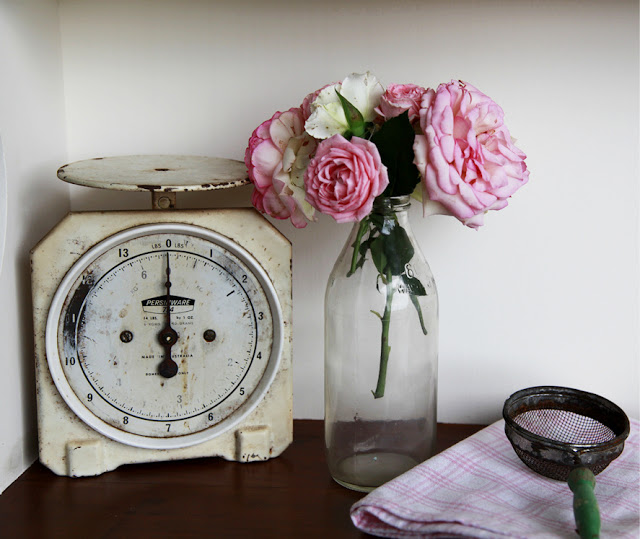
I grew quite attached to this piece as it sat up in my family room awaiting to be sold over Christmas time. I would walk past and run my find across the countertop and wonder if I could fit it in our house somewhere. No such luck. I think I go through this every time I do something up. It sold last week which was a bit of a sad day but I hope the new owner enjoys it as much as I did doing it up.
Are you in the throes of doing something up or need some help or advice? Don't be afraid to drop me an email at diaryofwhimsicalwife{at}gmail.com if you have any questions. I will be more than glad to help!
