How To Cook A Simple & Tasty Roast Chicken
Are you like me, terrified at the thought of cooking a whole roast chicken? It was my cooking Kryptonite in the kitchen along with trying to cook a decent gravy. I had a lot of dry offerings of poorly roasted chicken and lumpy gravy over the past few years – just ask my husband. I gave up after a while in utter defeat thinking I would never cook a whole chicken ever again. I finally got the courage up to take on the humble chook and defeat it once and for all. I found the key to success is SIMPLICITY!
I always thought a roast chook was fussy and complicated requiring heaps of ingredients for stuffing, massaging butter under the skin of the chook, trussing it all fancy like and basting the heck out of it for hours on end. After a few successful attempts at cooking a whole roast chook I found out you don’t have to get caught up in all that stuff. My roast chook only requires four ingredients – counting the chook itself, minimal effort in the kitchen and minimal fussing when it’s in the stove. Winner, Winner, Chicken Dinner! You know that was coming right?
So let me guide you through a few simple steps to setting yourself up for cooking a simple but oh so tasty roast chicken for your family.
Step 1.
You are going to need a large whole chicken, a lemon, 6-8 cloves garlic and some fresh herbs. A classic combo I use is - parsley, rosemary, thyme.
I go for a free range chook always and if the organic ones are on special I will buy those but that is rare. I try to go for the largest one I can find because a whole roast chook will generally give us leftovers for the next day or so. I love leftovers!! Don’t get hung up on the type of herbs I use – if you have marjoram swap that with the thyme, don’t have parsley use some garlic chives. Just pick 3 of your fave herbs from the garden and use what you already have.

Step 2.
Preheat an oven to 180 degree Celsius (fan bake) Line a large baking tray with baking paper – I do this to save having to scrub the pan later. Add in a small trivet to sit the chicken on when roasting. This helps keep the chicken skin crispy and allows the juices to run into the pan for gravy later.


Step 3.
Cut the lemon in half, roughly crush the garlic – no need to remove the skin and pat the chicken dry with some paper towel. Always dry your chicken off before roasting. This is the key to a crispy skin later on.

Step 4.
Open the cavity of the bird and place herbs, garlic cloves and then lastly the lemon halves inside. Gently close the excess skin over the cavity opening and tie the legs together with kitchen twine. Doesn’t have to be fancy or any particular way just make sure the legs get tied together.

Step 5.
Place the stuffed chicken onto the trivet in the roasting pan with the breast side up. Drizzle with a good glug of olive oil and rub it over the entire bird, front and back. Next sprinkle a good seasoning of salt and pepper all over the skin.

Step 6.
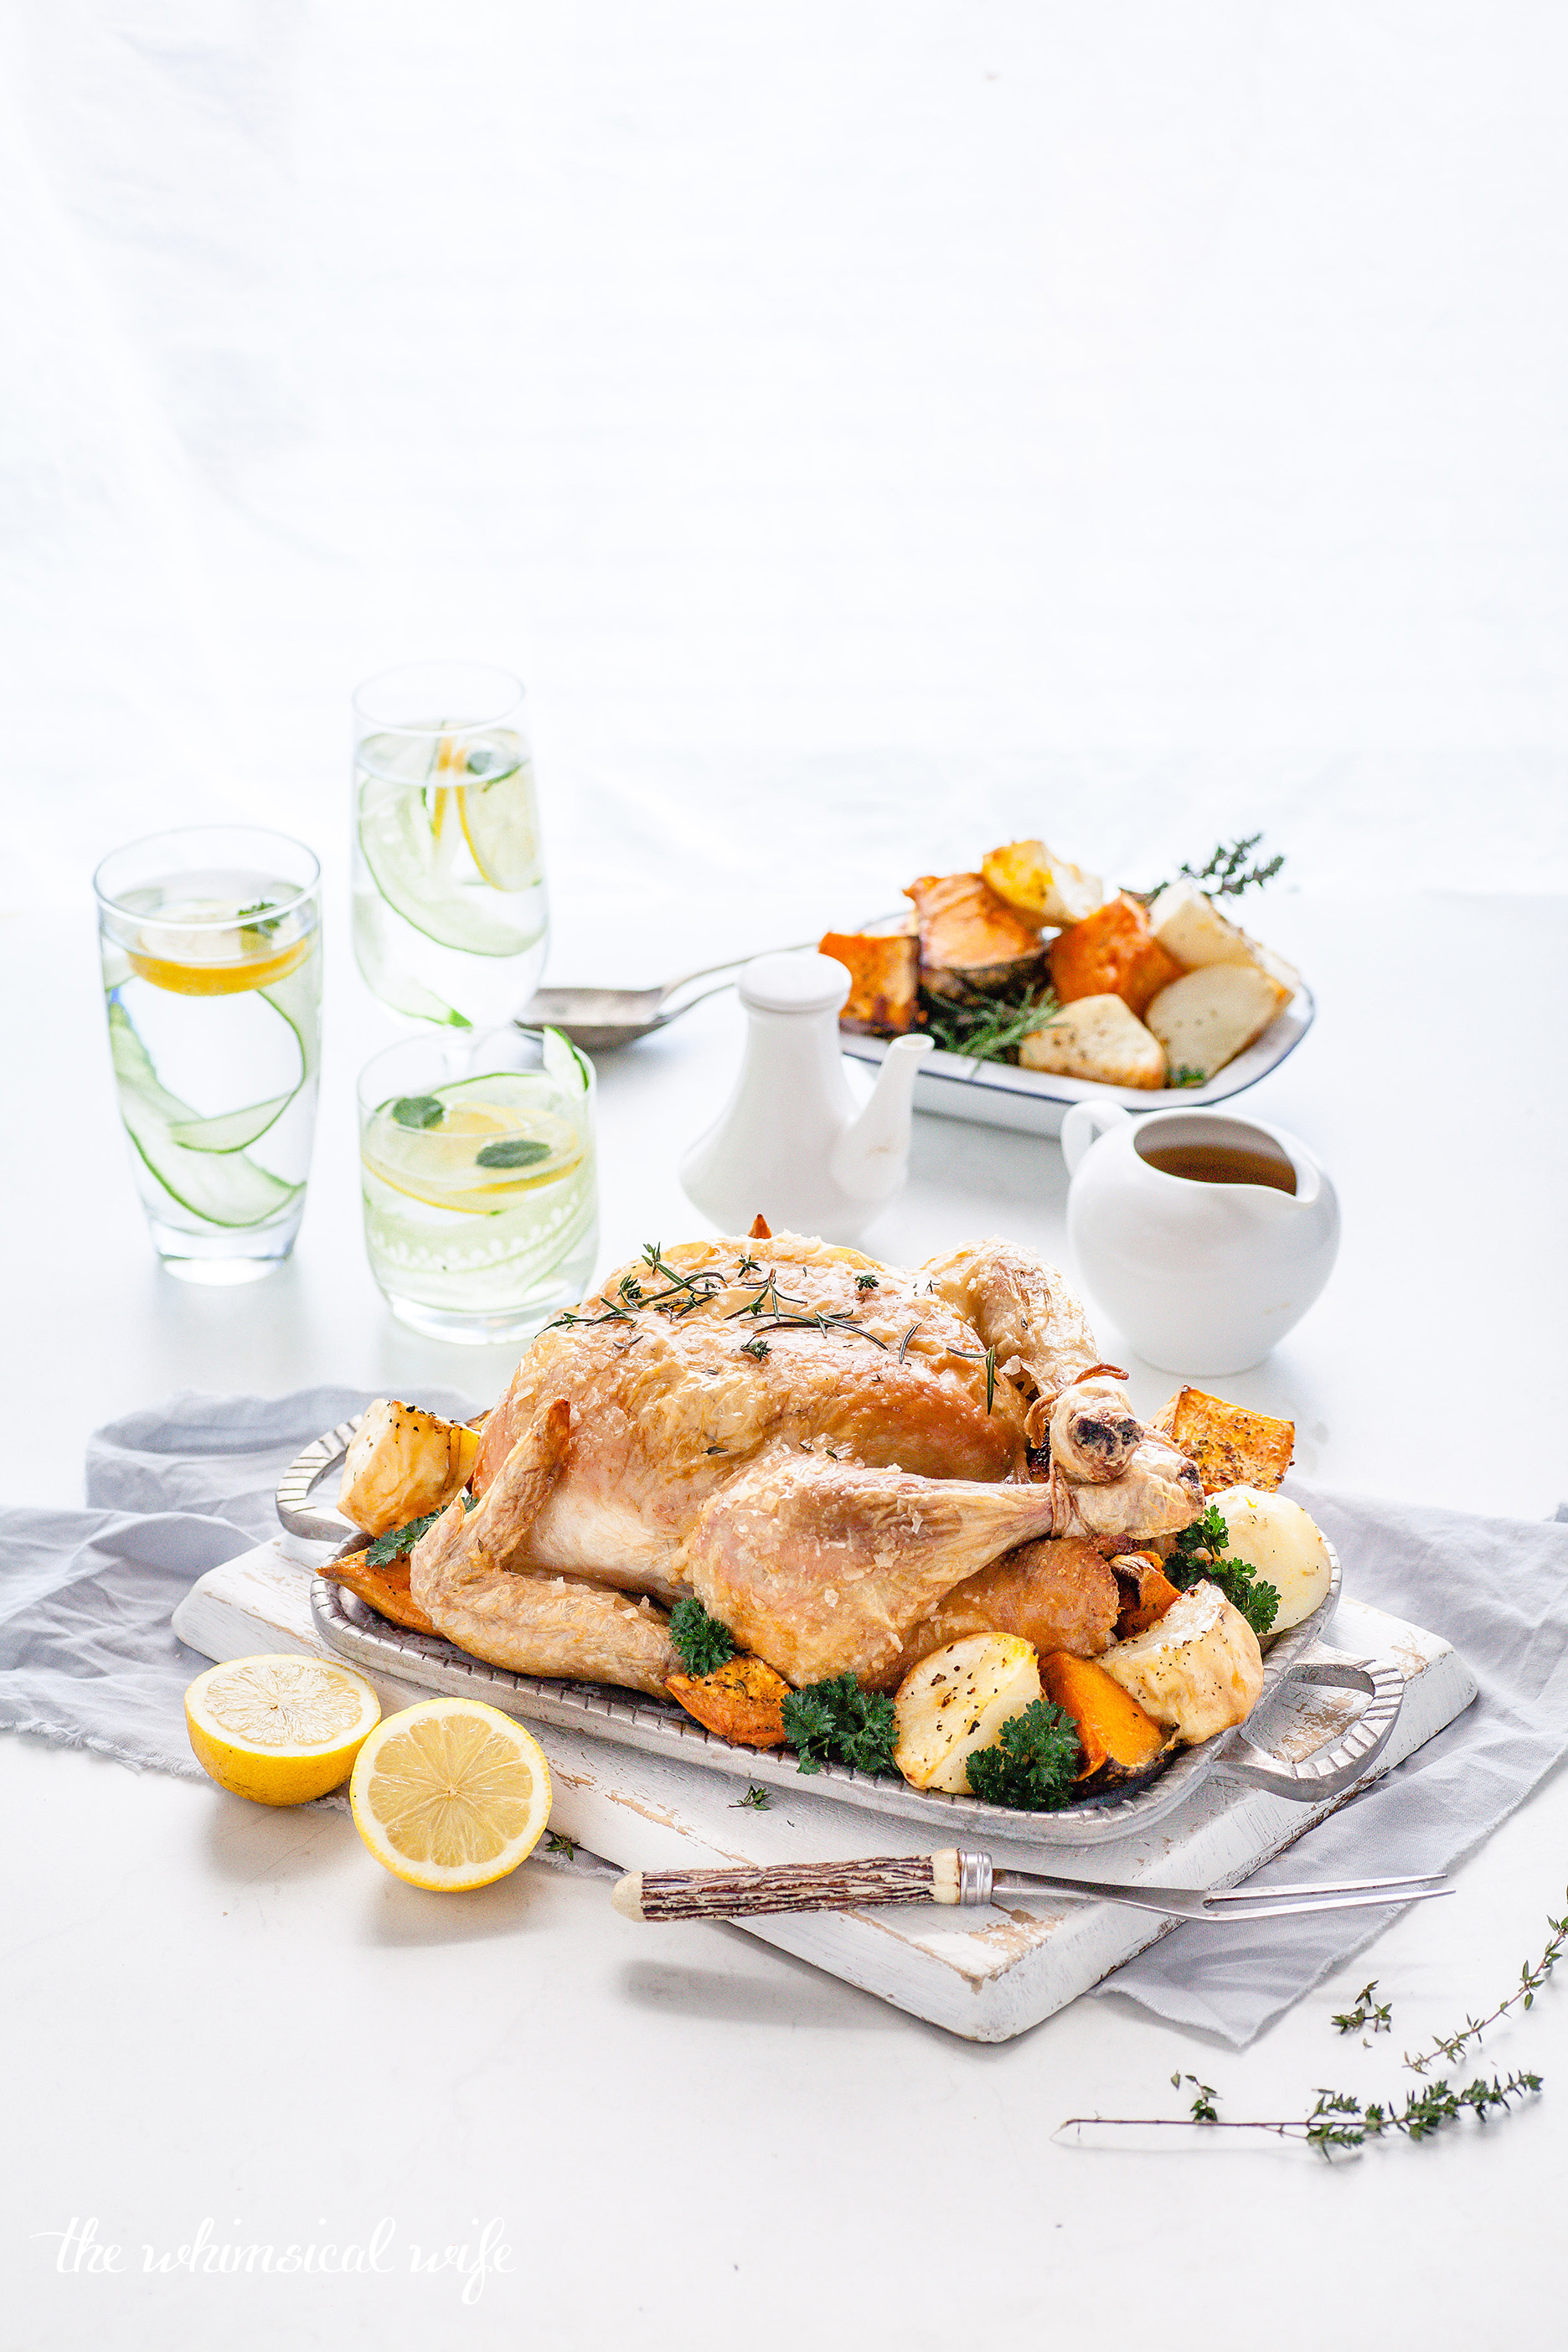
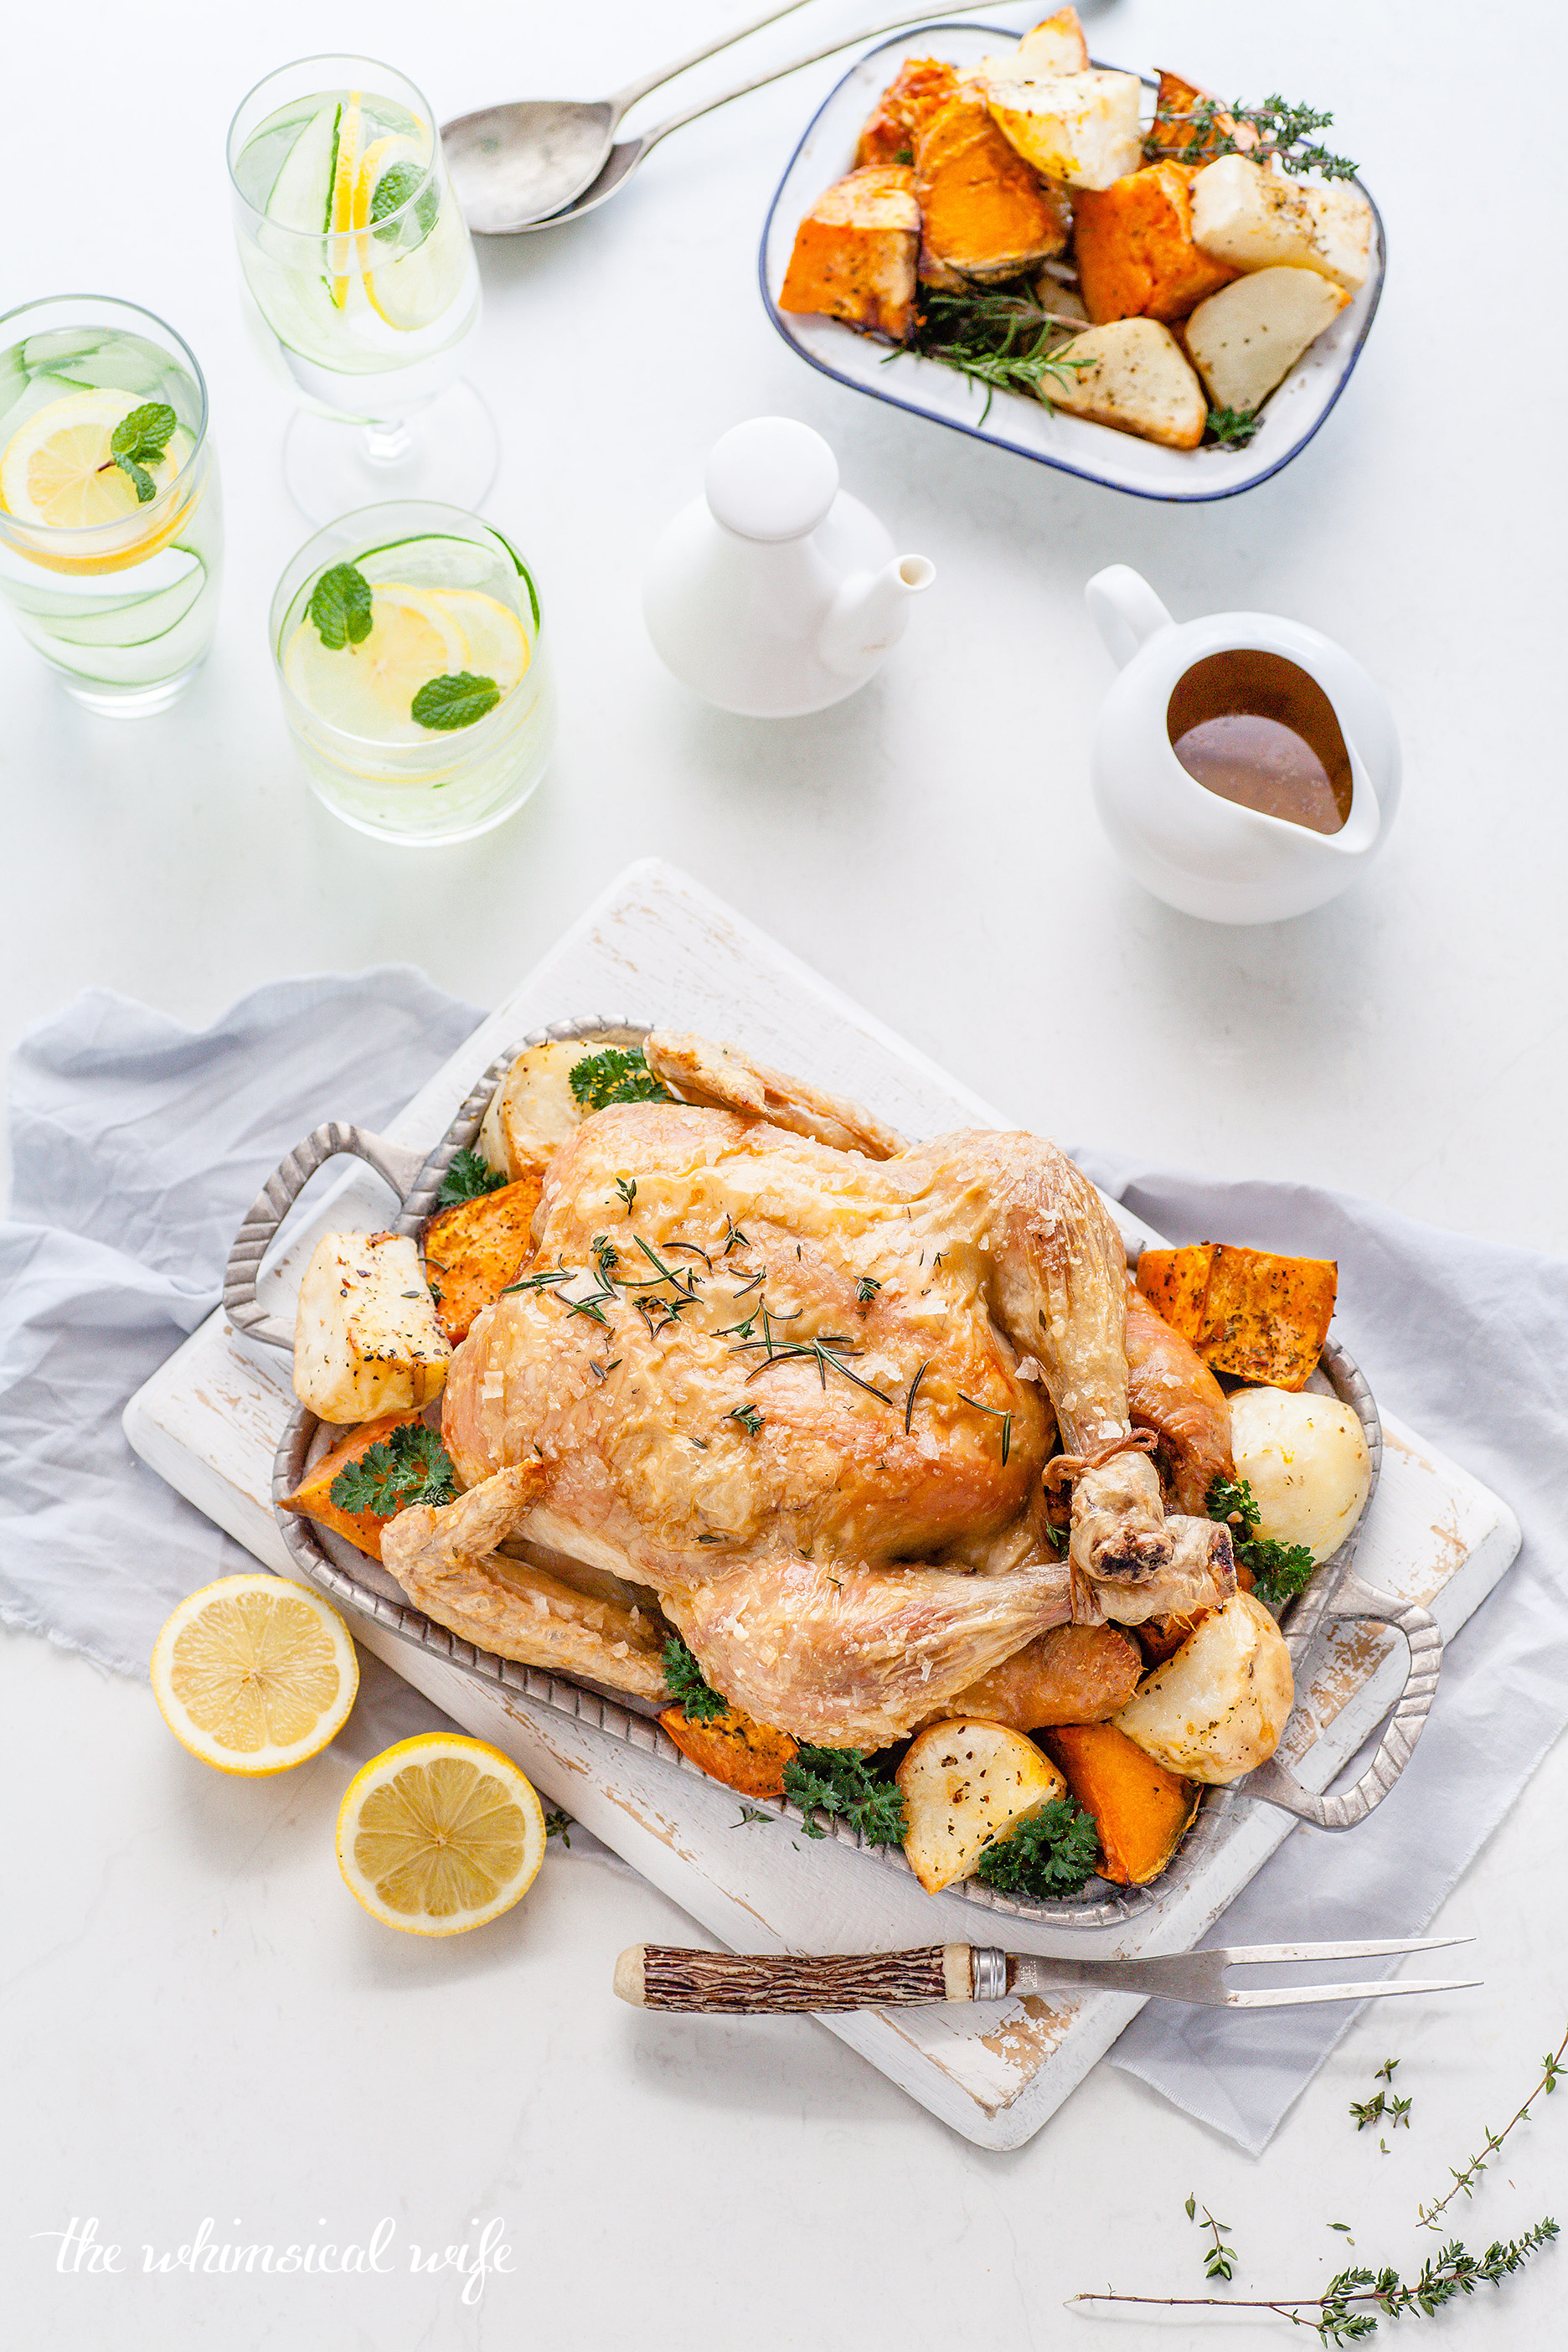
Place the chicken into a pre-heated 180 degree C oven. Cook the bird for 25 minutes per 500g for a tender and moist chicken. The bird pictured was about 1.7kg and I cooked it for about 1 hour and 30 minutes and let it rest for 10 minutes before serving. To be certain that chook is cooked I always pull back the leg and pierce thigh to check that the juices run clear. This will indicate that the chicken is cooked properly. Always rest your chicken before serving as this will help the juices to draw back into the meat. It will result in a more tender and moist chicken.
Step 7.
To make the most amazing gravy make sure you reserve the chicken juices. To make the gravy simple place the juices into a measuring jug taking note of how much juice there is. Add a little water to make up a 250ml of liquid and stir in 2 tablespoons of gravy powder. You could use plain cornflour to thicken the gravy but I find the gravy powder adds extra flavour. Pour the liquid into a pan and bring to a simmer stirring constantly until the gravy thickens. Serve immediately over the carved chicken.
So there you have it a simple and tasty roast chook with no fuss. If you have success cooking a roast chook for the first time make sure you tag me on Instagram or Facebook or leave me a comment here! I would love to cheer you on in your roast chook cooking adventures!!
Simple & Tasty Roast Chicken

Prep Time: 10 min
Cook Time: 90 - 120 min
Makes: 1 Roast Chook
Download & Print RecipeIngredients
- 1 free range or organic chook
- 6-8 cloves of garlic
- 1 lemon
- herbs of your choice { I use a few sprigs of thyme, parsley and rosemary}
- olive oil
- salt & pepper
Instructions
Preheat an oven to 180 degree Celsius (fan bake) Line a large baking tray with baking paper. Add in a small trivet to sit the chicken on when roasting.
Cut the lemon in half, roughly crush the garlic – no need to remove the skin and pat the chicken dry with some paper towel. Always dry your chicken off before roasting. This is the key to a crispy skin later on.
Open the cavity of the bird and place herbs, garlic cloves and then lastly the lemon halves inside. Gently close the excess skin over the cavity opening and tie the legs together with kitchen twine. Doesn’t have to be fancy or any particular way just make sure the legs get tied together.
Place the stuffed chicken onto the trivet in the roasting pan with the breast side up. Drizzle with a good glug of olive oil and rub it over the entire bird, front and back. Next sprinkle a good seasoning of salt and pepper all over the skin.
Place the chicken into a pre-heated oven. Cook the bird for 25 minutes per 500g for a tender and moist chicken. The bird pictured was about 1.7kg and I cooked it for about 1 hour and 30 minutes and let it rest for 10 minutes before serving. To be certain that chook is cooked I always pull back the leg and pierce thigh to check that the juices run clear. This will indicate that the chicken is cooked properly.
Always rest your chicken before serving as this will help the juices to draw back into the meat. It will result in a more tender and moist chicken.Once rested carve your chicken and serve with roasted vegetables and gravy.
GravyTo make the most amazing gravy make sure you reserve the chicken juices. To make the gravy simple place the juices into a measuring jug taking note of how much juice there is. Add a little water to make up a 250ml of liquid and stir in 2 tablespoons of gravy powder. Use could use plain cornflour to thicken the gravy but I find the gravy powder adds extra flavour. Pour the liquid into a pan and bring to a simmer stirring constantly until the gravy thickens. Serve immediately over the carved chicken.


