


DIY Mother's Day Gift: Geometric Bath Shelf
I've got another great DIY Mother's day gift idea today as part of my three part mini-series. If you missed the first project pop on over to the
.
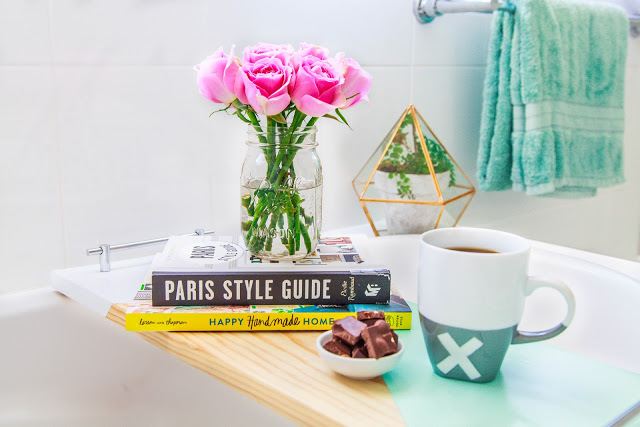
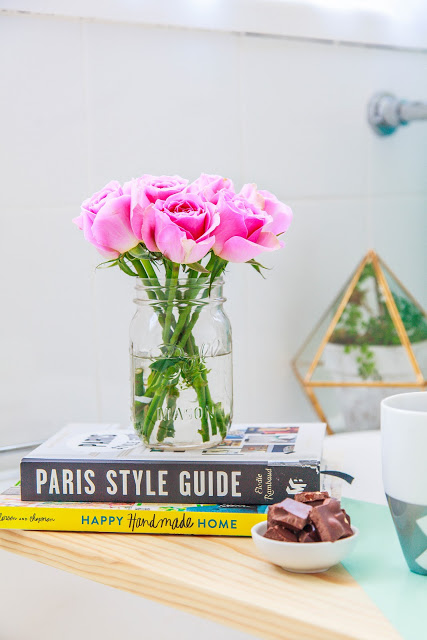
Surprise Mum on Mother’s day with her very own bath shelf. It is the perfect gift to help her relax in the tub with her favourite things at her fingertips. I created this project with my comfort in mind because tub time is the best way to unwind after a long day with the kids. Who wouldn’t want one of these shelves in their bath filled with a favourite book, a little chocolate and a favourite cup of tea (or wine) most likely wine because let’s be honest here! This shelf is simple to make and only requires a handful of things to put it together. It’s the perfect homemade gift for the novice DIY’er to make and it packs a design punch. Have fun playing around with the different graphic shapes and colours for the shelf design. If you want to keep it classic, simply stain the wood with your favourite wood stain and finish off with a clear coat of sealer to protect it. It’s simple but effective and something mum will cherish for years to come.
Materials:
1 x Pine board – 1.2 m x 23cm x 1.9cm
2 x Silver handles
1 x Packet anti-skid rubber pads
2 x Cans of gloss spray paint, colours of your choice
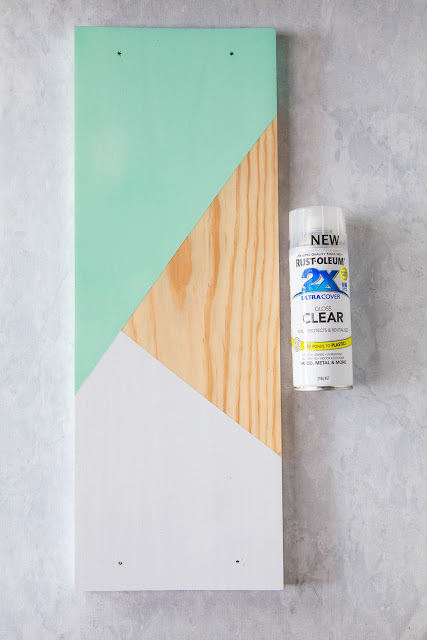
1 x Can of clear gloss spray paint
120 grit sandpaper
Masking tape
Newspaper

Step 1
: Measure the width of your bath tub making sure to leave about 2-3cm of overhang to rest the shelf on the edges of the bathtub.
Step 2
. Measure and mark the width of the tub onto the pine board and cut to size. If you don’t have the facilities to cut the board at home, consider getting your local Bunnings to do this for you in the trade section of the store.

Step 3.
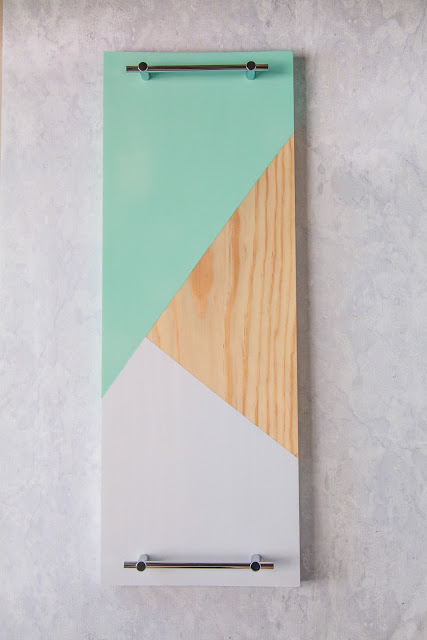
Measure and mark the width of your chosen handles about 3cm in from the edge of the board. Repeat with the other end. Pre-drill the handle holes into the board and check that the handles fit correctly before proceeding to paint. You don’t want to be pre-drilling further holes after you have painted.
Step 4.
Give the board a light sand with the sandpaper to remove any rough edges. Wipe over with a damp rag to remove any dust from sanding.
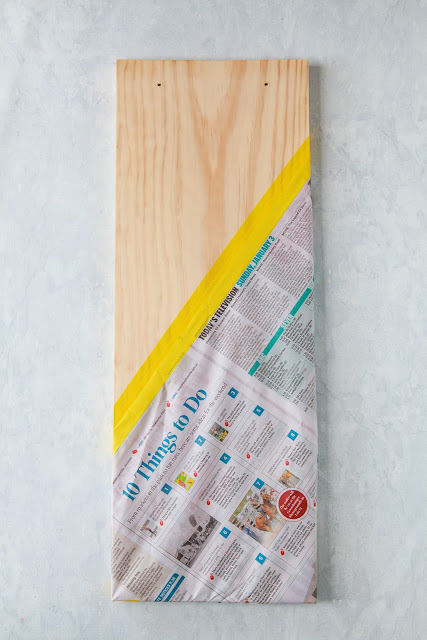
Step 5.
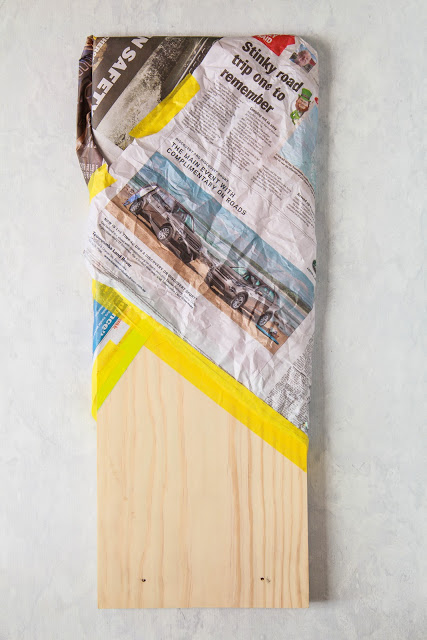
Using the masking tape, tape an angle midway on the board making sure to include the sides of the board. This will create the first geometric shape to paint. Cover one-half of the angle with newspaper to stop any overspray happening.
Step 6.
In a protected open space, spray the first of your chosen colours onto the wood. Let this coat dry for about 1 hour before applying the second coat. Depending on your choice of colour a third coat may or may not be necessary. Let the second coat dry overnight before removing the tape and newspaper.
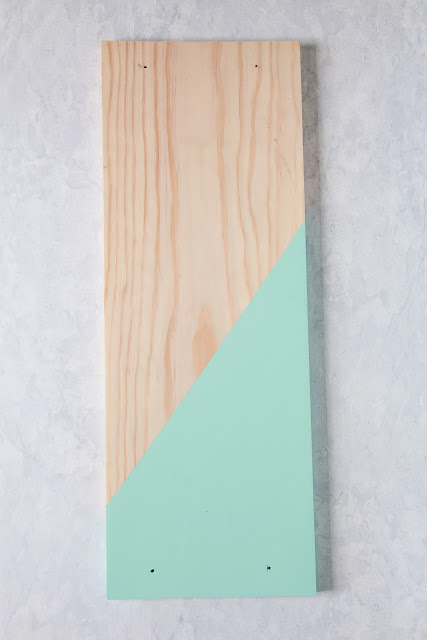
Step 7.
Tape a second angle in the opposite direction to the first making sure to cleanly tape off the edges that meet. Cover the areas that you do not want painted with newspaper and repeat step 6 again.
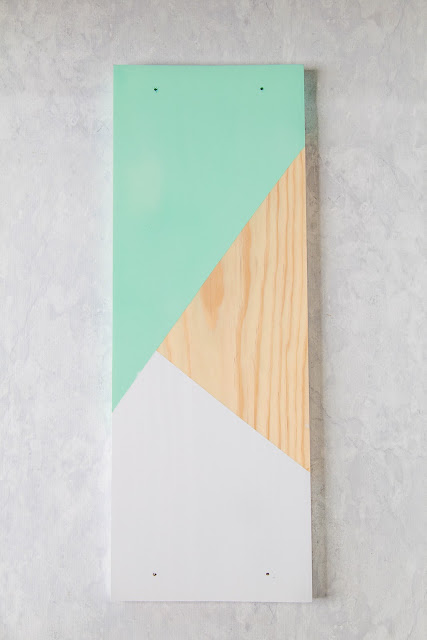
Step 8
. Gently remove the tape and newspaper from the board to reveal your painted design. To finish off, the shelf gives the whole board two coats of clear gloss spray to protect the surface and give the exposed wood a beautiful shine. Let it set to dry for a minimum of two hours or until the surface is no longer tacky.
Step 9.
Flip the shelf over to the back and stick on the anti-skid pads at each end of the board. This will help stop the board from slipping around on the edge of the bath.

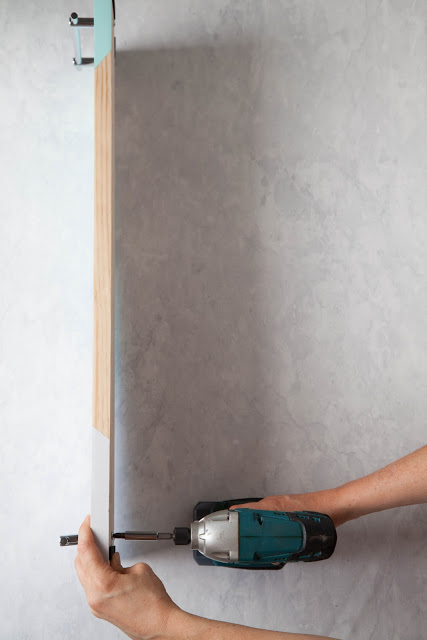
Step 10
. Turn the shelf back over to the top and screw in the handles into the pre-drilled holes. Be careful not to scratch your paint job while doing this.
Step 11.
Either wrap your newly crafted bath shelf or set it up in the bath with some of your person’s favourite items ready to spoil them rotten.
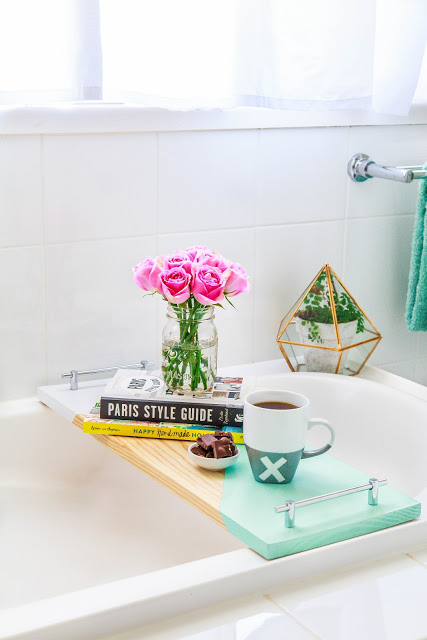


I think any mum would be pretty happy with their very own bath shelf. I might just swap the tea for wine! The chocolate can stay. If the geometric pattern isn't to your taste don't be scared to play around with staining the wood, stencilling it or whatever takes your fancy. Make sure you personalize it to the mum your are making it for. It will make it all the more special.


