Now that I am a stay at home mum and we are on one wage I am all about trying to find ways to decorate well but do it on a budget. I wanted to change the theme of our Christmas tree this year as the last 5 years have been silver and blue and well that is getting a little old.
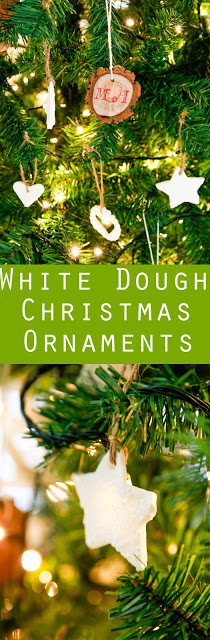
My theme this year is a "Rustic Christmas" and things that would portray this to me would be real pine cones, wooden ornaments, jute twine, white clay decorations, burlap or calico fabrics or hessian, really basically any "natural" decorative element. (Follow me on Pinterest to see my Christmas Inspirations). I looked at buying decorations last year to do this because I was too ill with morning sickness to make anything but realised I could make decorations much much cheaper SO I put up the silver and blue decorations last year and waited patiently for this year's Christmas.
So to make these ornaments you will need the following:
For the white dough:
1/2 cup cornflour (AKA Cornstarch)
1 cup baking soda
3/4 cup water
1 cup baking soda
3/4 cup water
*I tripled the above recipe to get the amount of ornaments that I did for my tree*
Utensils:
A large saucepan
wooden spoon
large ceramic or steel bowl
Christmas cookie cutters
baking paper
large baking trays
straw


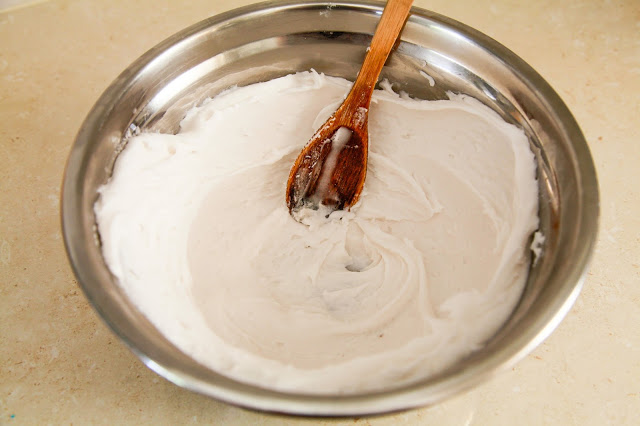
Step 1. In a large saucepan place the baking soda, cornflour and water and mix until combined. Place over a medium heat and bring the mixture to the boil. Turn to a low heat and let the mixture simmer slowly - stirring constantly through this whole process.
The mixture will start to thicken and become gluggy - keep on stirring! The mixture needs to be the consistency of thick mashed potatoes that allows your wooden spoon to stand up in. (See picture above)
Step 2. Once the mixture has reached this stage remove it off the heat and place the dough into a large ceramic or stainless steel bowl. Spread the dough around the edges of the bowl to help it cool down quicker. Cover the bowl with cling wrap and set aside for an hour or so until the mixture is completely cool. Now the fun part begins!
Step 3. Remove the dough from the bowl and knead for a few minutes with a little bit of cornflour sprinkled over the bench. Basically you want to bring the dough together and get it nice and smooth. Place it between two pieces of baking paper and roll out. You need to make sure you roll your dough out to about 1/4 inch thickness. Any thinner and the ornaments will crack and burn and any thicker they will collapse and crack.
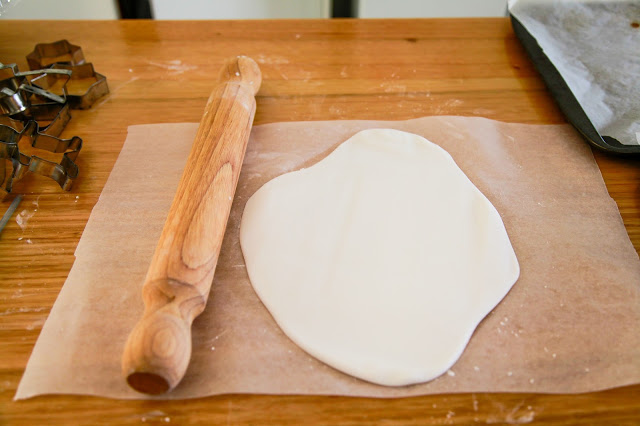
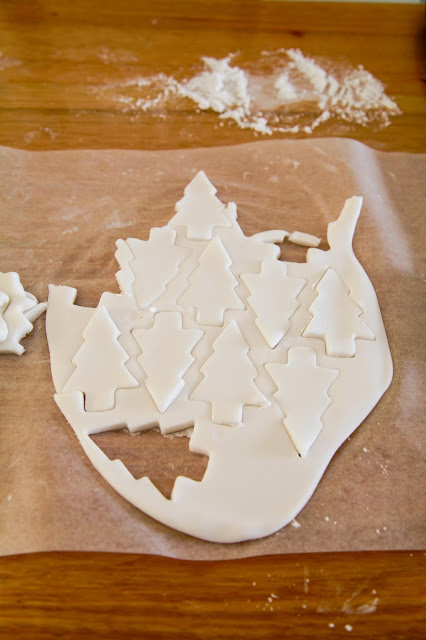
Step 4. Remove the top piece
and start cutting away with your cookie cutters. The best way to stop
your cookie cutter from sticking to the dough is to dip it into a bit of cornflour first. I leave a little pile on my bench to keep going back to during the cutting process as you can see in the picture below.
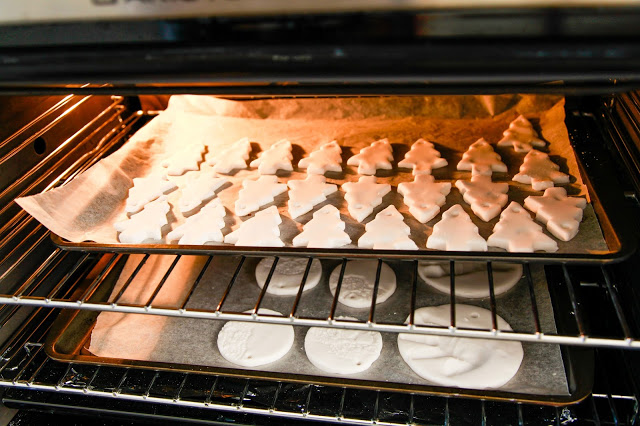
Step 5. Preheat your oven to 70-80 degrees Celsius (175 F). You don't want a hot oven with these ornaments so if you find your oven to be hotter than normal lower the temperature by 10 -20 degrees. Otherwise you will have "burnt" and brown looking ornaments! Carefully remove your cut shapes onto a lined cookie tray. Using the straw poke holes at the top of your shapes where you want to hang them from.

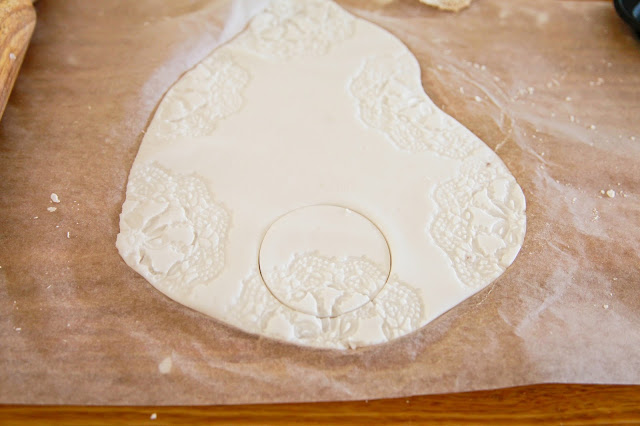
There are so many different designs you can make with this dough. I rolled a doilie into mine and cut circles through it to give it a nice textured section on one side of it. Let your imagination go wild with your designs! I also did a hand and footprint of our little boy to hang on the Christmas tree as a reminder of his first Christmas.

Step 6. Once you have cut our all your shapes and poked them all with the straw to create a hanging hole, place them into your preheated oven. Bake for 60 -90 minutes checking every 15 minutes after the 1 hour mark. Mine took a little over an hour to dry out but the large hand print ornament took nearly 2 hours. Patience needs to be heeded here and not turn up the oven to speed up the cooking process. I did that with one batch and they burnt and looked terrible! Once they are cooked remove from oven and place ornaments on a cooling rack to cool completely.
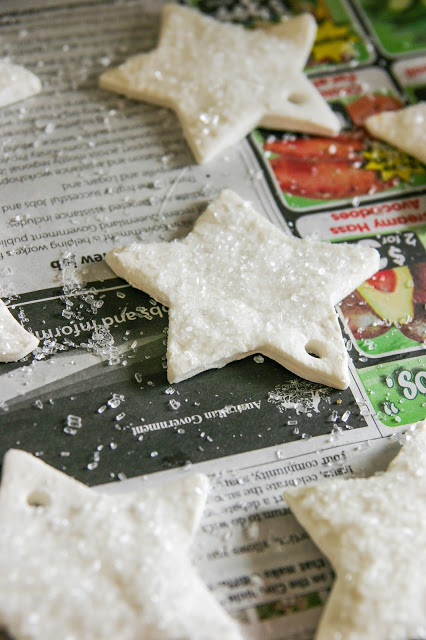
Step 7. *Optional* To add some "bling" to your ornaments you can paint the front of them with some wood glue and sprinkle some glitter or glass beads onto the wet glue.
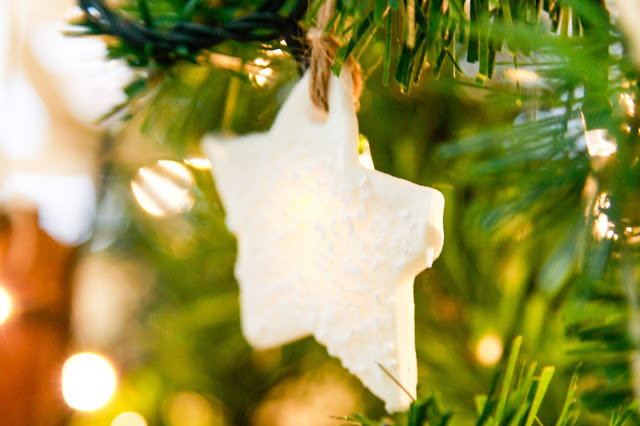
Step 8. Thread the ornaments with jute twine, string or ribbon - basically whatever you have lying around the house! It took me a few days to get all my done but I enjoyed doing something at night while relaxing in front of the TV.
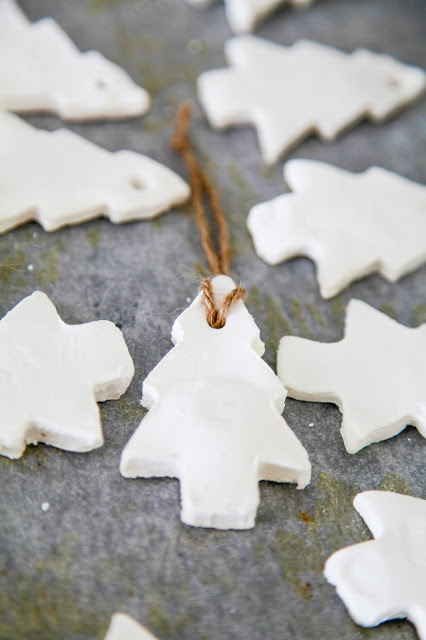
The end result speaks for itself though and I am SUPER DUPER happy with how the tree looks.

You can pop over here to view my tutorial on how to make you own rustic wooden ornaments.