

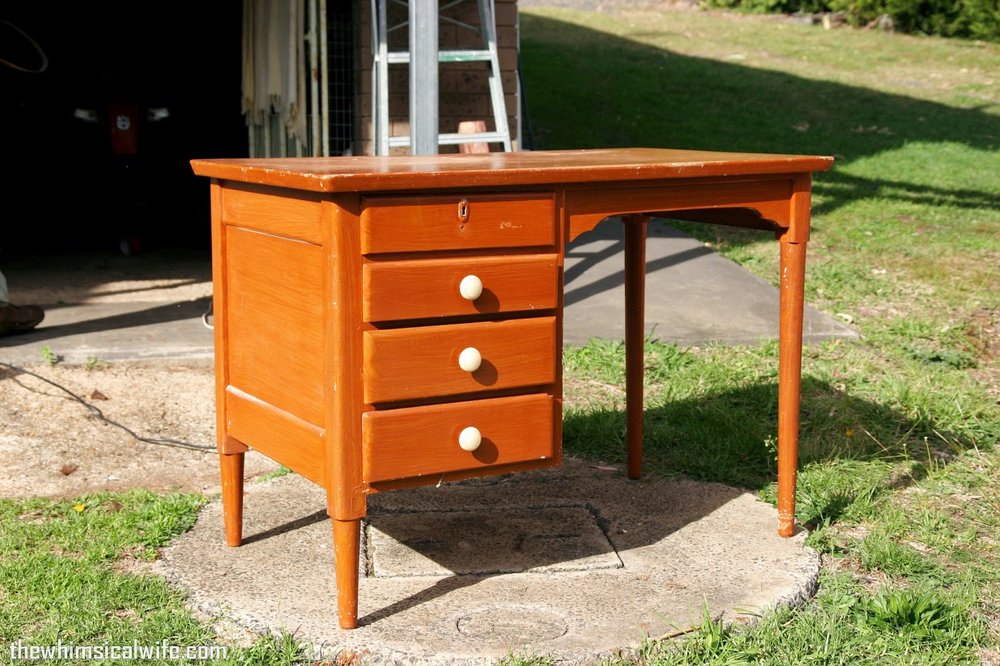
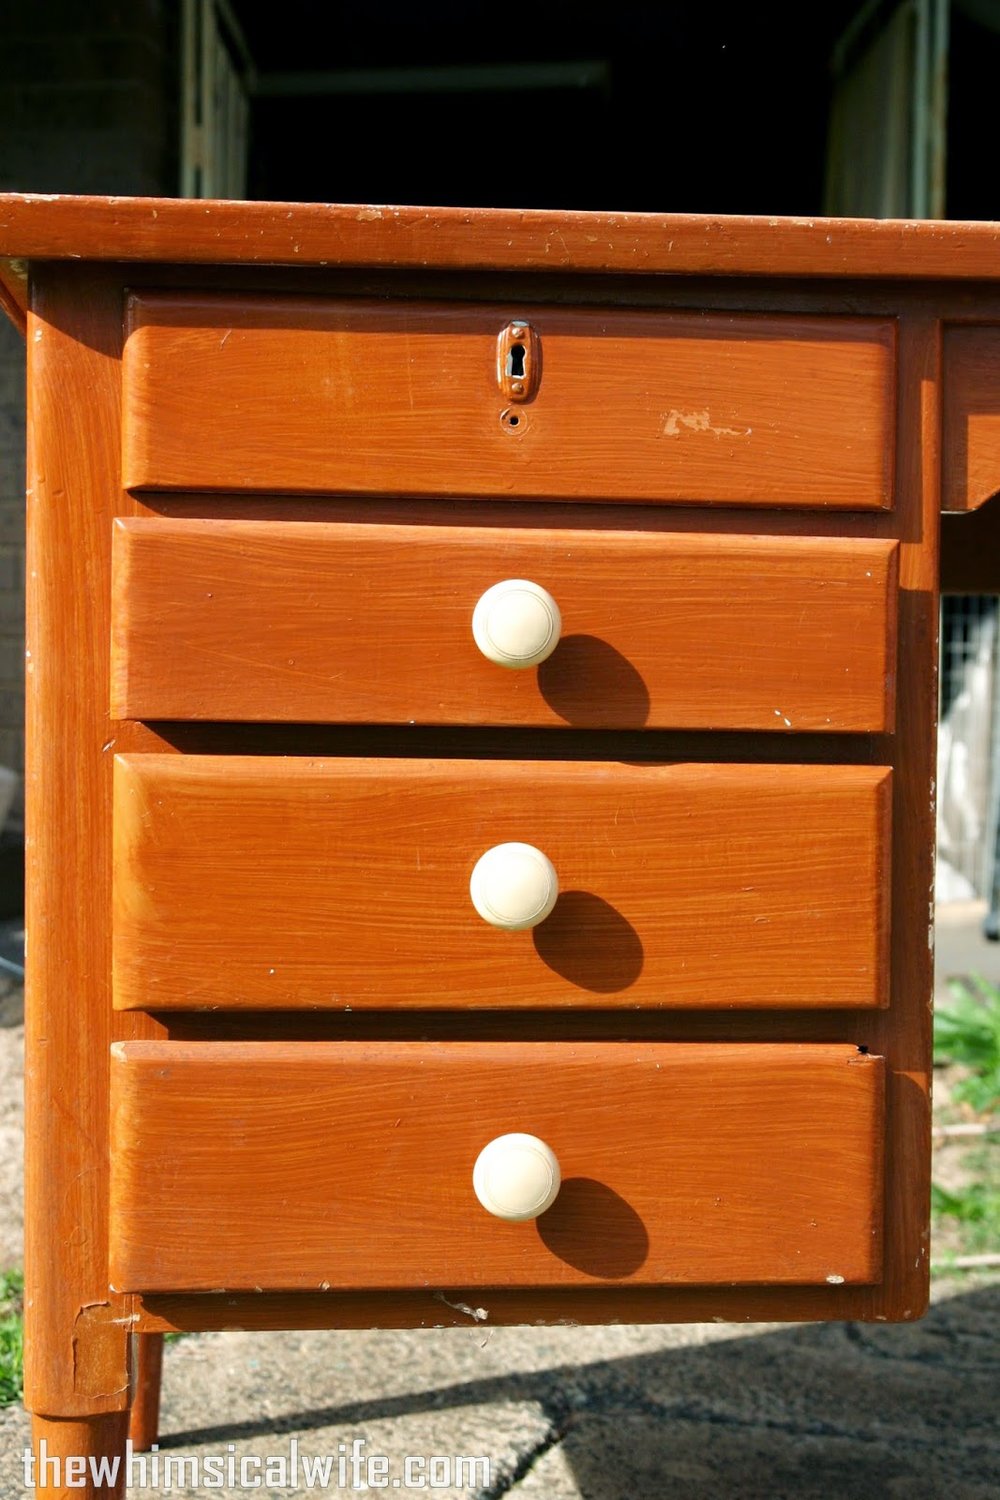
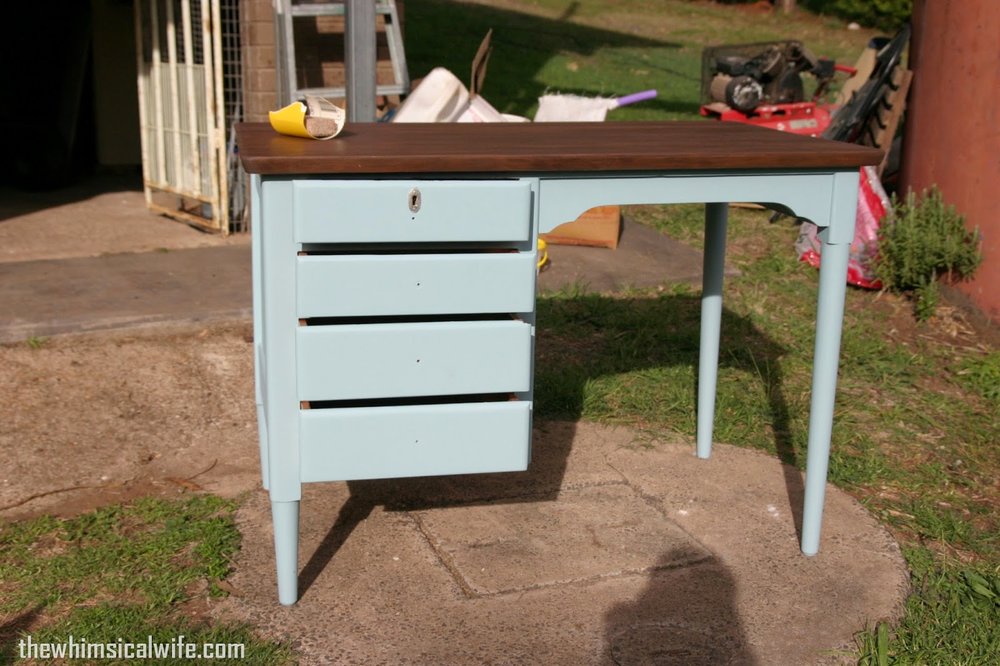
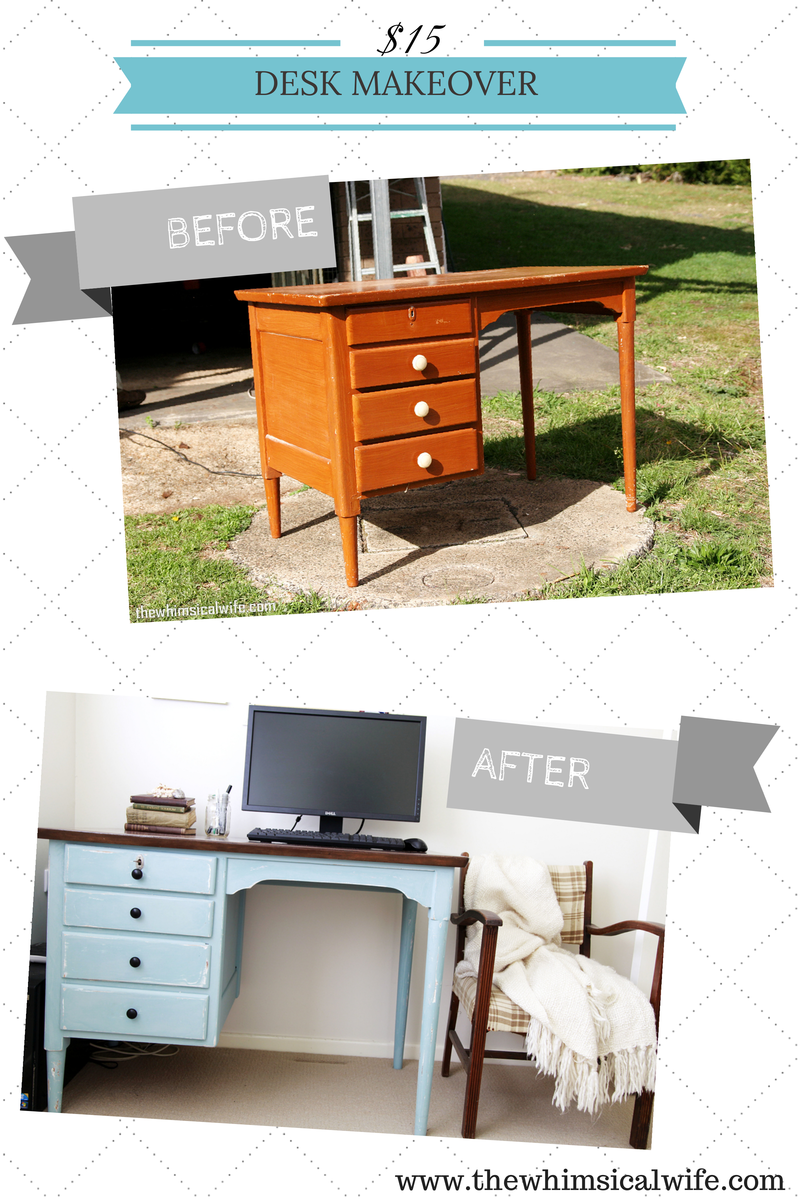
Let's get onto talking about this sad and sorry desk. Pretty ugly and sad isn't it? It was painted a really ugly faux pine stain that made the whole thing radiate an orange glow. The good thing about finding ugly pieces like these is that I can generally pick them up next to nothing. I picked this desk up for $15 from my local op shop after searching for a few weeks for the perfect desk. This desk was small enough to fit in the corner of the office yet big enough to fit the computer and printer that it needed to house.

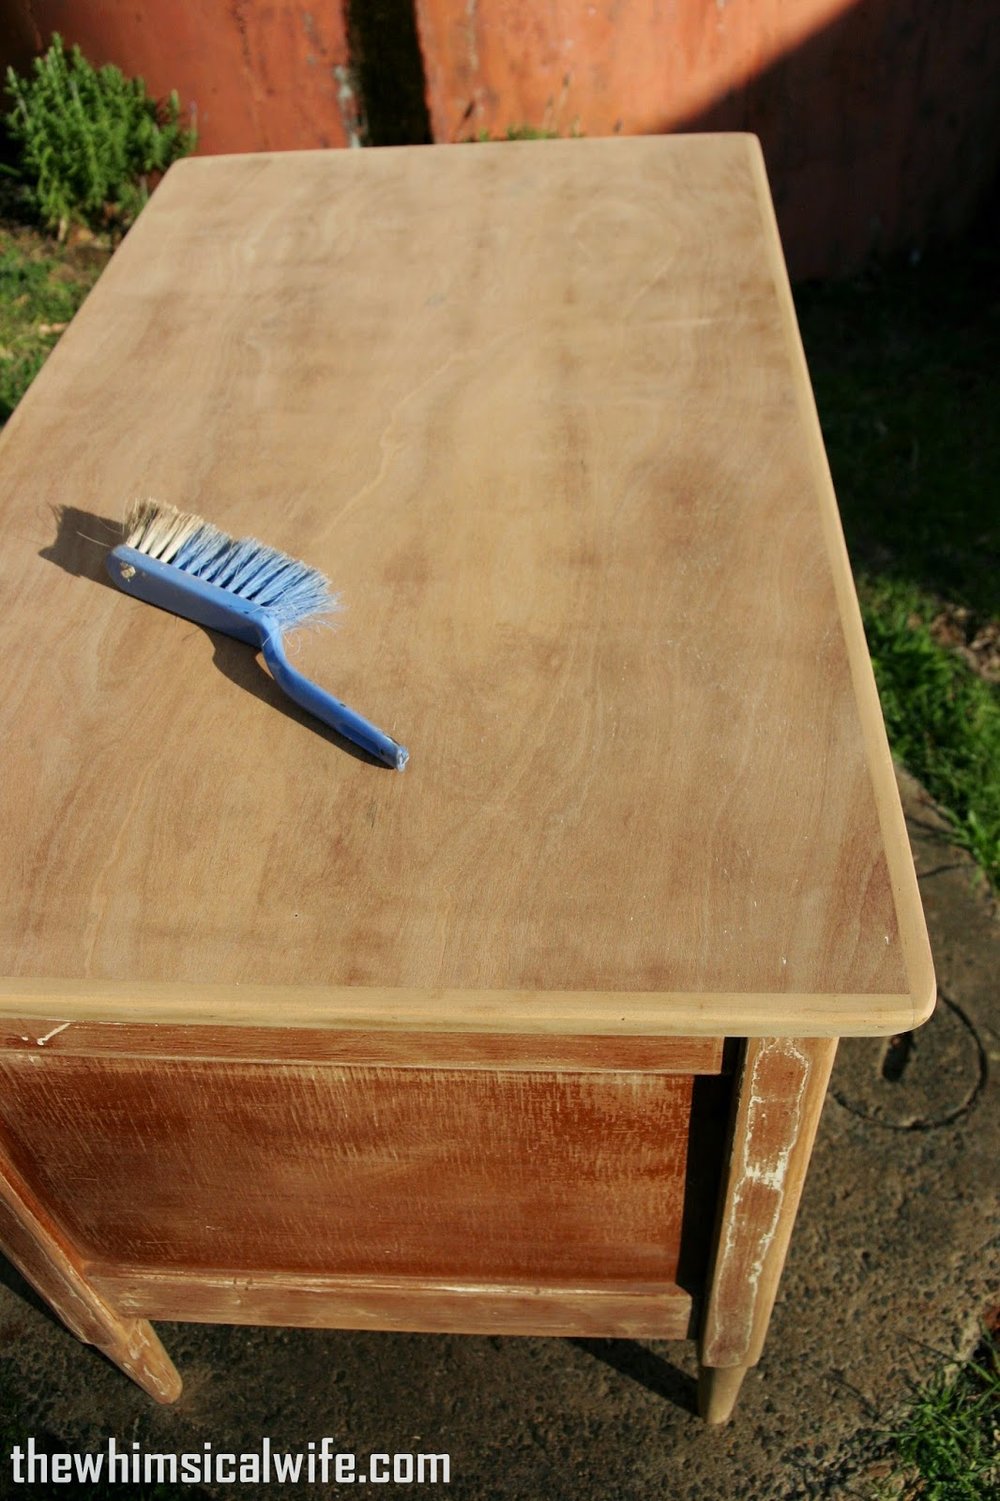
With any good furniture project the key to a successful outcome is giving the whole piece a good sand to create a good base to paint on. The key is to remove any glossy, grimey, scratched surface and rough it up with a good sand, either by hand or using a orbital sander. For a basic sand (such as getting a pieces ready to give an undercoat of paint) I generally use a 120 grit sand paper and this takes the glossy surface off most surfaces. If you need something a little more heavy duty I go down to 80 grit and this will be a bit more heavy duty for you. I recommend then giving the area a quick sand with 120 grit to smooth out the surface. The 80 grit can leave the wood quite rough and it can be felt through to the top coat sometimes. Trust me I have learnt the hard way with this.
Since the top of the desk had SO many layers of enamel paint from previous looks hubby pulled out the belt sander for me which ripped through the old paint with little effort. I think I have found my new favourite toy. I sanded back to the bare wood on the top as I wanted to stain it from scratch and the only way to do this is to start from bare wood.

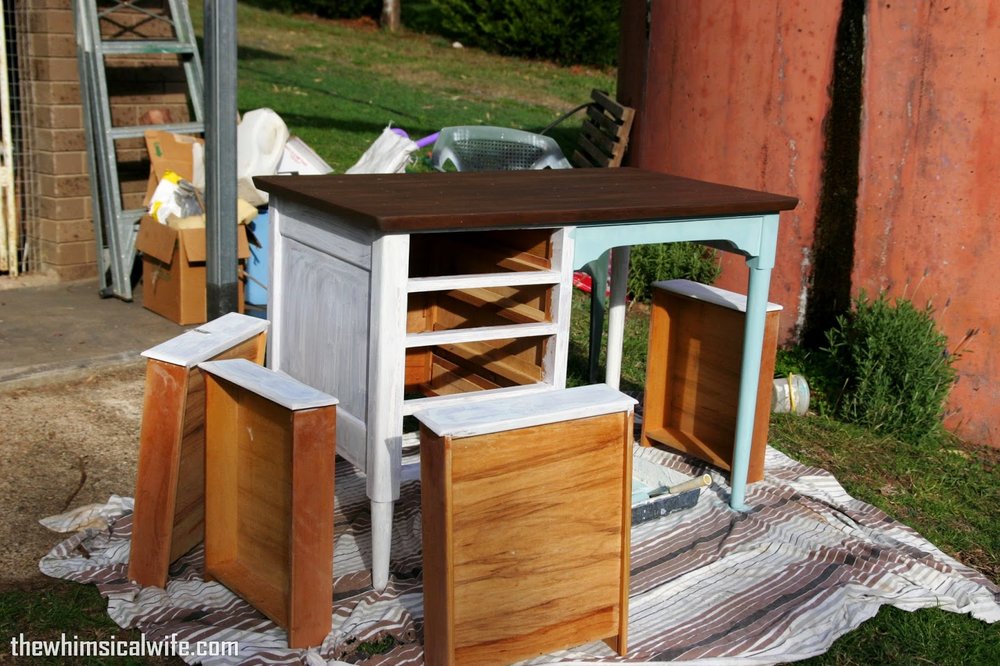
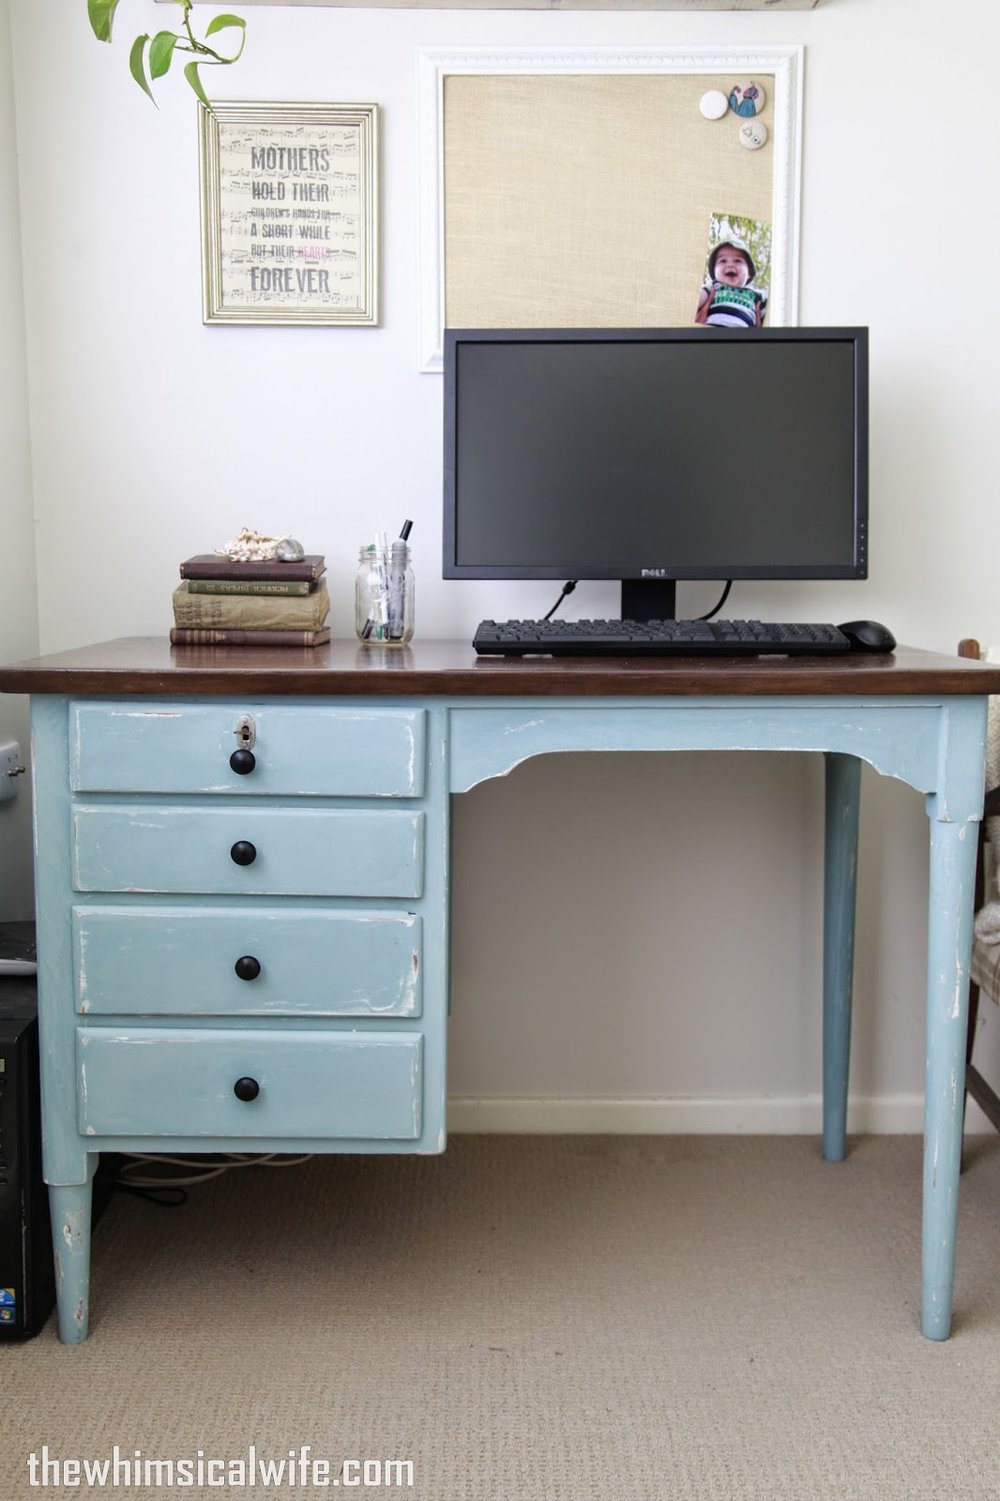
I knew I wanted this desk to have some character to it to match the rustic shelf that would sit above it. I wanted a rich wooden stained top and possibly a coloured base. I have done numerous furniture projects with the wood top and white base around the house and I wanted to add a pop of colour in the office instead of going for the safe white. I was after a bluey/green colour for the base and ended up having to create my own after the colour I chose turned out to be to bright.
I stained the top first in my favourite Cabot's Interior Water Based Stain in Brazilian Chocolate. To learn how to stain wood you can read how I do it here. I think I ended up doing 3 coats of this stain to get the deep rich colour that I was after. While this was drying I under coated the base section with the Smart Prime Stain Blocker, which blocks any nasty wood stain from coming through to your top coat. I let this dry for any hour or so and then started with my base colour. This is ALWAYS my favourite bit when doing up a piece of furniture. Adding the top coat and seeing a glimpse of what the piece is going to look like. I used a foam roller on most of the desk base and a paint brush in the areas I couldn't get with the roller. I only painted the fronts of the drawers too - yes yes I know I'm a bit lazy but overall you won't really see the sides of the drawers.
I gave the base two coats of the top coat for even coverage and let it dry overnight. I always let my paint dry for a good 12 hours before creating "rustic" appeal with a little sanding. If the paint isn't dry properly it will just peel and not sand off in a good way. When trying to add a little "wear" to a piece by sanding always aim for areas that would normally receive wear such as corners and edges and around knobs and handles. I replaced the sad white drawer pulls with some matte black knobs I picked up on eBay. I buy most of my furniture hardware on eBay as it is a lot cheaper per knob than your local hardware store. The only things is being patient enough to wait for them to get posted.
I had a slight disaster in the finishing details of this desk which I will describe as the great desk disaster of 2014. I decided to finish the top with a polyurethane clear gloss finish to protect the top from any scratching etc. The polyurethane finish that I used was an old tin and I didn't realise it was out of date which resulted in the finish crazing and peeling off in places. Long story short I had to total re-sand the top back to bare wood and start all over again from scratch! I was not a happy camper. Anyway after all that drama I think the desk come up pretty nice. I can't wait to show you the whole room put together.... that will be for another post next week!


Food & Drink blogs