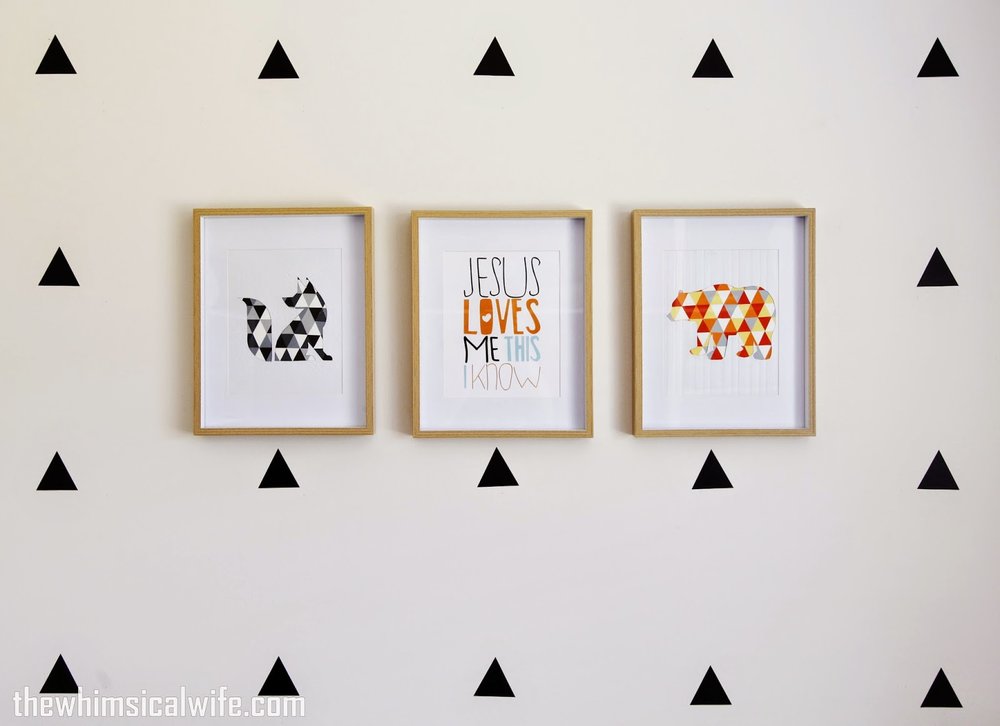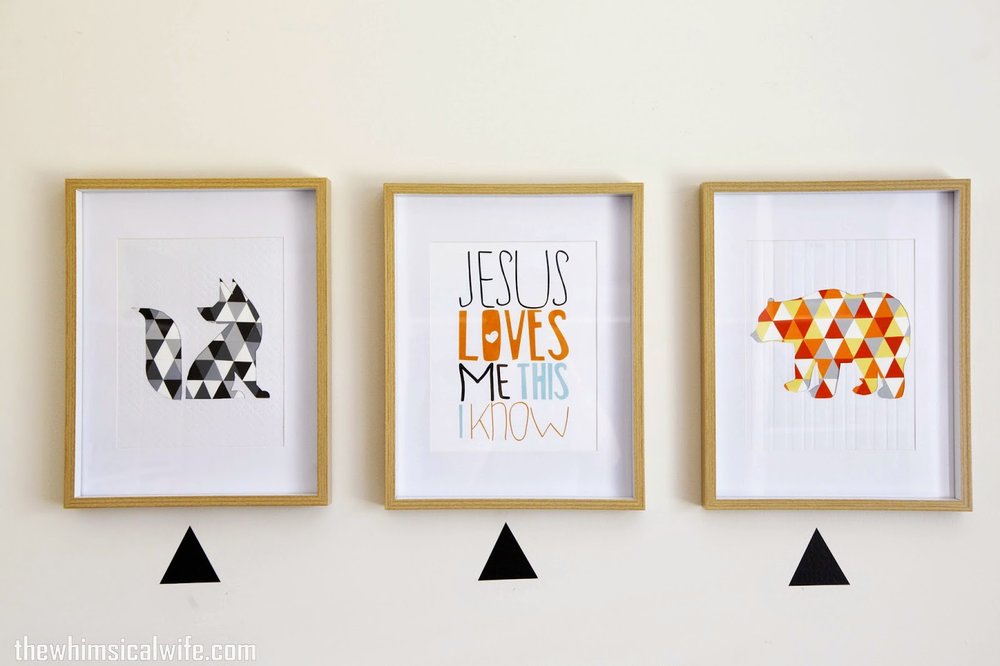
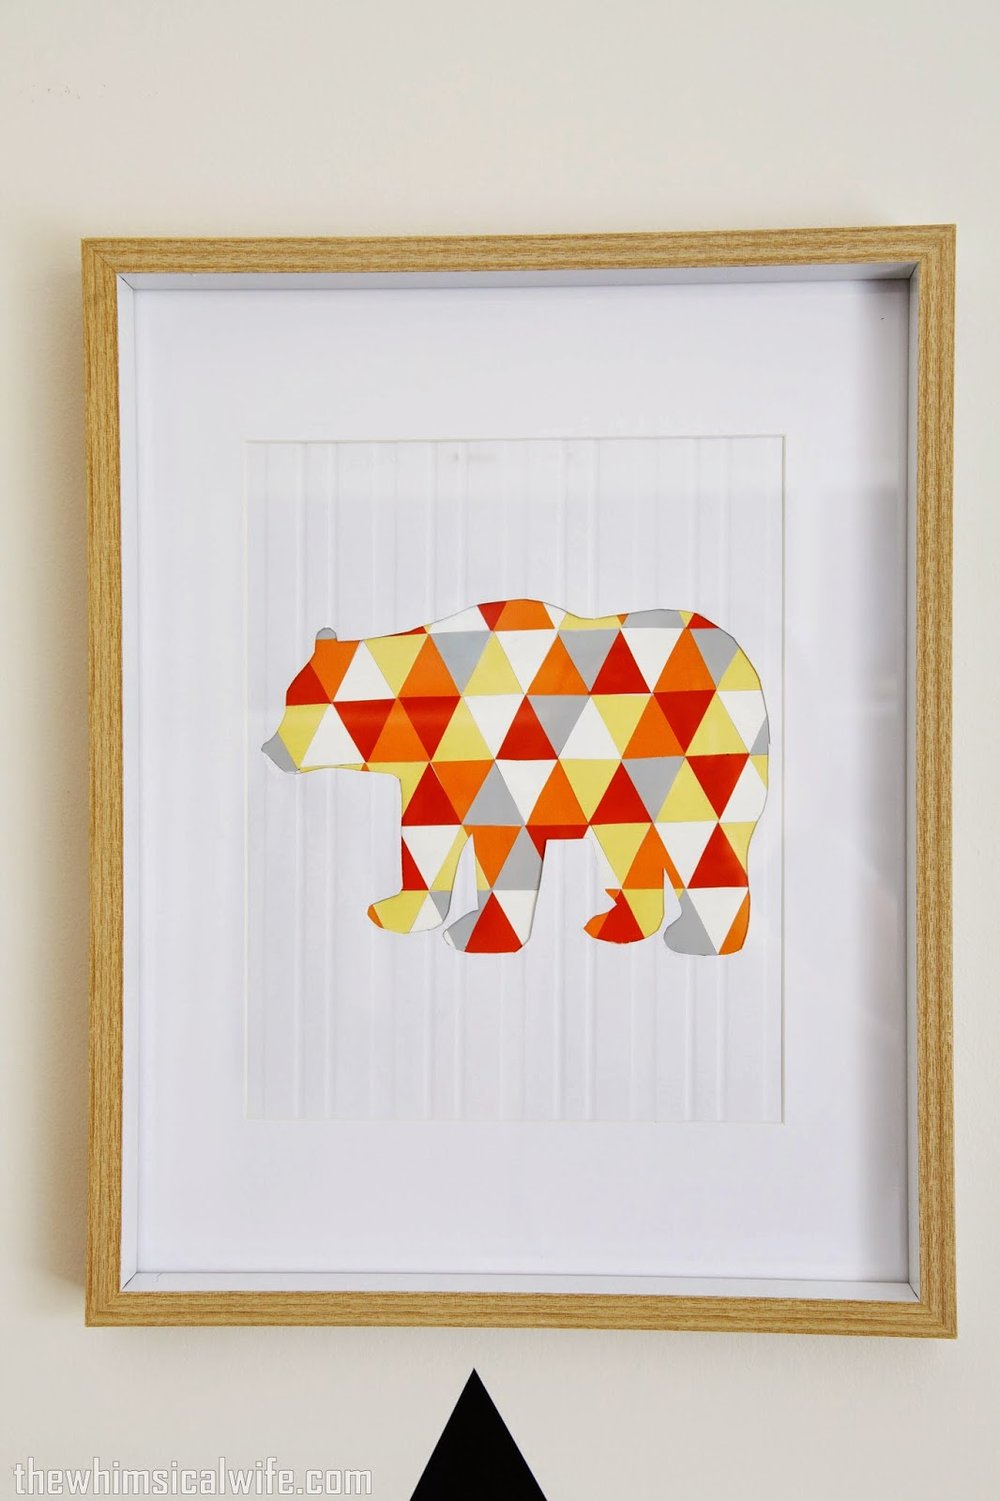
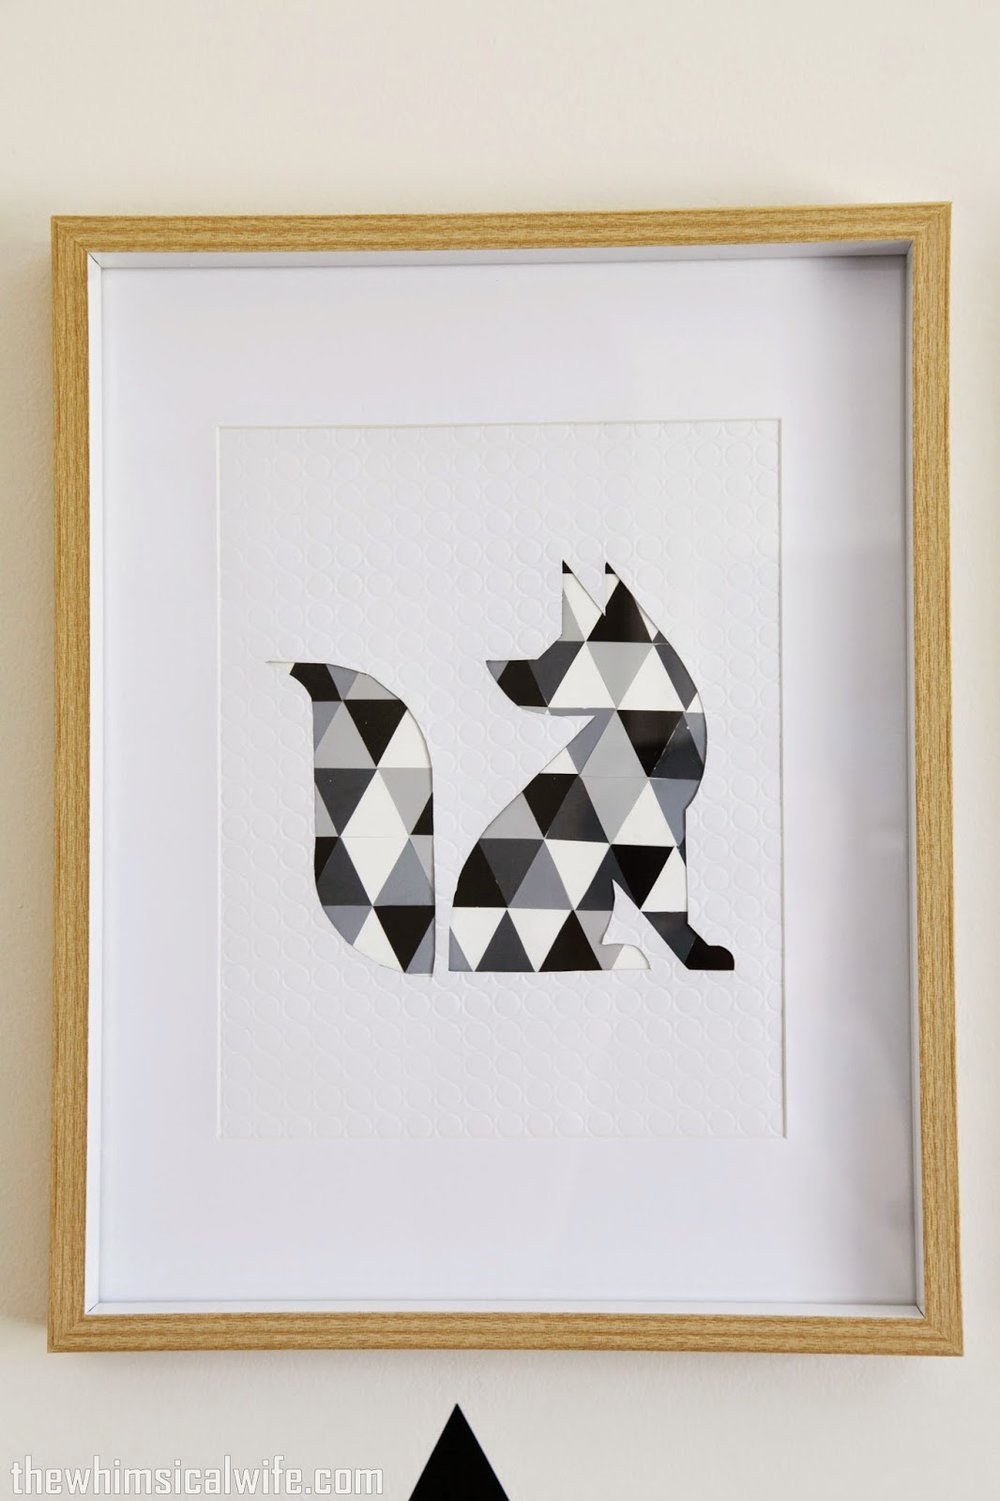
How cute is this series of art I have just hung in J.D's room. I've been showing little peeks of the process of transforming J.D's new room over on Instagram. These geometric animal wall art frames are the latest addition to the room along with the black vinyl triangle wall stickers. Today's post is about showing you how to make your own geometric animal wall art and turning a boring wall into something pretty special. I created these two pieces (the fox and the bear) including the frames for under $15 each. The frames cost me $12 each so the actual geometric art didn't cost a whole lot to create at all. The possibilities are endless as to the designs and animals you could make using the technique I have used to create these prints. It was really simple to do and only required a bit of time consuming cutting of little triangles. Anyway lets get into how to make your own cute animal wall art.
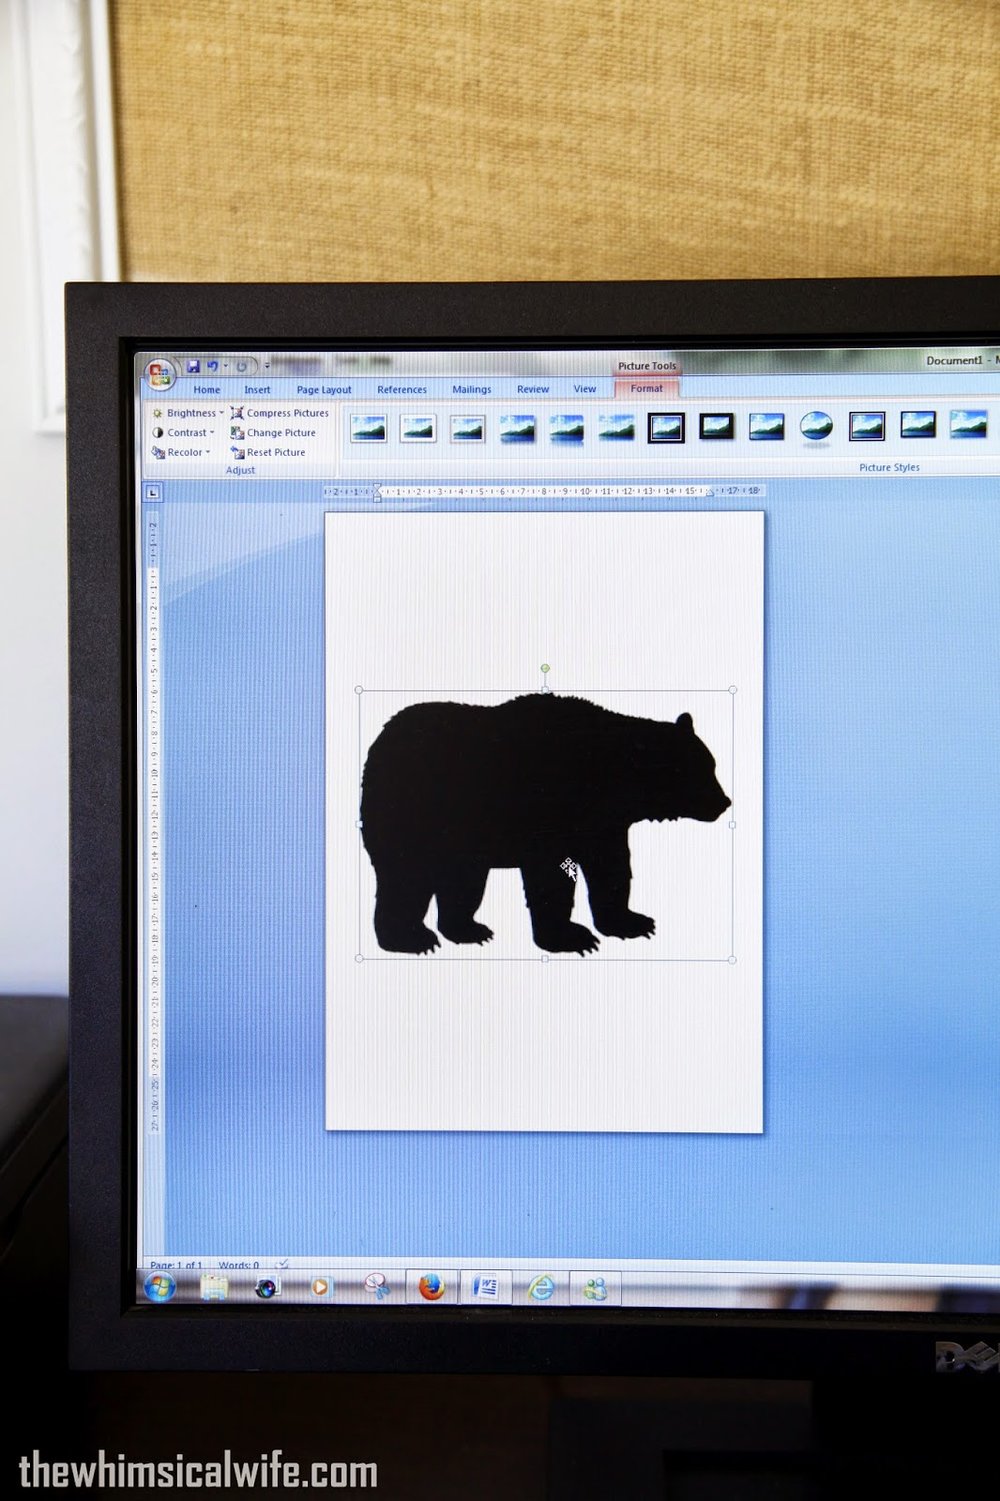
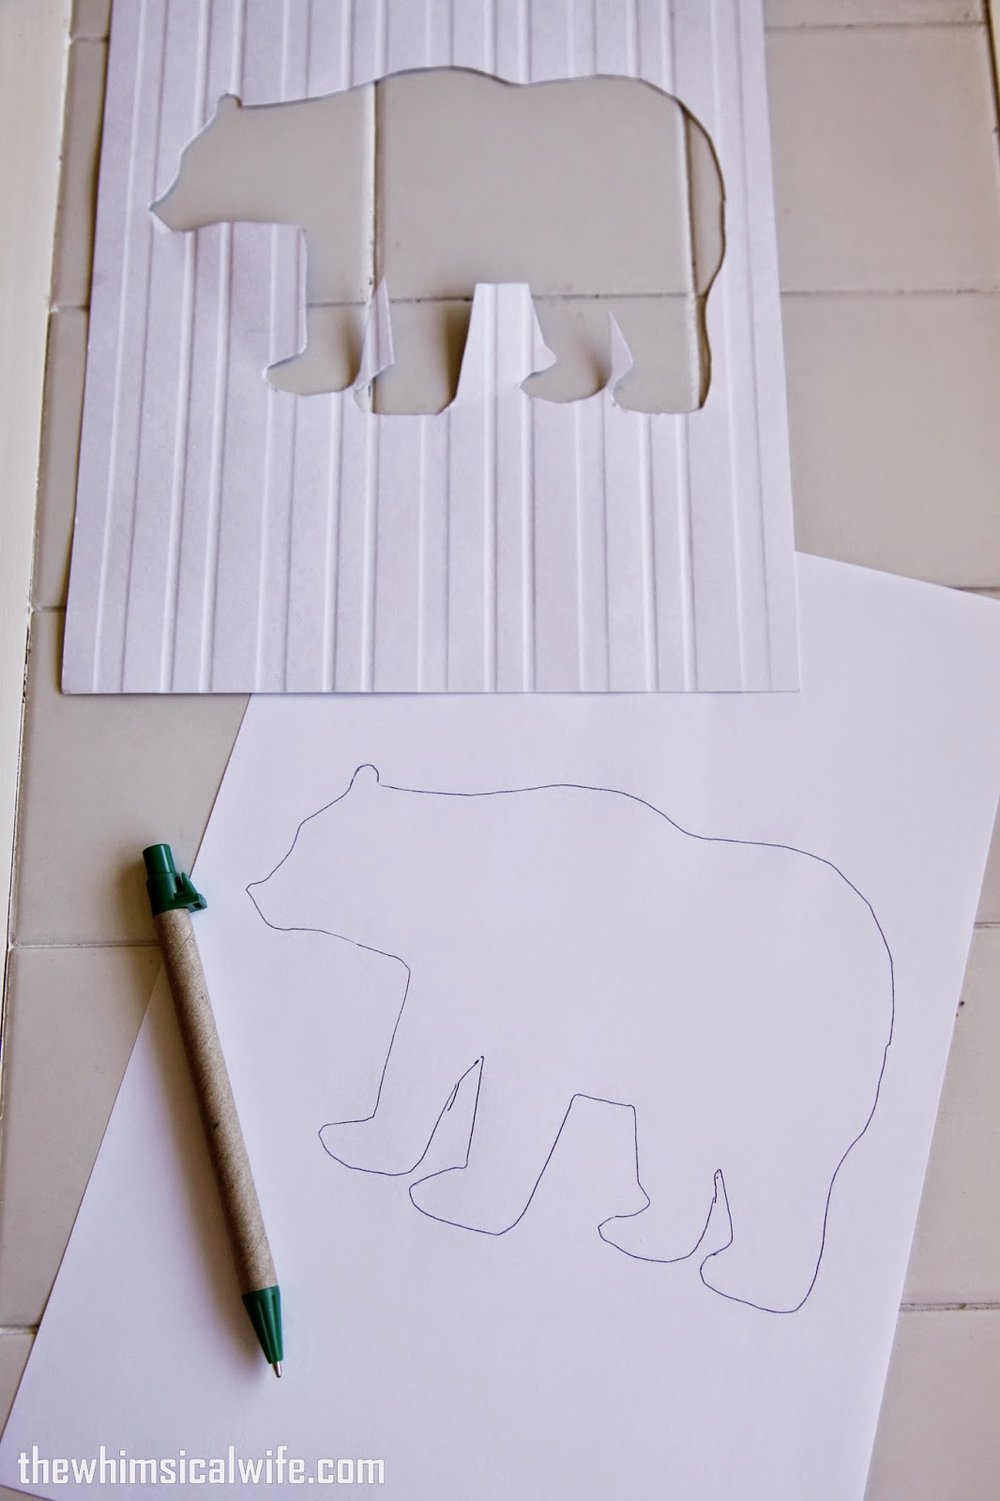
The first step is to chose what animal you want to use in your wall art. I went with a bear and a fox for J.D's room. To get the image I wanted I simply Googled "bear/fox silhouette". Select images and you will have a plethora of different types of bears/foxes to choose from. I would go for something that doesn't have a heap of detail around the edge as you was a simple silhouette to work with that isn't to fussy to cut out. I save the image to my computer and add it to a word document and re size it to the size I want to print it out as. I was using 8 x 10 inch frames so centering and printing straight to A4 size paper would allow for a perfect fit. If you have a larger frame you may need to get this initial stage printed at a printing place or print the image in two pieces.
Print your silhouette image onto the BACK of the paper you are going to use in the frame. I used some textured scrapbook paper that I cut down to A4 size. Make sure you let the ink dry a little before plowing into cutting it otherwise the ink will smudge everywhere.
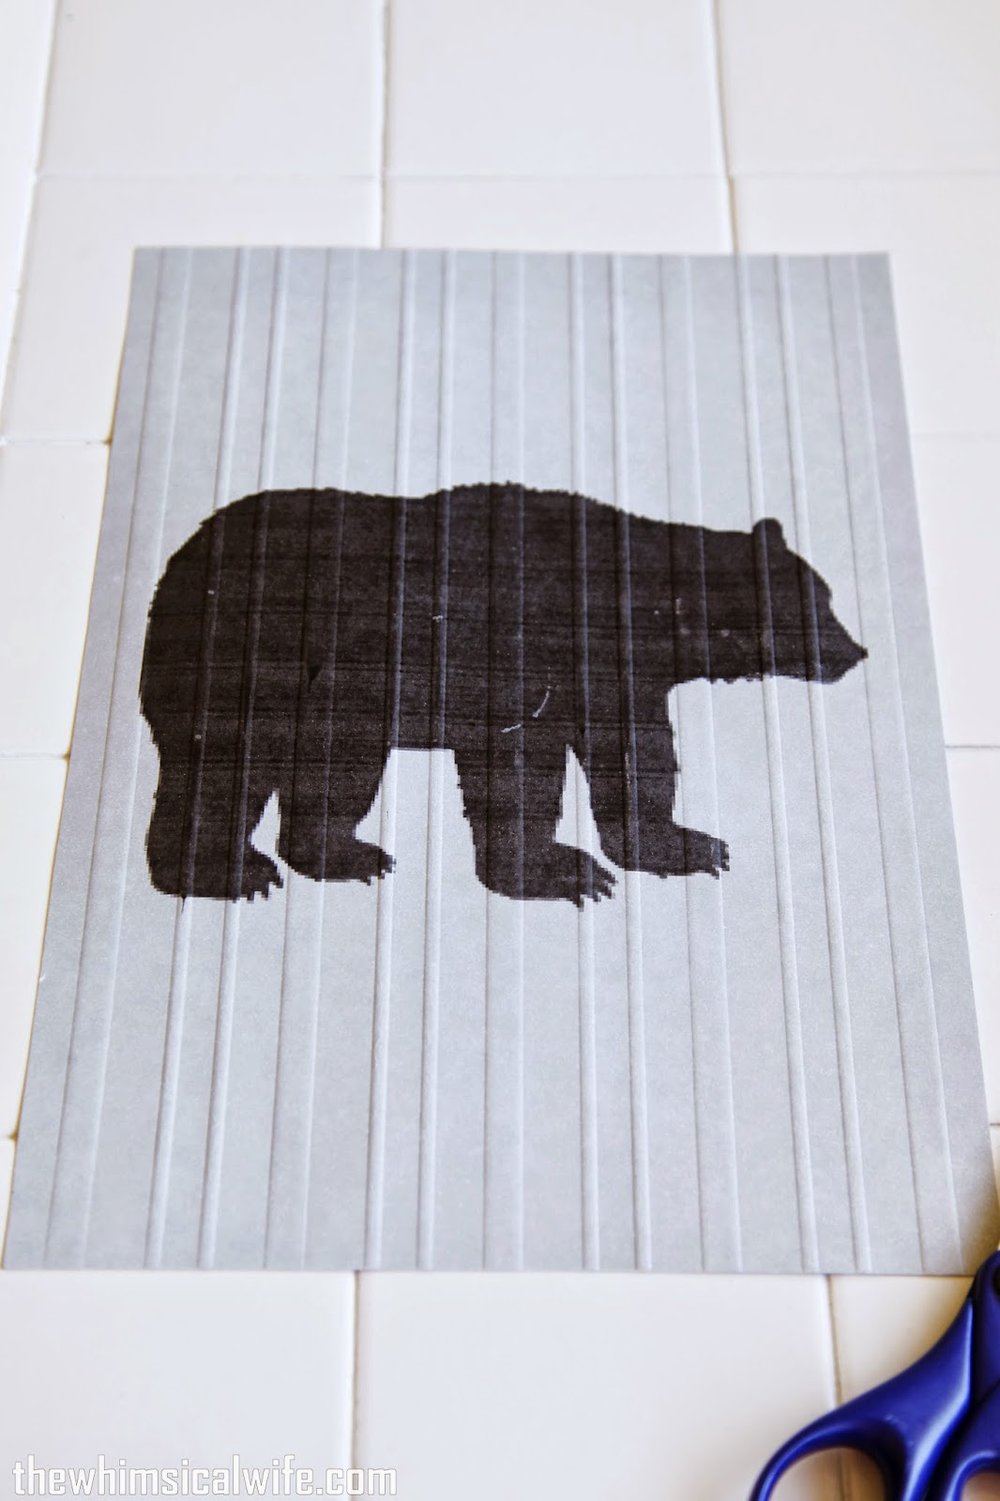
Using very sharp scissors cut out your animal shape starting from inside of the animal as you want the piece of paper to be intact to be inserted into the frame later on. This will be a "cover" to place over the art you are going to create later. I then use this to trace the animal shape onto a plain piece of A4 paper. This is what you will be sticking your geometric shapes onto.
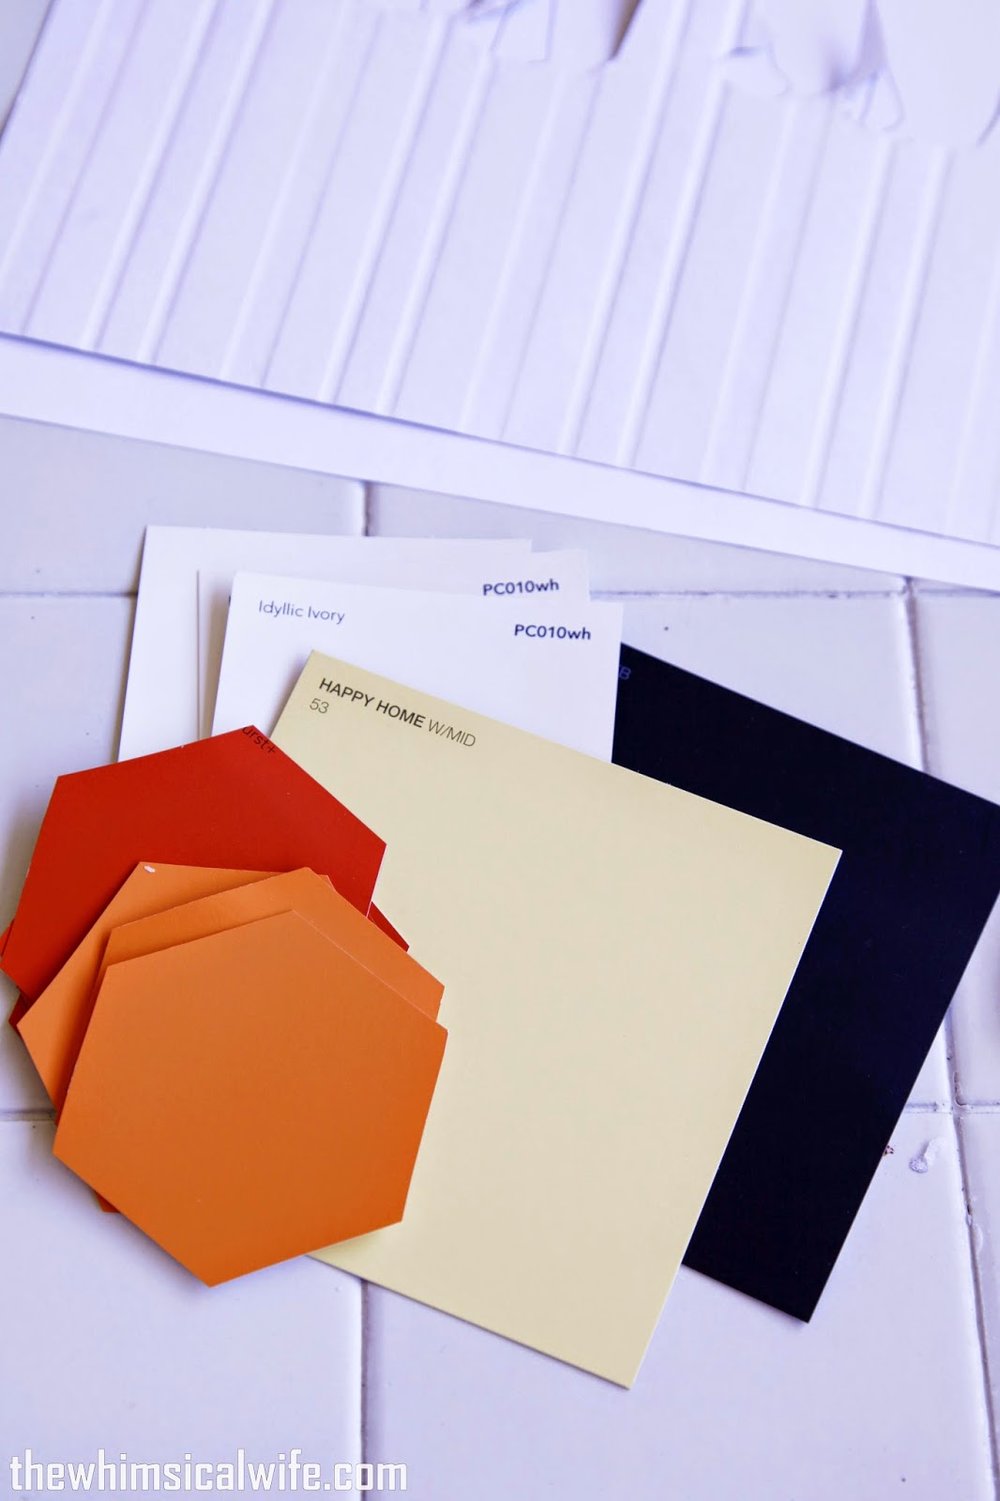
This is where the fun part begins. You need to choose a colour palette that you want to use in the triangular pattern you are about to create. The coloured triangles are simply made from paint sample cards from your local hardware store. I went with a neutral black, grey and white palette for the fox piece and a bright and cheery palette of yellows, oranges, white and greys. I initially was going to add black into this one but after starting to put the picture together I swapped the black with grey.
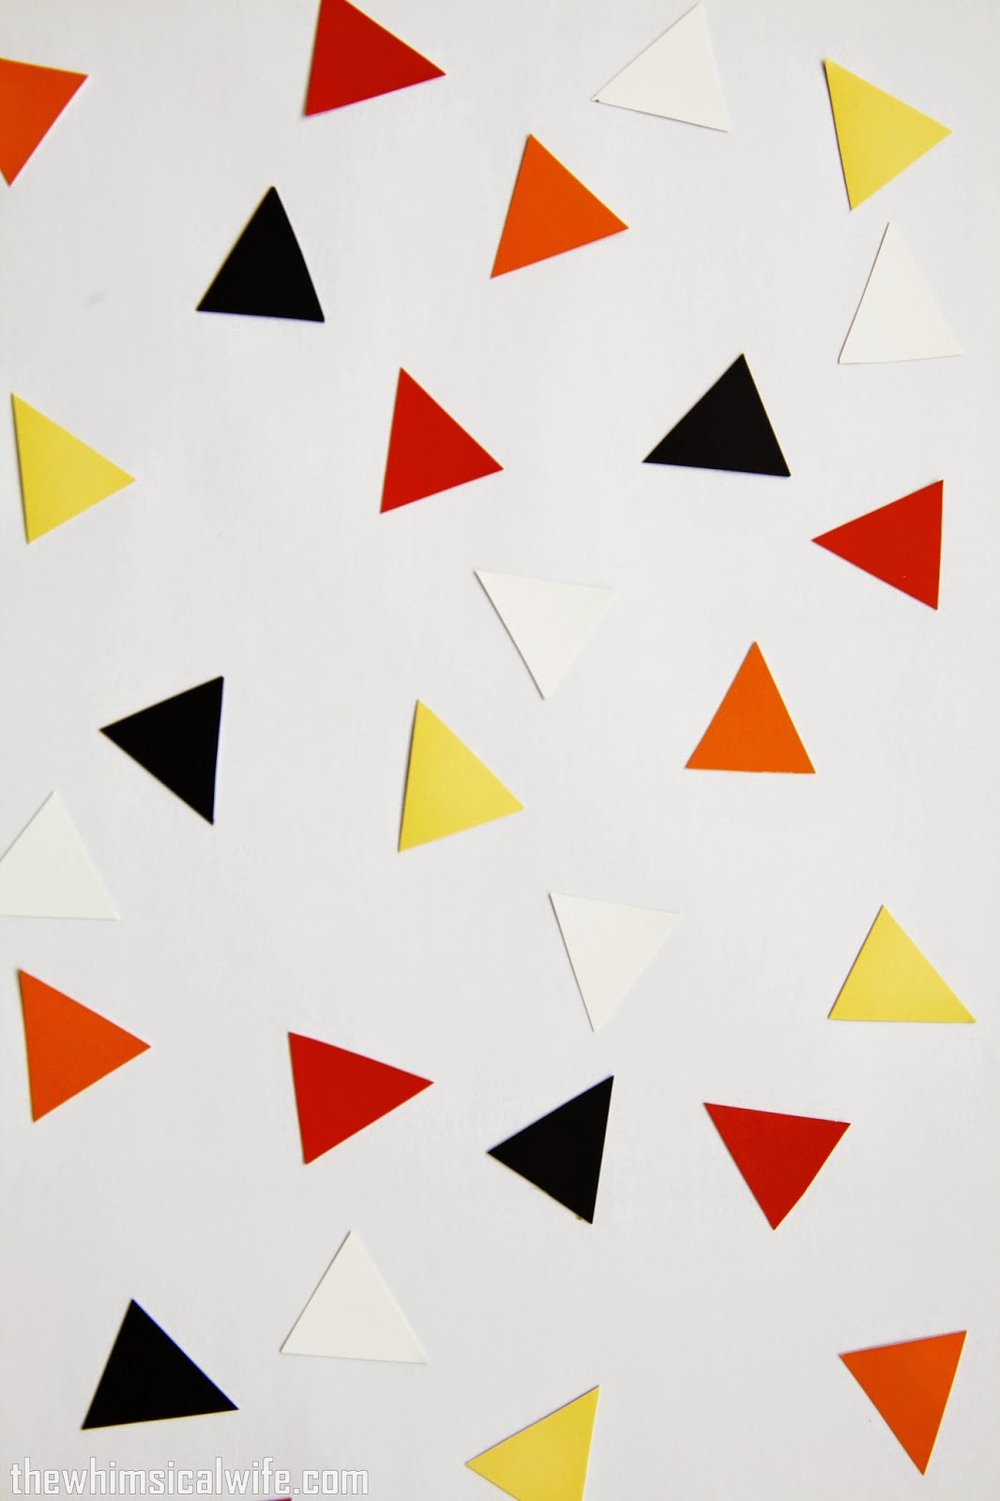
I used Microsoft word to create a small triangle (you could use any type of shape) then printed and cut it out from firm cardboard. This then became my template to trace around onto each of the coloured paint chips. By doing this you will be getting the exact same shape for each triangle which will then fit together properly when you place them all together. This is important as if your triangle shape is not uniform and slightly off the pieces won't fit together perfectly it will affect the over all look of the design. This is the most tedious part - tracing and cutting out all the little triangles to use from your coloured paint samples. You need to remember this if you are planning on doing a large piece. I would recommend tracing the triangles on the back of the paint sample cards so you won't see any pen lines once you have cut them out.
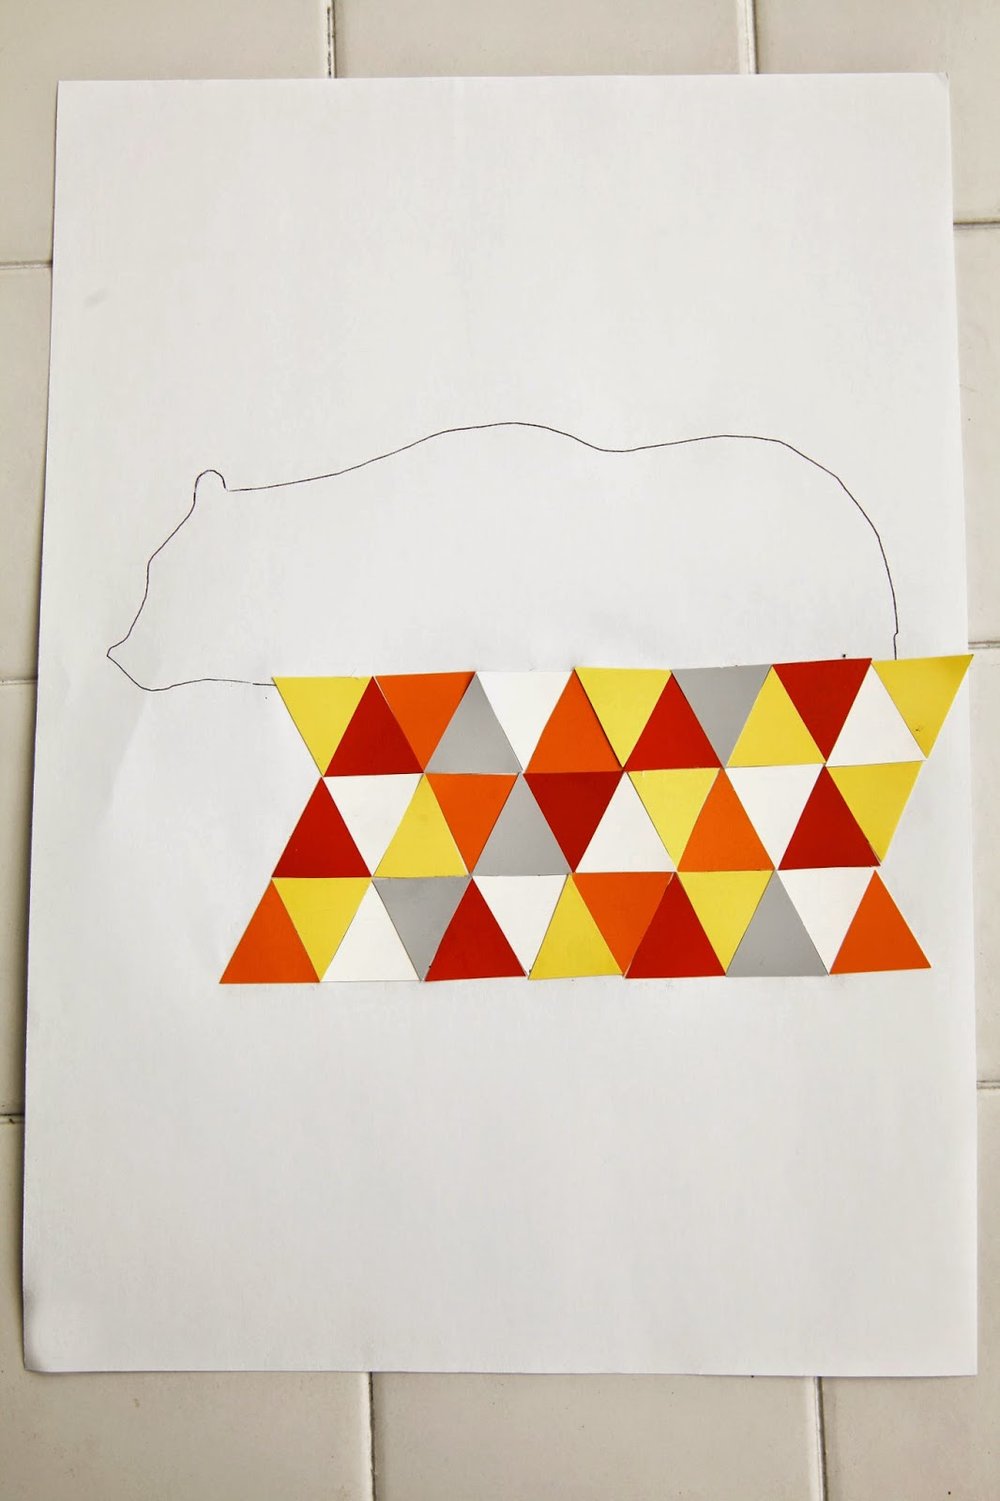
Once you have cut out enough of each colour you are going to use ( I would recommend doing a few more than you think you need just in case). The next step is to start glueing the triangles over the tracing you made earlier of your animal. I used a glue stick to glue down my triangles, which made for a less messy excursion. I started glueing the triangles from the bottom of the animal, slightly overlapping the traced edge. Make sure you glue the triangles tightly together so that you can't see any of the white paper underneath. I didn't really keep to a pattern with the colours but randomly placed them as I went along. Continue glueing the triangles over the entire animal making sure you overlap all the edges so that when the "cover" piece is placed over the top you won't see any white edges poking through.
Let your piece of triangle art dry completely before placing the "cover" piece over the top. Secure this in place with a little double sided tape or glue to stop it moving around in the frame later on. Place it into your chosen frame and VOILA you're done. Hang your custom piece of art onto your chosen wall and admire away.
I decided to support a new local business called The Wall Space and got them to custom make me this cute "Jesus Loves Me" print to fit in between my two geometric pieces. They have some funky and cool prints in their store that are really reasonably priced. Make sure you pop over to their website and pop onto their Facebook page to see the new pieces being created each week.

I am really loving how J.D's room is coming together and the black vinyl triangles have really set these prints off on the wall. I won't mention the meltdown that occurred trying to put them up.... oh wait I just did - oops. Note to self don't try sticking stickers to a wall when you are 39 weeks pregnant. Anyway I hope you have a go making your own geometric animal print. I think the kids would have a blast making one as they are fairly straight forward to do. I hope to get a full tour of the little guys room up soon once we have the cupboard doors up on the new wardrobes.
I'm hoping when this post goes live on Monday that I will have a baby in my arms.... however I am not holding my breath! Ha.