

I am so glad that I can finally start showing you some of the pieces that I have been working on over the last month. I showed you my bentwood armchair makeover last week, which I so happy with the result of. The piece that I am showing you today was one I picked up on the cheap.... for like $5.
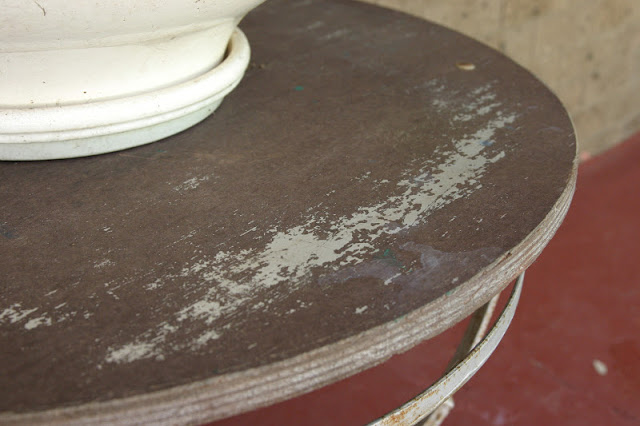
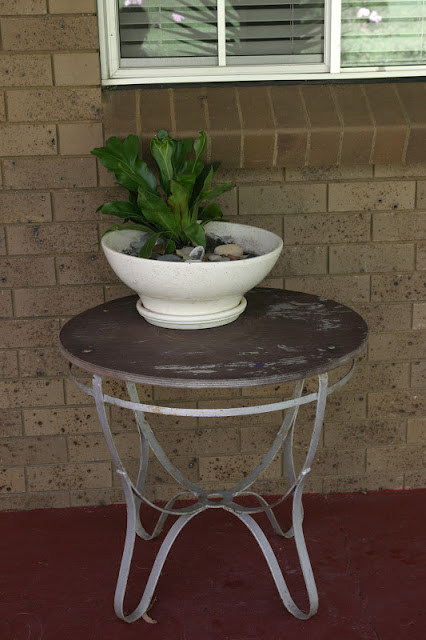
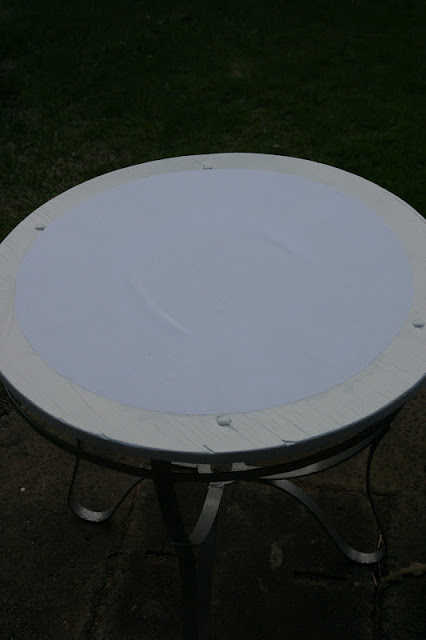
What initially drew me to this table was the cool metal legs that it had plus the price wasn't too bad either. The top was in good condition and the whole thing really needed a good paint. This table probably sat around on our front porch for like a year before I had any inspiration of what I wanted to do with it.
I was contacted a few months back through my blog to trial a product called Rust-Oleum Universal Spray paint. This paint is the bomb.... it does not require for you to undercoat first as it is a "all-in-one" spray paint. It can be used on a variety of surfaces such as metal, glass, wood, tiles, plastic and the list goes on. I ordered a gloss white, hammered silver and a hammered bronze to trial.

I needed a all-in-one paint to use on the legs of this table so this paint fit the bill and decided to give this product a go. Painting with Rust-Oleum spray paint was
a breeze on this project - all I had to do was give the table a clean,
remove the top from the base and shake the can of paint and off I went.
The unique shaped top of the spray can was a pleasure to hold and use.
You gripped the top instead of having to press down on the button like a
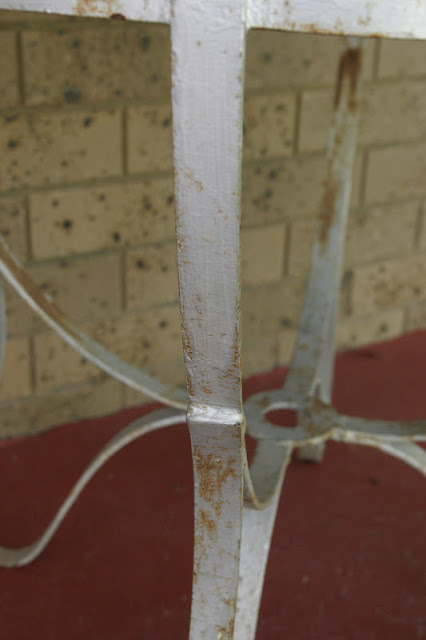
normal can, which saved a sore-finger later on. I used the "Hammered Silver" on the base of the table and "Gloss White" for the top.
 |
| Before painting... |
 |
| After using "Hammered Silver" Rust-Oleum Universal spray paint. |
Another plus to this paint is that it is fast drying. I was able to finish this project in an afternoon - which is what an impatient girl likes! After the paint had sufficiently dried ( I waited a few days to let it set properly) I started the next step in finishing this table...... putting a clock face onto the top of this table!

Hubby kindly printed this face off for me but if you want to print something quite large I found a great site to do this for you.... Block Posters. It segments your picture into a number of pages to print off. I have used this on the other projects I have to show. I got the clock face image from my one stop graphics website... the Graphics Fairy. This site is full of so many wonderful images, tips and tricks. I got the idea of how to transfer an image to wood on this site as well. Visit her 12 Easy Image Transfer Method Tutorial page for more information.
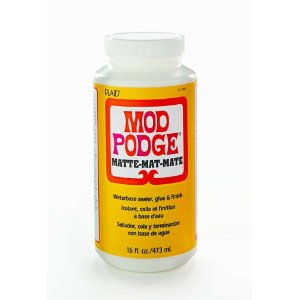
I used the Mod Podge method for this clock face. Simply print the image in "mirror" image so that it is in reverse. Paint the Mod Podge over the image on the paper - quite thickly if you can. You need to do this quick so the first section you painted doesn't dry. Flip and press onto your piece of furniture. Smooth paper of all the air bubbles and press down firmly. Leave to dry for 24 hours.
After the image has dried - the fun begins. Wet the paper completely so that it is sopping wet. Now start to slowly rub the paper off the table. Be careful when you make it to the black printed areas.

If you rub too hard it will remove the image from the wood. This
happened to me but I didn't mind as I wanted a rubbed and worn look. After removing all of the paper let the piece dry and check that all the paper has been removed. Seal the image with some more Mod Podge to stop it wearing off and to protect it.
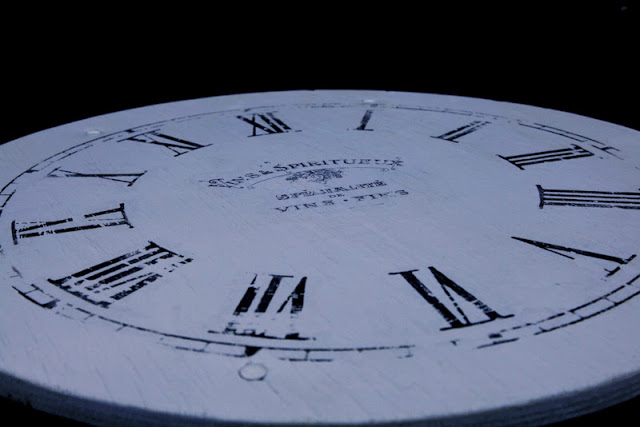
I just love how it turned out. Hubby wasn't so convinced that the image transfer would actually work on the table and I think he was pleasantly surprised on how well it turned out.

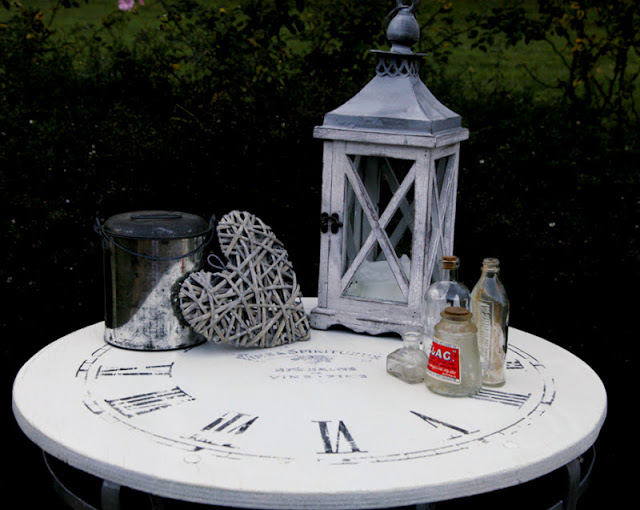
This table will be placed out onto our porch again.... this time looking a little prettier than the last time it was there. I have some wonderful accessories to go either side of it. A nice pair of cane chairs that I found on the side of the road ready to be thrown out. More on the transformation of these chairs another time.

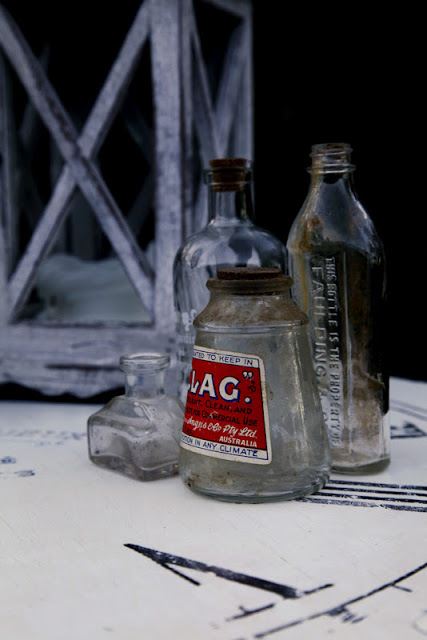
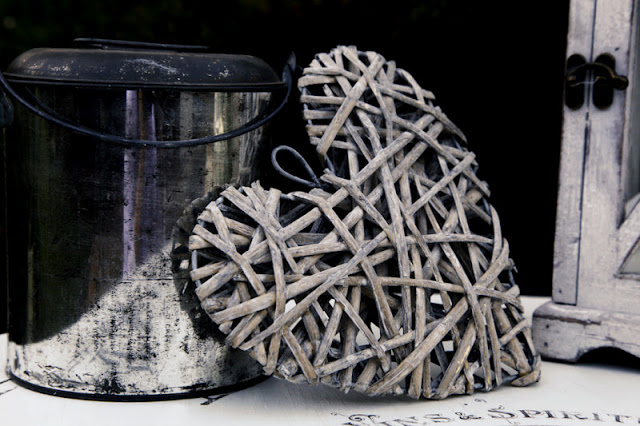
In the mean time enjoy some pretty finished photos!

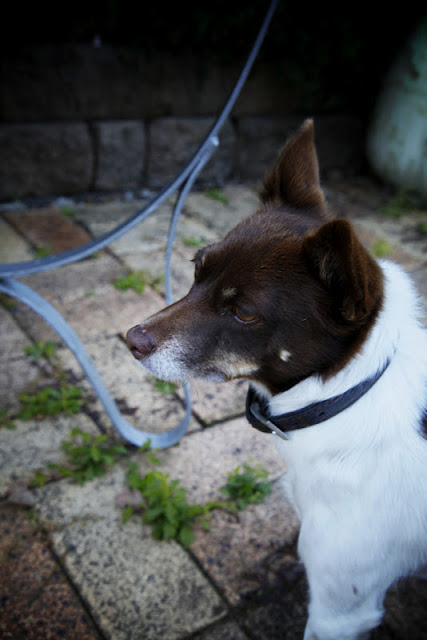
My dog Abby wasn't sure what all the fuss was about when I was running outside in my Pajamas taking photo's of the table the other morning. She was most unsure about the whole event.
Sharing at:


blog directory