


DIY Blush Pink Velvet Bench Seat + Video
Guys this Blush Pink Velvet Bench Seat Revamp project has been a long time in coming. Like I mean a long time. Dare I say how long exactly? Well let’s just say my youngest was a baby at the time of finishing this project and she is coming up to 3 years old! (Insert horror face here) . What can I say I got a little bit slack.
Anyway I am here today to remedy that because I definitely think this bench seat revamp is worth sharing. The transformation was pretty spectacular from something I pulled out of a garbage bin (yes you read that right) that only had three legs to something that now sits proudly at the end of my bed. You can view the whole video of the project at the end of this post.
So how did I come to be in possession of this bench? Well I was coming home after dropping my middle child off at daycare (she is now about to go to school) and as I pulled out of the street her daycare was located at I spied this old and dilapidated bench seat sticking out of a wheelie bin (that’s what garbage bins are called here in Australia). I slowly pulled up beside the bin to have a closer look and upon inspection the only thing I could see wrong with it was a leg was missing. I tried to see if the broken leg was in the bin but no luck. I decided on the spot I definitely could do something with it and dragged it out of the bin and put it in the back of the car.
So this is how she looked after I pulled it out of the bin. A bit sad and sorry. My vision was to create a beautiful blush pink velvet covered bench seat with white legs and gold button nails around the edge.
The first port of call was to try and figure out what I was going to do with the leg situation since I was short a leg. A good friend of ours (thanks Dan) mentioned that he knew of a wood turner located here in town. He was a old chap with a workshop out the back and still tinkered in his shed turning wood and creating beautiful pieces of furniture. I took the sad looking bench to Frank and he was able to create for a me a whole new wooden leg with the exact same profile as the other three.

I was so stoked that I could get moving on finishing the bench seat. I ordered the fabric that I wanted from Warwicks Upholstery. It’s called CLEO BLUSH and you can view it here. I adore this fabric SO much. I ordered it online (it wasn’t an inexpensive purchase) and awaited its delivery. While that was happening I started breaking down the bench seat so I could start prepping it to be painted.


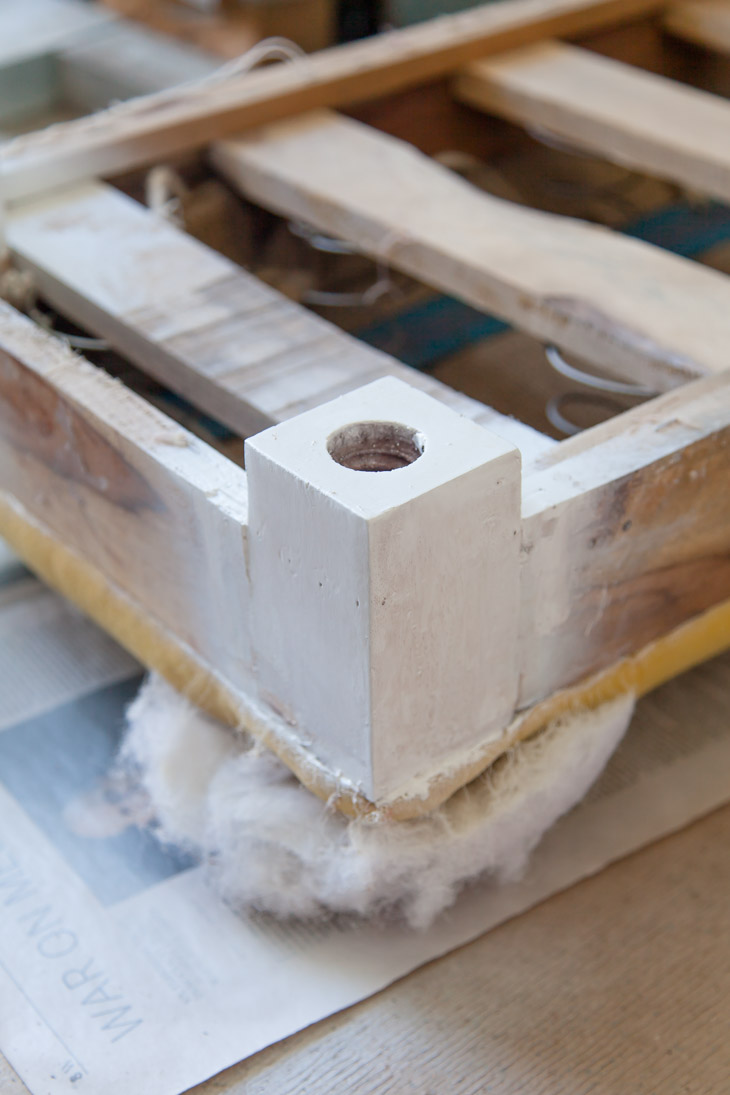
To remove the staples that was attaching the upholstery to the frame I used a flat head screw driver but there are proper upholstery staple removers out there. This was probably the most fiddly part of the project as there were A LOT of staples to remove.
Once the old upholstery had been removed I then gave the legs and side edges of the seat a light sand in preparation for painting. I went with a simple white gloss spray paint that had was an all-in-one with a primer included in the paint. This saved a step of undercoating the pieces.

Once all the pieces had been painted and the legs put back onto the bench it was time to reupholster the top with the new CLEO BLUSH fabric. I used the old upholstery material that I had removed from the top of the bench as a template for cutting out the new piece of fabric. I added a couple of extra inches around the entire template to allow for any extra tweaks I might need to make when putting the fabric back onto the bench.

Once the fabric template for the bench was cut out I then tacked it into place with some upholstery staples using a staple gun. It was important as I stapled the fabric into place to get it taut so there was no wrinkles or excess fabric. Just a nice firm fit. I followed how the old fabric had been fit to the chair sewing the corners of the fabric so that it gave it a nice finish.
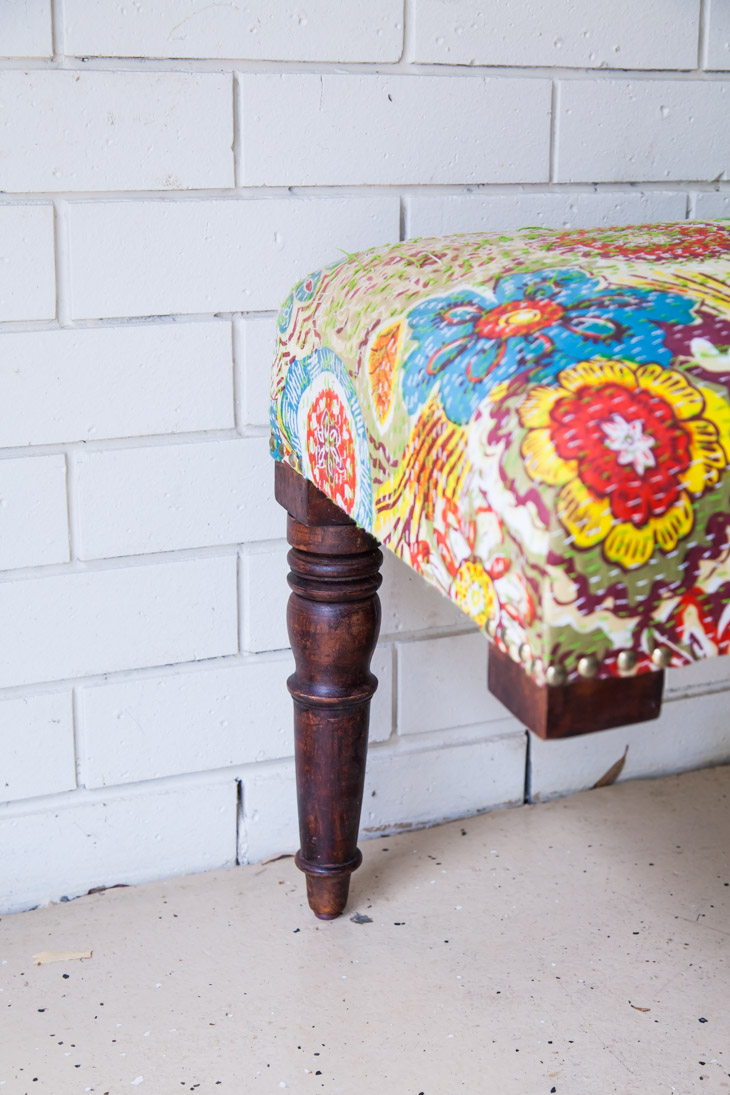
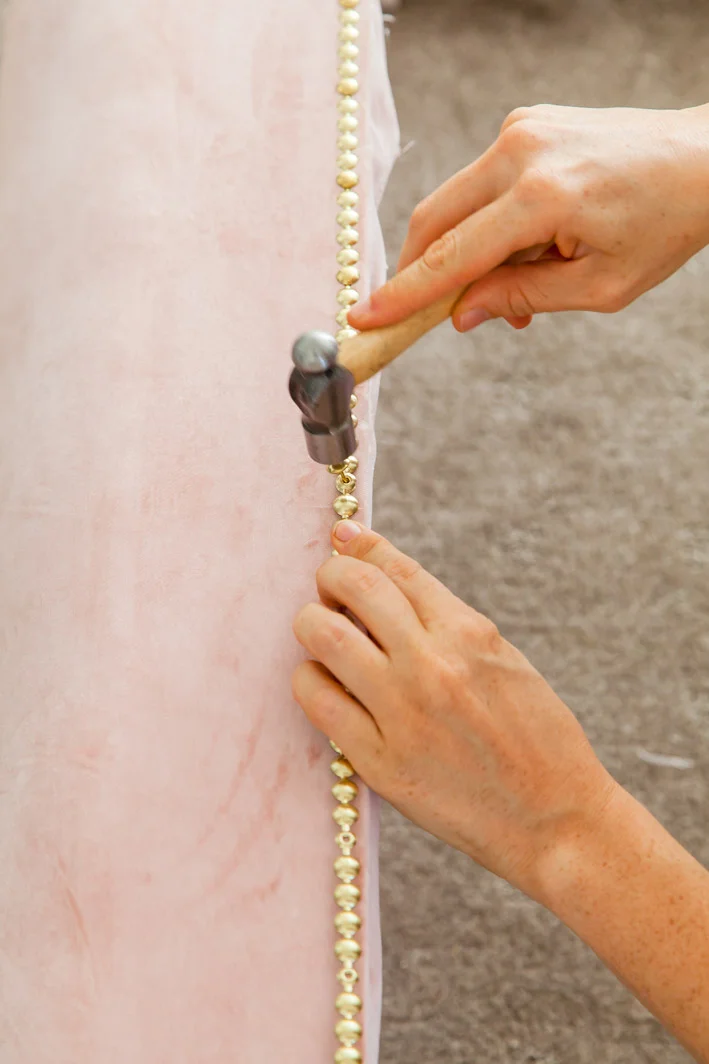
Once the upholstery had been fit to the chair I then added the gold button nails around the edge of the upholstery to finish it off. Now the trick I used here was to buy button head stripping that resembled a heap of button nails in a row. When in fact you only had to nail like every seventh head in to attach the stripping to the seat. This saved a lot of time and hair pulling.
Once the stripping was in place I wanted to add a final touch of some fabric covered buttons on top of the seat for a little extra detail. I bought a kit that I could make my own fabric covered buttons with here at Jackobindi. I show you in my video below how I created the fabric buttons from start to finish using this kit if you are interested in learning how to do that. It’s very straightforward and simple to do.

Once I had created the fabric buttons that I needed for the top of the seat it was a matter of sewing them into place. First I measured and marked the placement of each button on top of the seat and then using a large upholstery needle and thread I sewed each button to the top of the seat.


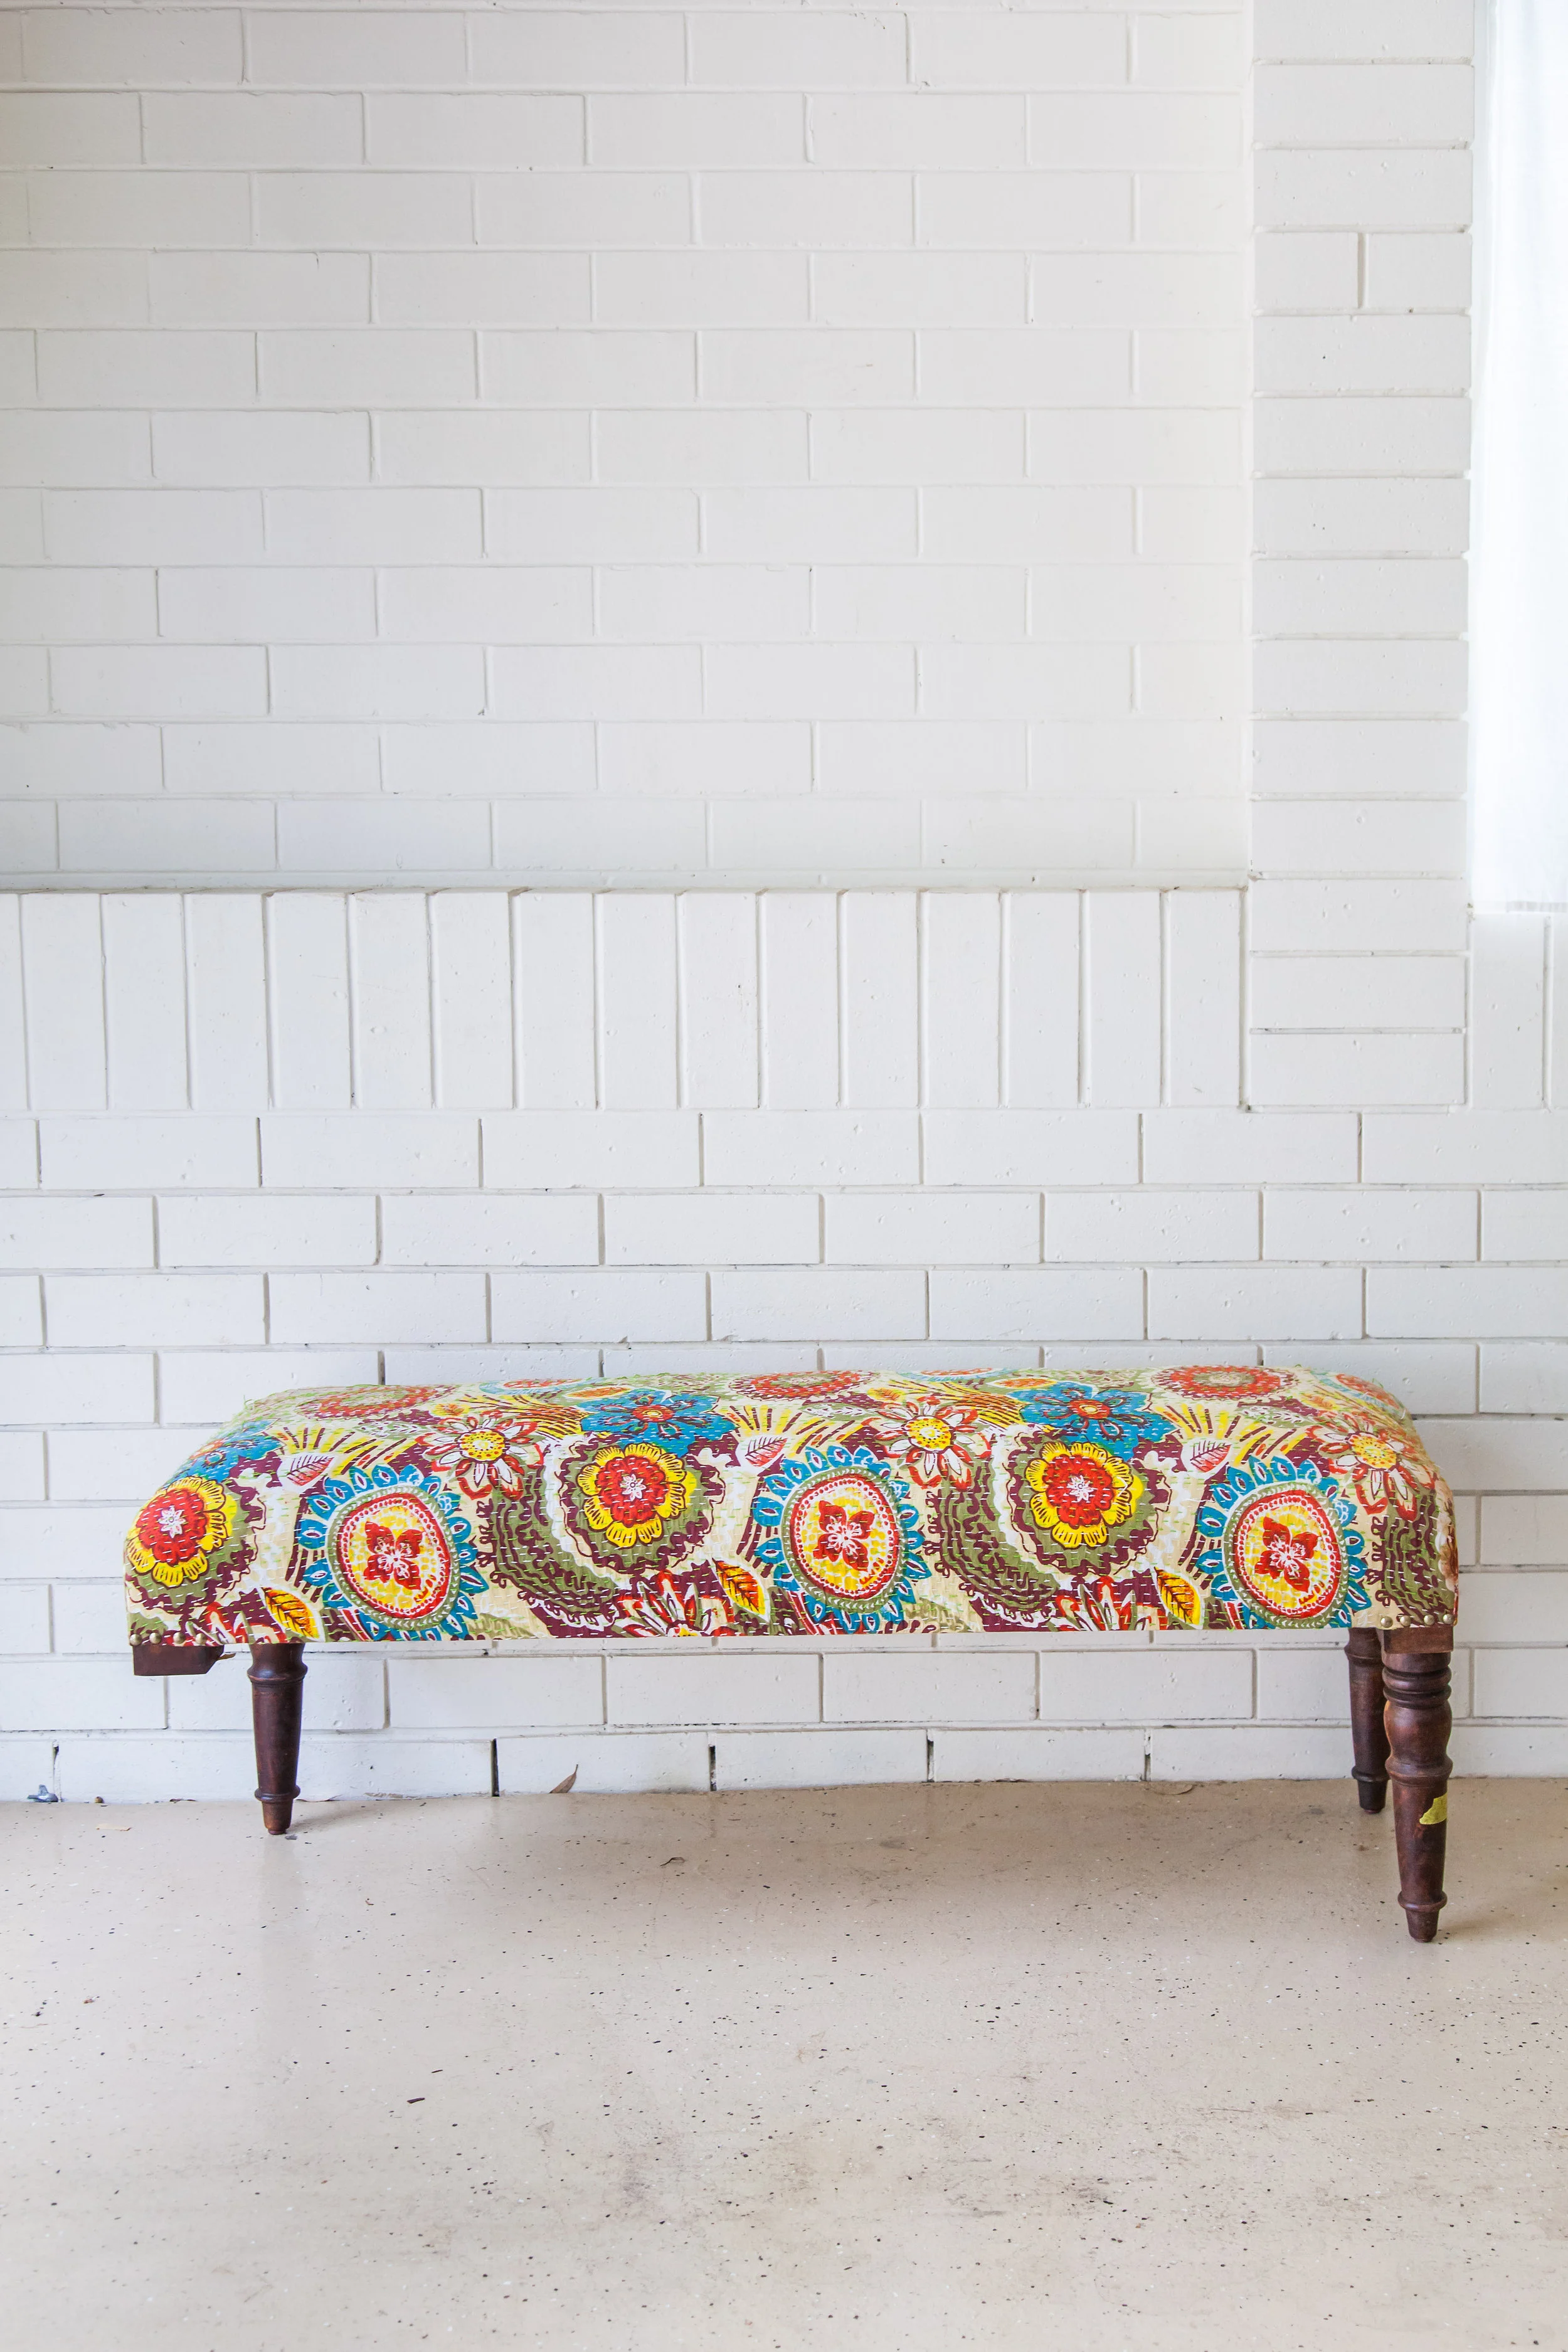
And Voila here it is. Finished in all it’s glory. I am glad I have finally got myself together and shared this project with you. While it did take a while to finally put up on the blog I have loved it the entire time it has been in our bedroom at the foot of our bed. I didn’t take a photograph of it in their as our bedroom doesn’t have the best light and I thought it would look better somewhere I can get some good photos of it. It deserves it’s time in the spotlight.


You can view the whole project below from start to finish in video form if you want more of an in depth look at how I restored it from drab to fab. I would LOVE for you to come and follow me over on my YouTube channel. Here you can see what I am up to in video form - sometimes even before I get a chance to write about it on the blog.
If you loved this project I would love to hear your thoughts in the comments below.
Digital discoveries
- Casino En Ligne
- Casino Non Aams
- Slots Not On Gamstop
- Slots Not On Gamstop
- Crypto Casino
- Sites De Paris Sportifs Autorisés En Belgique
- Site De Paris Sportif Belgique
- Meilleur Site De Casino En Ligne Belgique
- Migliori Siti Casino Online
- Casino Non Aams Sicuri
- Casino Online Non Aams
- Crazy Time Live Bonus
- Meilleur Site De Paris Sportif International
- Nouveau Casino En Ligne
- Ufc Paris Sportif
- 稼げるカジノ アプリ
- カジノ バカラ カジノ
- Meilleur Casino En Ligne 2026
- Site De Paris Sportifs
- Tout Nouveau Casino En Ligne
- Casino En Ligne Français
- Casino En Ligne France Légal
- Scommesse In Crypto
- Crypto Scommesse
- Casino Avec Bonus Sans Depot
- คาสิโนคริปโตได้เงินจริง
- Casino Bonus Sans Depot
- Miglior Casino Online Non Aams
- Casino En Ligne France Légal
- Siti Scommesse Non Aams
- Casino Online Non Aams 2026
- Nuovi Casino Italia
- Quel Est Le Meilleur Site De Casino En Ligne En France ?
- 무료슬롯 사이트
- 익명 카지노
- Meilleur Casino En Ligne France
- Nouveaux Casinos En Ligne
- Casino En Ligne
- Meilleur Casino En Ligne
- Nuovi Casino Italiani
- Casinò Non Aams
- Meilleur Casino En Ligne
- Casino En Ligne
- Casino En Ligne France
- Nouveaux Casino En Ligne
- Casino Francais En Ligne
- Migliori Casino Online Italia
